Next.js recently released one of its much-awaited major versions (version 10) and there are a lot of exciting features that have been rolled out as a part of that release. In this article, we will break down each of these individually and understand how they will impact development experience and user experience. You can test out most of the features mentioned below by following the code mentioned in this GitHub repository (be sure to run npm install to install all dependencies and then npm run dev to run the dev server that deploys our website at localhost:3001).
Image component
Over the years, the Next.js team has tried to improve the speed of sites built using their platform. Using optimizing strategies like static generation, server-side rendering, and also making the JavaScript bundle size being loaded by the browser more compressed. While that has helped optimize the markup and the JavaScript being delivered to the sites, the images being served as a part of those sites (which form almost 50% of the website size) still remain unoptimized.
Managing images properly has a critical impact on site performance. This is mainly because:
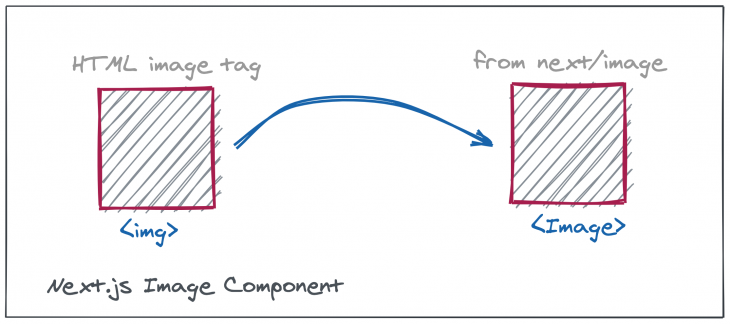
That is where the Next.js image component can help. It is a new component made available by the Next.js team which takes most of the heavy lifting related to images away from the developer. The only task for the developer is to replace the img HTML tag with the Image tag from next/image. Here’s an example:
HTML code:
<img src="/profile-picture.jpg" width="400" height="400" alt="Profile Picture">
Next.js equivalent:
import Image from 'next/image';

<Image src="/profile-picture.jpg" width="400" height="400" alt="Profile Picture">
As per the release document, the Next.js team has collaborated with the Google Chrome team to optimize the Image React component so that it supports:
In addition to that, the images are further optimized by generating smaller sizes and also converting to modern image formats like WebP. Also, all that happens on-demand, whenever the images are about to enter the viewport, not at build time so the time to build the site is not impacted. All in all, it makes dealing with images a lot easier and more performant.
Let us test this out with a real-world example by using it in our code. The code for testing the Image component can be found at pages/test-image.js. This image from Unsplash has been downloaded to the public folder and embedded into the page at a lower position (such that it is out of the initial viewport). It can be noted in the codebase that the image is originally a .jpeg image 3648 by 3951 pixels and approximately 1 MB in size. When the route for the page is loaded, we can verify in the network tab that the image is not loaded initially and only starts to load once we scroll towards the bottom and are about to reach the image. This can be seen clearly in the gif below.
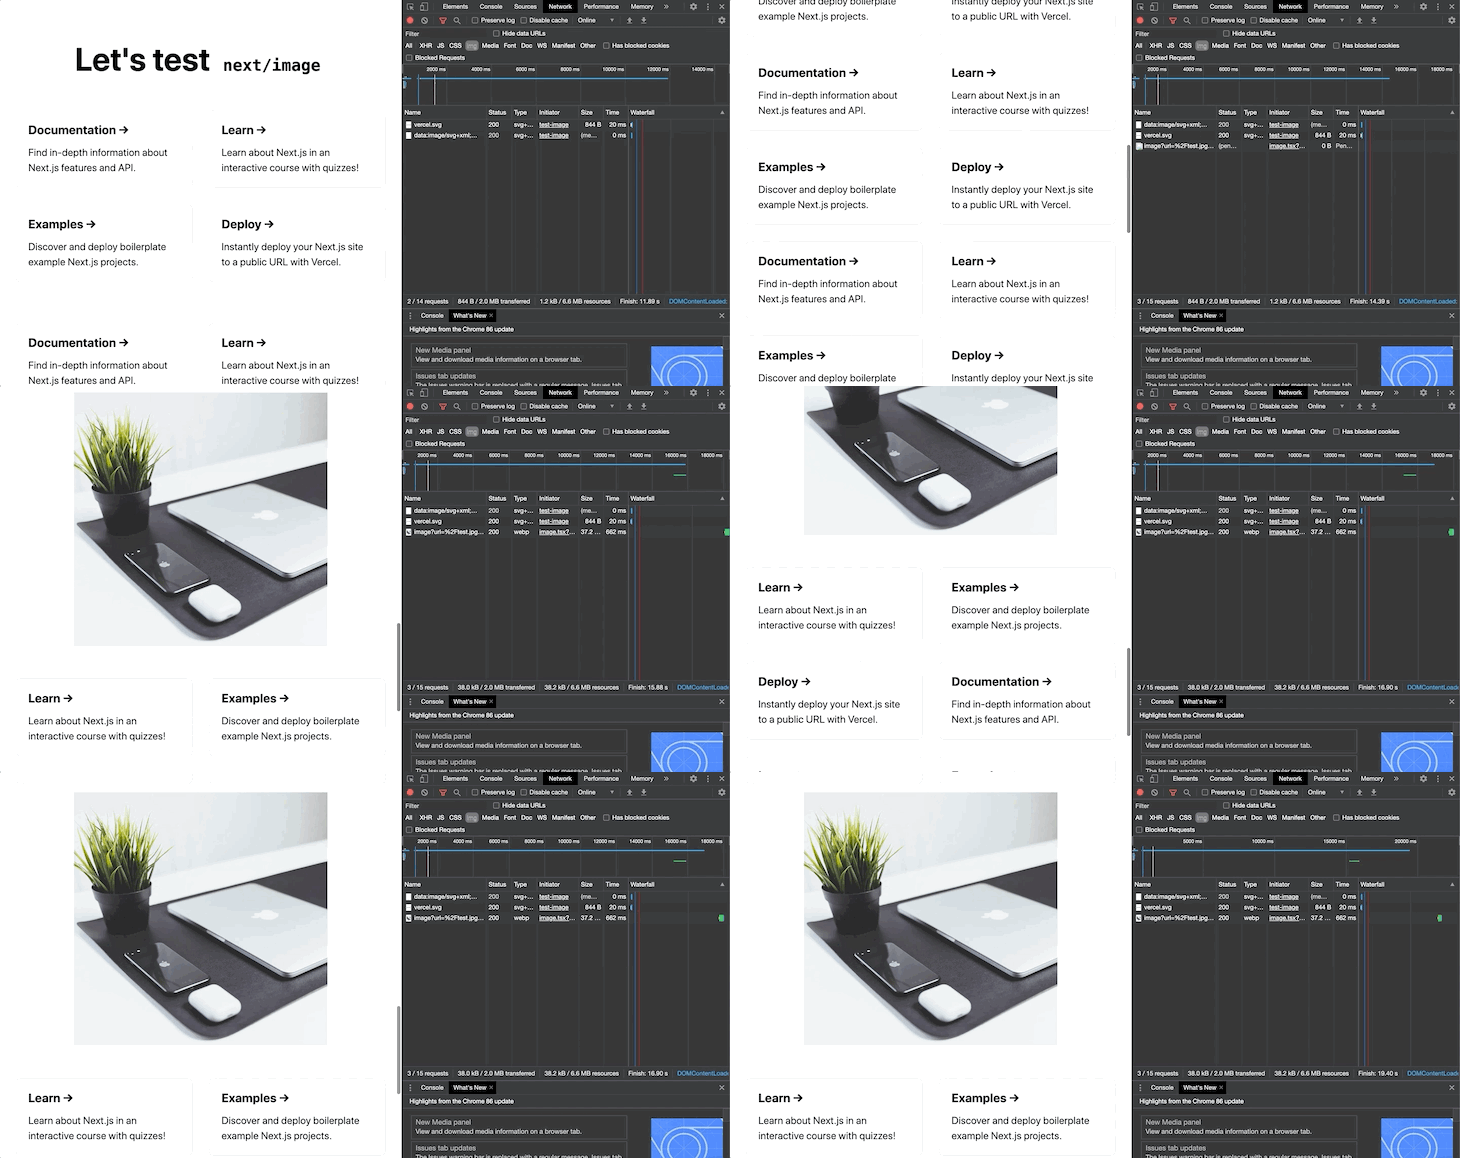
Also, we can see that the render layout does not change even though the image is not completely loaded. Next precalculates the image dimensions to be rendered and maintains a placeholder for the image in the DOM so that there are no layout shifts in the elements present below the image (which is also evident in the gif).
Another thing to note is that the image itself is optimized further, which we can verify from the network tab.

The image format has been changed to the optimized webp format, the dimensions have been modified (1080 by 1170 pixels) from the original image (while preserving the aspect ratio). Due to these optimizations, the size has been reduced from the original to just 37 kB. This leads to better overall performance while working with images on all devices.
According to the Next.js official page:
72% of consumers are more likely to stay on your site if it’s been translated and 55% of consumers said they only buy from e-commerce sites in their native language.
Therefore it is a requisite to support most of the common locales that make up the consumer base for the site. And that has been taken care of in this release for Next.js.
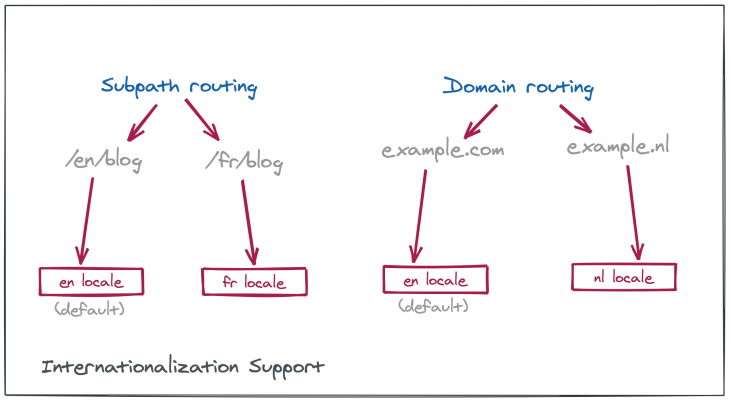
Next.js now supports both of the most common routing strategies, subpath routing (wherein the locale is present as a part of the URL, and all languages are supported on a single domain) and domain routing (wherein a locale is mapped to a top-level domain).
To get started with internationalization, we need to add these lines to the next.config.js:
module.exports = {
  i18n: {
    locales: ['en', 'nl'],
    defaultLocale: 'en'
  }
}
Let us add this internationalization config to our example project by creating a next.config.js file in the root directory. The locales can also be defined as en-US or nl-NL to be more specific in locale support. Once that is done and the dev server is restarted, we can see that the earlier page created by us is also accessible at the route localhost:3001/fr/test-image (the french version of the page). This is the page that will get served to someone who has the default locale set to fr in their browser. We can test the same in Google Chrome by changing the default locale to french from the settings page.
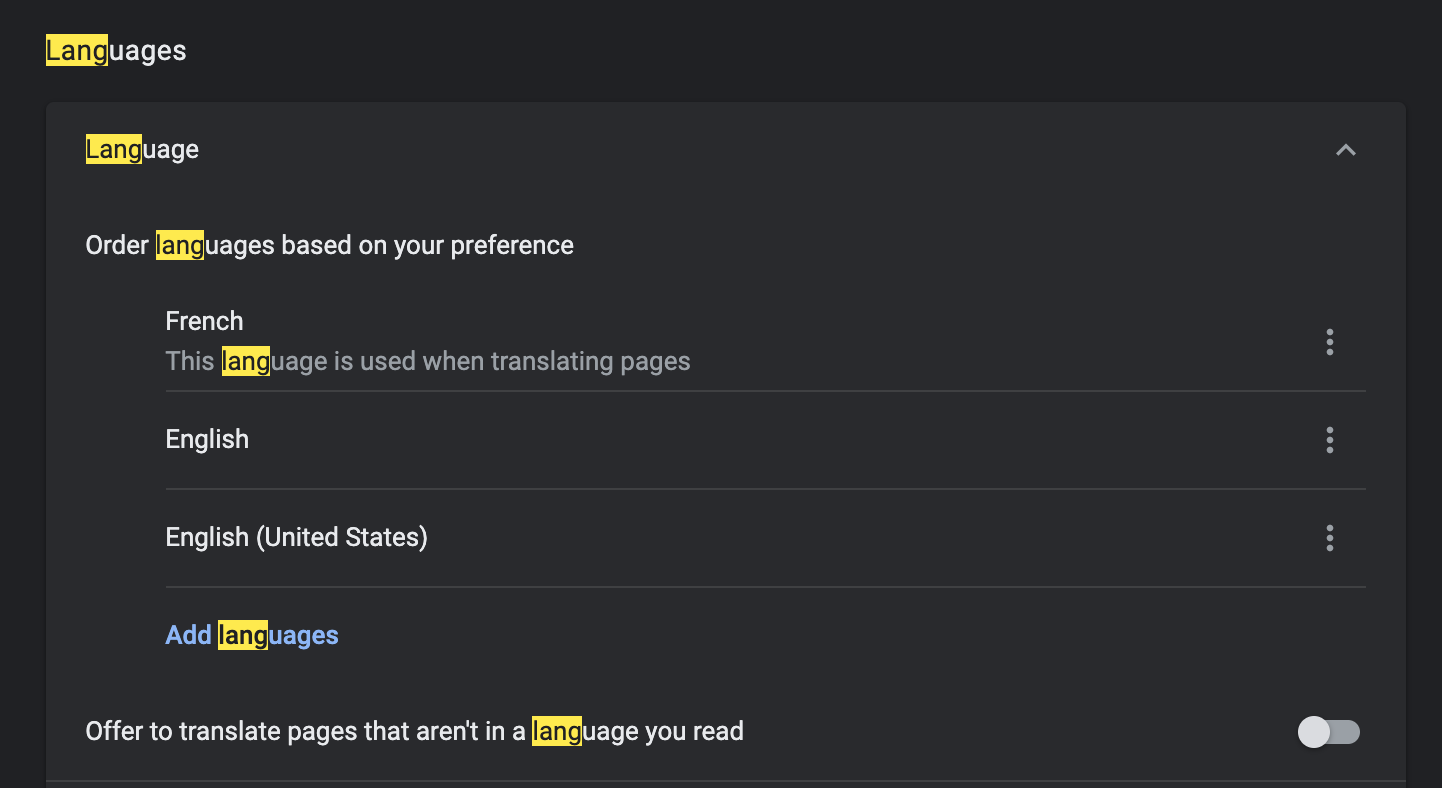 Once that change is saved, visiting the home route redirects to the
 /fr version of the site when refreshed, which means that Next.js automatically detects the default locale on the / route.
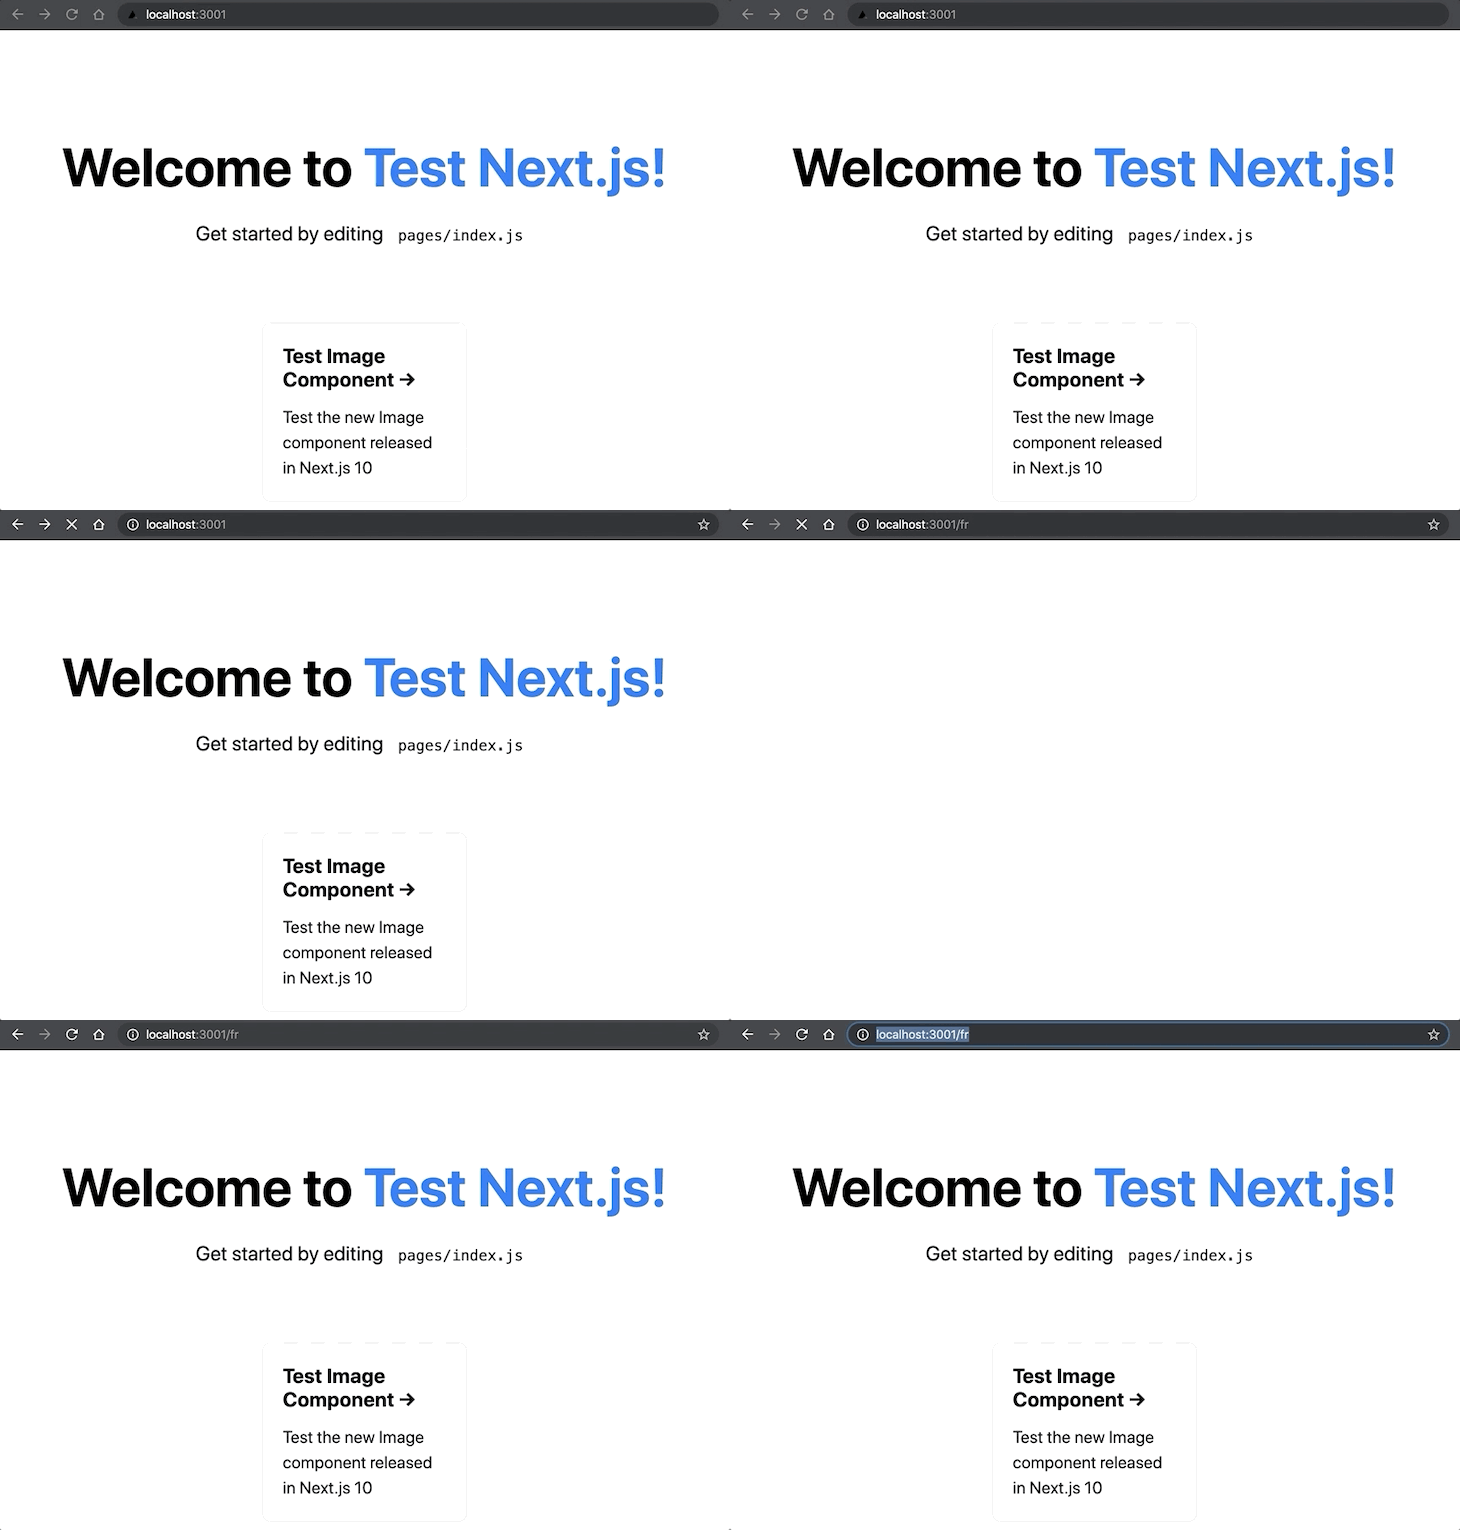
And the reason for that to work so seamlessly is the accept-language header that Chrome sends in the initial request to fetch the page (where french is at the front of the list).
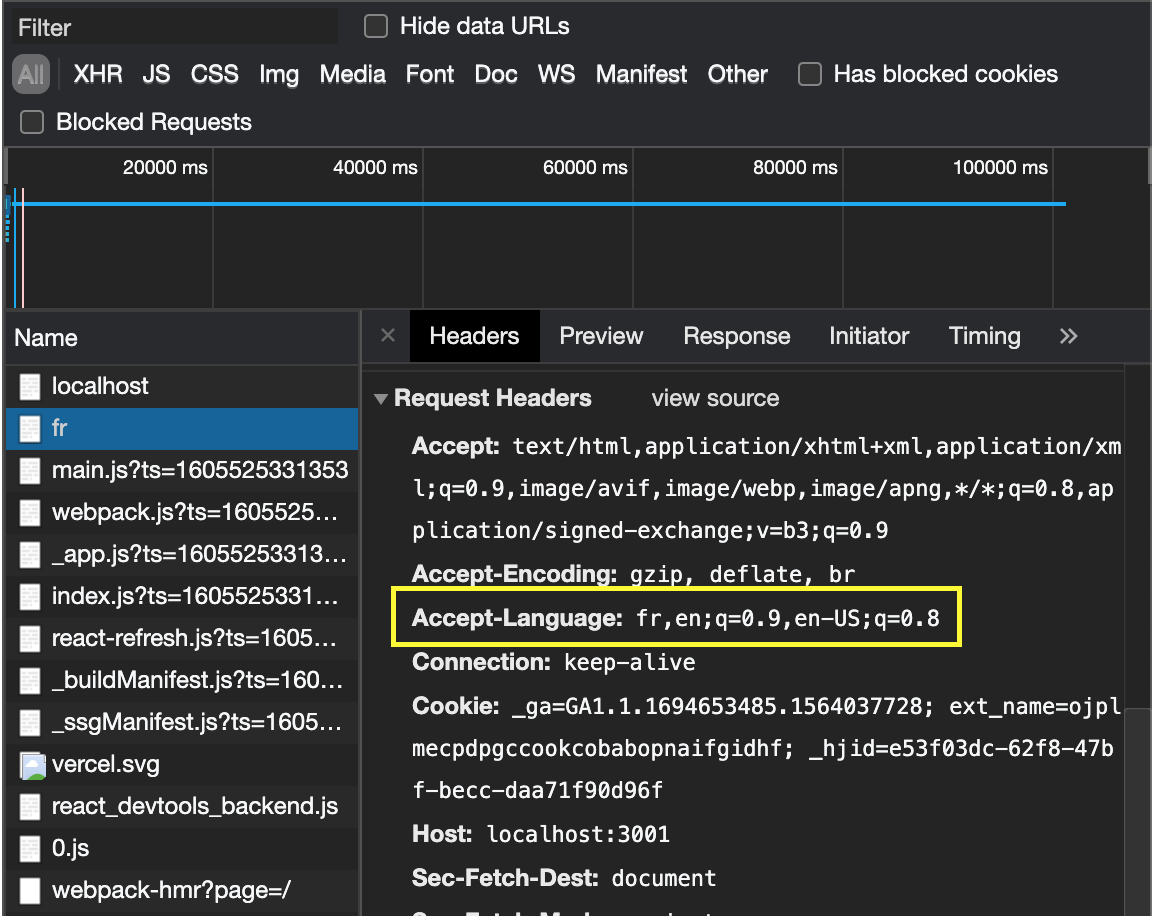
Domain routing, unlike subpath routing, requires some additional configuration like:
module.exports = {
  i18n: {
    locales: ['en', 'fr'],
    domains: [
      {
        domain: 'example.com',
        defaultLocale: 'en'
      },
      {
        domain: 'example.fr',
        defaultLocale: 'fr'
      }
    ]
  }
}
This maps the particular domain to the respective locales. So, whenever a request arrives at the home route /, a redirection will take place to the specified domain corresponding to that locale.
But, what if we need to detect the current locale being used and take specific decisions based on it? That is possible via next/router by making use of the useRouter hook. In the code below, we first read the locale from useRouter and then redirect to that locale using the Link component (which accepts a locale prop):
const router = useRouter();
// store the current locale
const currentLocale = router.locale;

// somewhere in the JSX, pass currentLocale to Link:
<Link
  href="/test-image"
  locale={currentLocale}
>
...
</Link>
By doing this, we see that when the link is clicked on the main page, we are redirected to localhost:3001/fr/test-image instead of the default page as before. On the test-image route, the locale can be accessed in a similar manner and french specific artifacts can be rendered on the screen.
While working with getStaticProps or getServerSideProps similar things can be done using the context object as stated in Next.js documentation:
When pre-rendering pages with getStaticProps or getServerSideProps, the locale information is provided in the context provided to the function.
That is a summary of the end-to-end locale support that is introduced in Next.js 10.

Next.js 10 has collaborated with BigCommerce to release Next.js Commerce which is an all-in-one kit to get started with deploying ecommerce sites with just a few clicks. The best part is, we get all the good parts of Next.js out of the box when we deploy an ecommerce site using Next.js Commerce. Some of them are:
The only prerequisite for deploying a Next.js Commerce site is that we need to have a BigCommerce store configured. But if you do not have that yet, and still want to give this a try, you can head over to the Next.js commerce home page and click on Clone & Deploy which will let you deploy your own instance of the site. These are the steps that are involved:
And that’s it! In no more than 5-7 minutes, we can get a fully functional, Next.js compliant, eCommerce site deployed for a demo showing this setup completion screen.
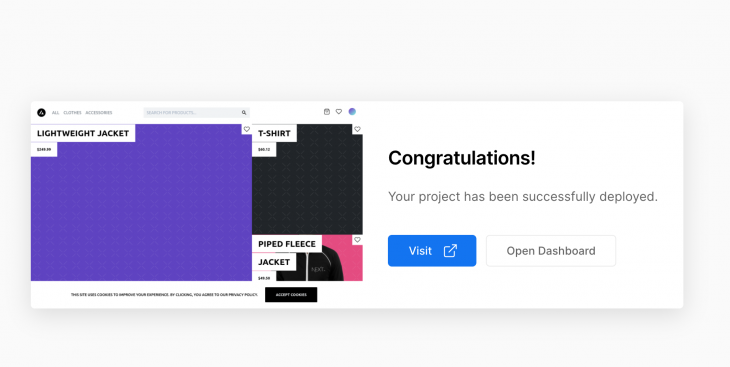
Clicking on Visit from here takes you to the brand new ecommerce site deployed just now and clicking Open Dashboard opens the deployment management page on Vercel.
Next.js now supports React 17 which means that the latest React features like JSX transform can be made use of just by upgrading React and Next to the latest version. In earlier versions of React, during the compilation step, the JSX code got compiled into equivalent React.createElement() code and thus, required React to be in scope in order for it to work. But from React 17 onwards, the JSX transformer would be automatically imported by the compiler. Apart from not requiring to explicitly import React into .jsx files after moving to the latest version, the developer doesn’t need to do anything else. Here’s the command to run in order to upgrade any older project to the latest version of Next.js:
npm install next@latest react@latest react-dom@latest
Any changes made to the getStaticProps and the getServerSideProps functions will automatically re-run them without the need to refresh the page. All the markdown pages created with next/mdx will also support fast refresh.
With this feature, code splitting is now possible for the CSS that is meant for a single component without the need to import the CSS in _app.js. The use cases for these kinds of CSS imports are those styles that are scoped to only a single component and which need not be used anywhere else in the codebase (which is a strong use case for importing styles in the _app file).
While routing dynamically using next/link, we need to only supply the href property instead of both the href and as property which was the norm before:
<Link href="/books/[bookId]" as={`/books/${bookId}`}>
  Harry Potter
</Link>
In the earlier scenarios, the href was a static string which did not change at runtime and which provided a format for the route. On the other hand, the as prop was the dynamically computed route that performed the actual linking. From Next.js 10 onwards, the code would look something like this:
<Link href={`/book/${bookId}`}>
  Harry Potter
</Link>
Where href is the only mandatory parameter and as remains an optional parameter with this description:
Optional decorator for the path that will be shown in the browser URL bar. Before Next.js 9.5.3 this was used for dynamic routes…
In order to make upgrading to newer features and deprecating older ones easy, Next.js is now providing @next/codemod CLI which helps update the entire application and make it compatible (by removing the deprecated code and replacing it with the latest changes) through the single command:
npx @next/codemod <transform> <path>
getStaticPathsSetting the fallback: 'blocking' flag while returning getStaticPaths enables blocking behavior when no static fallback is sent to the browser and the initial request is waited on for pre-rendering. After that initial render, the page would be re-used for subsequent requests.
Redirect supportWhile working with getStaticProps and getServerSideProps, we can now return a new field called redirect like so:
export function getStaticProps() {
  return {
    // returns a redirect to an internal page `/another-page`
    redirect: {
      destination: '/another-page',
      permanent: false
    }
  }
}

export function getServerSideProps() {
  return {
    // returns a redirect to an external domain `example.com`
    redirect: {
      destination: 'https://example.com',
      permanent: false
    }
  }
}
The destination specified in the redirect configuration will be used to redirect the request. We can check this out by visiting the localhost/test-redirect route and see that it takes us to the /fast-refresh page because of the redirect configuration being used there.
notFound supportSimilar to the redirect configuration, upon returning the notFound flag in the response as true, a default 404 page will be returned to the user with a status of 404 without any manual involvement from the developer’s side. This usually comes in handy when running some business logic in the getStaticProps function, it is evident that we do not support this route. Then, instead of displaying that information in a custom UI or writing some redirection logic on the page, we can just return a flag from getStaticProps which takes care of the redirection as shown in the not-found.js component in the codebase:
export async function getStaticProps() {
  let notFound = false;

  // perform some business logic here.
  // Got to know that the page need not show up
  notFound = true;

  return {
    notFound: notFound
  }
}
All in all, this release packs in loads of major improvements in both the developer as well as the user experience. All these major enhancements and the fact that it is a non-breaking major release makes Next.js 10 a must-try. So if you are still on the earlier versions of Next.js, now might be the right time to upgrade!
Debugging Next applications can be difficult, especially when users experience issues that are difficult to reproduce. If you’re interested in monitoring and tracking state, automatically surfacing JavaScript errors, and tracking slow network requests and component load time, try LogRocket.
LogRocket captures console logs, errors, network requests, and pixel-perfect DOM recordings from user sessions and lets you replay them as users saw it, eliminating guesswork around why bugs happen — compatible with all frameworks.
LogRocket's Galileo AI watches sessions for you, instantly identifying and explaining user struggles with automated monitoring of your entire product experience.
The LogRocket Redux middleware package adds an extra layer of visibility into your user sessions. LogRocket logs all actions and state from your Redux stores.


Modernize how you debug your Next.js apps — start monitoring for free.
Hey there, want to help make our blog better?
Join LogRocket’s Content Advisory Board. You’ll help inform the type of content we create and get access to exclusive meetups, social accreditation, and swag.
Sign up now
Discover how to use Gemini CLI, Google’s new open-source AI agent that brings Gemini directly to your terminal.

This article explores several proven patterns for writing safer, cleaner, and more readable code in React and TypeScript.

A breakdown of the wrapper and container CSS classes, how they’re used in real-world code, and when it makes sense to use one over the other.

This guide walks you through creating a web UI for an AI agent that browses, clicks, and extracts info from websites powered by Stagehand and Gemini.