Before now, it was impossible to configure a Vue.js application using Deno. But now, that’s changed recently, thanks to the introduction of vno.
In this article, I’ll explain what vno is, the powerful features it offers, how to install Deno, and how to configure a new Vue app using vno.
According to one of vno’s creators, Andrew Rehrig, “Vno is a parser, compiler, and bundler and can be easily accessed through an integrated CLI tool that will either create an entire project from scratch, including an example file structure and components or optimize an existing Vue project with a few simple commands.”
Unlike Vue CLI, which uses Node.js and its packages (Node modules) to configure and bundle your Vue application, vno sets to bring this same experience of Vue CLI to Deno.
Don’t know what Deno is? Check out this friendly introduction.
This tutorial assumes the following prerequisites:
The first required step is to install Deno, and we can do this easily with scoop by running:
scoop install deno
Once this is completed, run deno -V. If the installation was successful, you should see the version of Deno you’d put into your console/command line, like below:
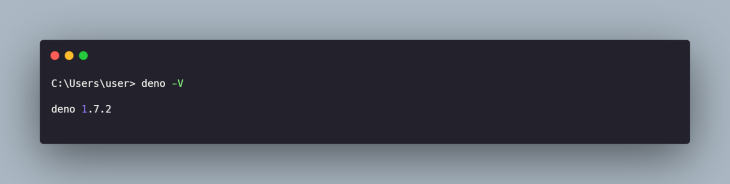
Note: Installing vno requires Deno version 1.7 or above. If you’ve installed a former version of Deno, you can update to the latest version by running:
deno upgrade
The latest stable version of vno by can be installed by running:
deno install --allow-net --unstable -f -n vno https://deno.land/x/vno/install/vno.ts
Once this process is completed, you should see an output asking you to add .deno\bin to PATH, along with the command to do so (this command varies, depending on your device operating system). To do this on a Windows system, run:
set PATH=%PATH%;C:\Users\<PC-Username>\.deno\bin
Similar to Vue CLI, creating a new application is as easy as running:
vno create new-app
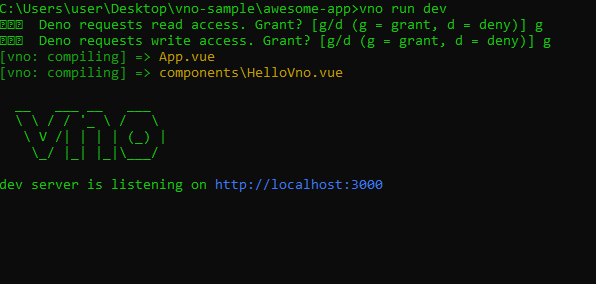
Once this process is completed, let’s CD into our new app directory and serve the app:
cd new-app
vno run dev
You should see something like this:
After visiting http://localhost:3000, you should see the following page rendered on your browser:
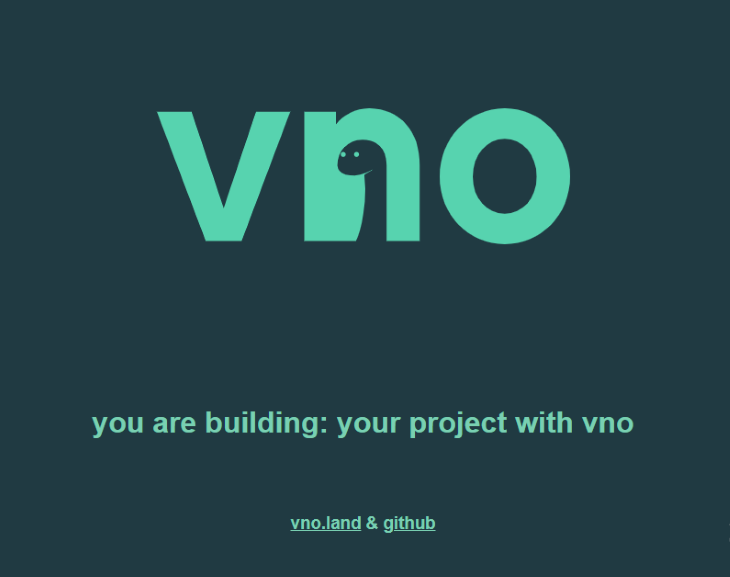
vno run dev or vno build commandApp.vue file serves as your app entry point.Building your vno app is simple and fast. First, run the following command:
vno build
This command will generate a new vno-build folder, which would usually contain a build.js and style.css file.
Once these files are generated, create a new index.html file that links the build.js and style.css together, like below:
<!DOCTYPE html>
<html lang="en">
  <head>
    <meta charset="utf-8" />
    <meta http-equiv="X-UA-Compatible" content="IE=edge" />
    <meta name="viewport" content="width=device-width,initial-scale=1.0" />
    <link rel="stylesheet" href="./style.css" />
    <title>your project</title>
  </head>
  <body>
    <div id="app">
      <!-- built files will be auto injected -->
    </div>
    <script type="module" src="./build.js"></script>
  </body>
</html>
Now that the build files are linked together, you can go ahead to run the index.html file. You should see the same output as when we were running our app via the dev server.
When you run the vno build command, vno recursively walks through your file structure, locates all .vue files, and begins the parsing process. During this process, individual components are isolated and saved, and all necessary connections between each file are accounted for so that any error that might occur during the build process will be in proper order.
It is also possible to integrate vno in your application without installing the vno CLI.
You can import vno into your application with a URL like:
import { Factory } from 'https://deno.land/x/vno/dist/mod.ts';
const vno = new Factory();
await vno.build();
If you have your vno.config.js file already set up, the API will automatically search for it and apply it to your application. But without a vno.config.js file, you can input the object directly into the Factory instance, like below:
import { Factory } from 'https://deno.land/x/vno/dist/mod.ts';

const vno = Factory.create({
  root: "App",
  entry: "./"
  vue: 3,
  options: {
    port: 3000
  }
})
await vno.build();
The vno.build() method is the same as the vno build command, as it will also perform a build on the entire application and compile it to a vno-build directory as one javascript file and one CSS file.
In this article, I introduced you to the world of vno and Deno and showed you how to scaffold a new Vue application using vno.
Debugging Vue.js applications can be difficult, especially when users experience issues that are difficult to reproduce. If you’re interested in monitoring and tracking Vue mutations and actions for all of your users in production, try LogRocket.

LogRocket lets you replay user sessions, eliminating guesswork by showing exactly what users experienced. It captures console logs, errors, network requests, and pixel-perfect DOM recordings — compatible with all frameworks.
With Galileo AI, you can instantly identify and explain user struggles with automated monitoring of your entire product experience.
Modernize how you debug your Vue apps — start monitoring for free.
Hey there, want to help make our blog better?
Join LogRocket’s Content Advisory Board. You’ll help inform the type of content we create and get access to exclusive meetups, social accreditation, and swag.
Sign up now
This guide walks you through creating a web UI for an AI agent that browses, clicks, and extracts info from websites powered by Stagehand and Gemini.

This guide explores how to use Anthropic’s Claude 4 models, including Opus 4 and Sonnet 4, to build AI-powered applications.

Which AI frontend dev tool reigns supreme in July 2025? Check out our power rankings and use our interactive comparison tool to find out.

Learn how OpenAPI can automate API client generation to save time, reduce bugs, and streamline how your frontend app talks to backend APIs.

