In this article, you’ll learn how to pick documents and files of any format from a user’s device in a React Native application for iOS and Android. Because React Native does not provide any such feature out of the box, we will use third-party library react-native-document-picker to achieve this.

The Replay is a weekly newsletter for dev and engineering leaders.
Delivered once a week, it's your curated guide to the most important conversations around frontend dev, emerging AI tools, and the state of modern software.
The library internally uses UIDocumentPickerViewController in iOS and Intent.ACTION_GET_CONTENT for Android. It is also available for Windows, but we’ll focus only on mobile applications in this article.
UIDocumentPickerViewController is a view controller provided by iOS to pick documents on a user’s device, whereas in Android, ACTION_GET_CONTENT is the Intent used to pick any type of data from a user’s device.
React-native-document-picker wraps UIDocumentPickerViewController and ACTION_GET_CONTENT Intent at the native layer. We only need to install it as a dependency in our project before using it directly on the JavaScript layer without touching native code.
We will build this:


You can check out the complete code for this project here.
To understand how we can pick documents in React Native, let’s create a simple React Native project that will have a button that, when pressed, will open the native document picker view. After selecting one or multiple documents, it will return a result that will have different metadata about the document the user has selected.
We will start by creating a new React Native project. To initialize a React Native project, go to your preferred terminal window and type the below command:
react-native init <Project_Name_Here>
Note: As of writing this, the latest version of React Native is 0.67, so I will be using this version
Once the project is created, open it in your preferred code editor and remove all the placeholder code in App.js, which should now look something like this:
import { StyleSheet, Text, SafeAreaView } from 'react-native';
import React from 'react';
const App = () => {
  return (
    <SafeAreaView>
      <Text>Document Picker</Text>
    </SafeAreaView>
  );
};
export default App;
const styles = StyleSheet.create({});
Let’s add some style and build a simple button that triggers our document-picking logic. After adding these changes, App.js will look like this:
import { StyleSheet, Text, SafeAreaView, Button } from 'react-native';
import React from 'react';

const App = () => {
  return (
    <SafeAreaView style={styles.container}>
      <StatusBar barStyle={'dark-content'} />
      <Button title="Select 📑"/>
    </SafeAreaView>
  );
};

export default App;

const styles = StyleSheet.create({
  container: {
    flex: 1,
    backgroundColor: '#fff',
    alignItems: 'center',
    justifyContent: 'center',
  }
});
Our UI will now look like this:
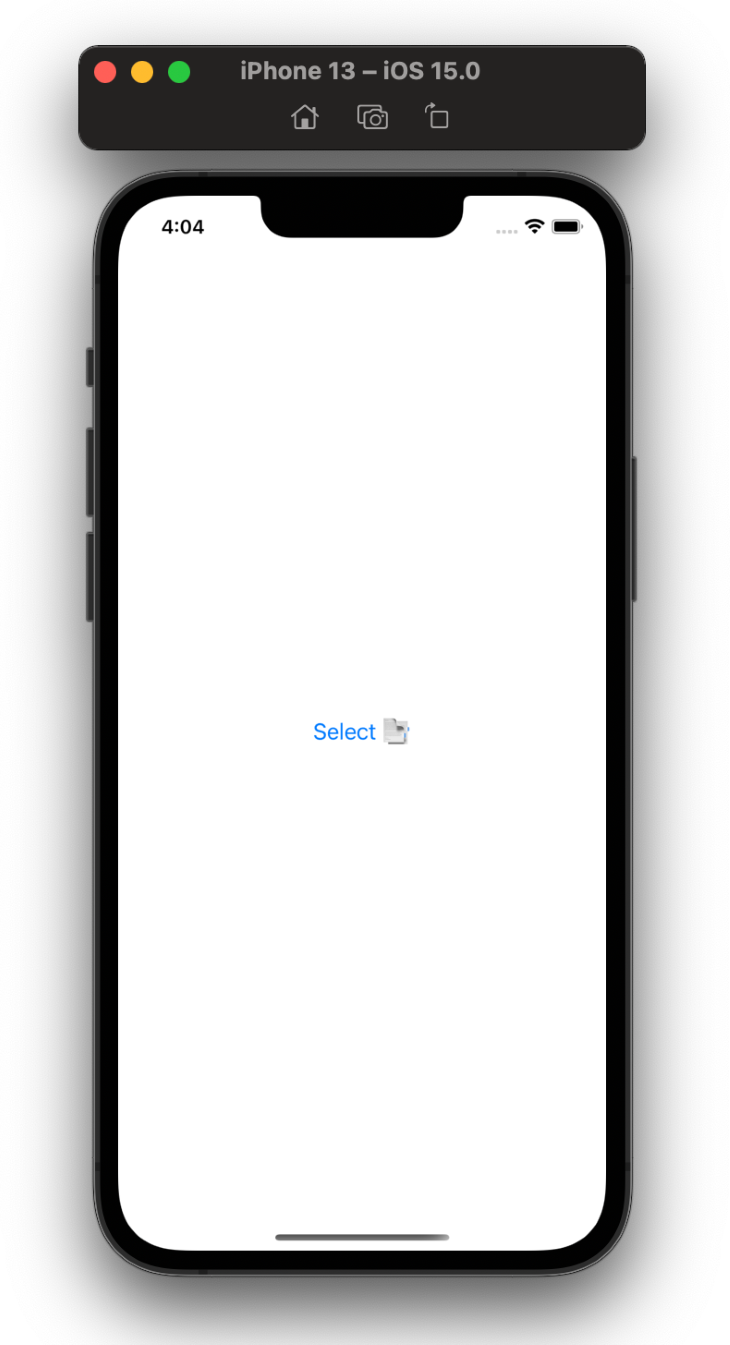
Now that our UI code is almost done, let’s implement the functionality so that when the user clicks Select 📑, a native document picker window appears. The user then selects a document from the device, and the local URI of the selected file is displayed on the screen.
To implement this, install the react-native-document-picker library by installing the npm dependency. For iOS, we need to install the pod dependencies.
Open the terminal in the root of your project and code the following:
yarn add react-native-document-picker

------------ OR --------------

npm i react-native-document-picker
Once the JS dependencies are installed, install the pod dependencies for iOS:
cd iOS
pod install
Now the libraries are installed. Next, we need to rebuild our iOS and Android projects to compile the dependency files. Run the below commands to rebuild them:
npx react-native run-ios
npm react-native run-android
Now we need to implement the logic to open the document picker and select a file. To do this, add the below code to your App.js file.
const App = () => {
  const [fileResponse, setFileResponse] = useState([]);

  const handleDocumentSelection = useCallback(async () => {
    try {
      const response = await DocumentPicker.pick({
        presentationStyle: 'fullScreen',
      });
      setFileResponse(response);
    } catch (err) {
      console.warn(err);
    }
  }, []);

  return (
    <SafeAreaView style={styles.container} >
      <StatusBar barStyle={'dark-content'} />
      {fileResponse.map((file, index) => (
        <Text
          key={index.toString()}
          style={styles.uri}
          numberOfLines={1}
          ellipsizeMode={'middle'}>
          {file?.uri}
        </Text>
      ))}
      <Button title="Select 📑" onPress={handleDocumentSelection} />
    </SafeAreaView>
  );
};
Note: If you are using an iOS simulator >/= iOS v15, you may not be able to select any file from the
PickerView, as some of the APIs that this library uses have been deprecated.In iOS 15, you can either try running a simulator equal or below iOS v13.7, or have a look at this open issue. Otherwise, this method will work fine on devices running iOS 15.
Here, we have added a state variable fileResponse, which will store all the responses we get from the Document Picker view after selecting any file.
We added the helper function handleDocumentSelection, which is called when a user taps the Select 📑 button. We have wrapped the call to DocumentPicker in a try...catch block because if the module throws any error, then we can simply log it in the console.
We’ve also called the DocumentPicker.pick method, which is used to pick files from the device and returns a DocumentPickerResponse. You can also see we have used presentationStyle: 'fullScreen'. This is an option we can use in iOS so it knows to open the UIDocumentPickerViewController. The possible options for this property are:
fullScreenpageSheetformSheetoverFullScreenThe default value is pageSheet, but we used fullScreen to open the view in full-screen mode. Once we receive a response from the module, we set the same DocumentPickerResponse to our fileResponse state.
Finally, we iterate over the fileResponse array and render the URI of the file in a <Text> component.
Our project should look like this:

We’ve now implemented selecting single files of any file extension. But assume a use case where you want a user to be able to select only a specific file format, such as PDF files.
In the config object of the pick method, we have a property called type, which takes an array of DocumentPicker.types. We can let the PickerController know which types of files can be selected.
If we want a user to only be able to select PDF files, then we pass the below code:
type: [DocumentPicker.types.pdf]
We can import just the types object from this library:
import DocumentPicker, { types } from 'react-native-document-picker';
Then we can directly write as:
type: [types.pdf]
We can also pass multiple file formats here, as it is an array, like so:
type: [types.pdf, types.docx]
So, let’s update the config of our pick method and see if this works.
const response = await DocumentPicker.pick({
  presentationStyle: 'fullScreen',
  type: [types.pdf],
});
Now, our user will only be able to select PDF files.

Now that we are only allowing a user to select a single PDF file, assume a scenario where you want a user to be able to select multiple PDFs at once.
For this, we have a boolean property called allowMultiSelection, which lets the picker know that users can select multiple files at once.
Add this in our config object, and our method call will look like this:
const response = await DocumentPicker.pick({
  presentationStyle: 'fullScreen',
  type: [types.pdf],
  allowMultiSelection: true,
});
That’s it! By adding this property, we enable users to select multiple documents at once. The response of this call will be an array of DocumentPickerResponse just like before. The difference is that now this array may contain multiple values. Because our response structure is the same, we don’t need to change our handler code.
Here’s what it looks like:

We’ve now implemented document-picking functionality into our React Native apps. Now that we have the file URI, we can either display the document in-app or upload it to our backend or S3 bucket according to our business needs.
Thanks to awesome open-source work and the library react-native-document-picker, it is easy to integrate file-picking functionality into our React Native applications. Thank you for reading!

LogRocket's Galileo AI watches sessions for you and and surfaces the technical and usability issues holding back your React Native apps.
LogRocket also helps you increase conversion rates and product usage by showing you exactly how users are interacting with your app. LogRocket's product analytics features surface the reasons why users don't complete a particular flow or don't adopt a new feature.
Start proactively monitoring your React Native apps — try LogRocket for free.

useEffect breaks AI streaming responses in ReactSee why useEffect breaks AI streaming in React, and how moving stream state outside React fixes flicker and stale updates.

A real-world debugging session using Claude to solve a tricky Next.js UI bug, exploring how AI helps, where it struggles, and what actually fixed the issue.

CSS wasn’t built for dynamic UIs. Pretext flips the model by measuring text before rendering, enabling accurate layouts, faster performance, and better control in React apps.

Why do real-time frontends break at scale? Learn how event-driven patterns reduce drift, race conditions, and inconsistent UI state.
Would you be interested in joining LogRocket's developer community?
Join LogRocket’s Content Advisory Board. You’ll help inform the type of content we create and get access to exclusive meetups, social accreditation, and swag.
Sign up now

