If you’ve stumbled upon this article, chances are you’re familiar with Flask and you’re working on adding a feature to your web app that takes quite a few seconds (if not more) to execute. Maybe you want to know if there is a better or faster way to do so.

Some common examples include:
These types of tasks block the request/response cycle until it completes, meaning the user would need to wait a while.
To offload long-running tasks like these, you can use Celery, which provides a mechanism to offload these tasks to separate worker threads.
Celery communicates via messages, usually using a broker to mediate between clients and workers. To initiate a task, the Celery client adds a message to the queue, and the broker then delivers that message to a worker.
The most commonly used brokers are Redis and RabbitMQ. We’ll set up a Redis server locally to make use of this mechanism.
Additionally, intermediate knowledge of Python and Flask is expected. Everything else will be explained as the article progresses.
Download the starter project and set it up using the following commands:
git clone -b step_1 https://github.com/raunaqness/flask_celery_tutorial.git
cd flask_celery_tutorial

# make virtualenv
virtualenv v
source v/bin/activate

# install dependencies
pip install -r requirements.txt

# start server
export FLASK_APP=app; python -m flask run
Open http://127.0.0.1:5000/ in your browser, and, if everything works well, you should be able to see “Hello, world!”.
Next, let’s add a route that will contain a Button that, when clicked, will trigger a mock long-running task, such as sending an email, generating a PDF report, calling a third-party API, etc.
We’ll mock this API by using time.sleep(), which will block the running of the application for 15 seconds.
Open app.py and add the following block of code.
# route that will show will simply render an HTML template
@app.route("/tasks")
def tasks():
    return render_template("tasks.html")

# route that will execute a long-running task
@app.route("/long_running_task")
def long_running_task():
    # time in seconds
    time_to_wait = 15

    print(f"This task will take {time_to_wait} seconds to complete...")
    time.sleep(time_to_wait)

    return f"<p>The task completed in {time_to_wait} seconds!"
Make sure to import the time module by adding the following, along with the import statements at the top of the file:
import time
Next, create a directory named templates in the root of the project. Inside that, create a new file named tasks.html and add the following:
<!DOCTYPE html>
<html>

<head>
    <title>Tasks</title>
    <meta charset="utf-8" />
    <meta name="viewport" content="width=device-width, initial-scale=1" />

    <!-- Bootstrap CSS -->
    <link href="https://cdn.jsdelivr.net/npm/[email protected]/dist/css/bootstrap.min.css" rel="stylesheet"
        integrity="sha384-1BmE4kWBq78iYhFldvKuhfTAU6auU8tT94WrHftjDbrCEXSU1oBoqyl2QvZ6jIW3" crossorigin="anonymous" />
</head>

<body>
    <script src="https://cdn.jsdelivr.net/npm/[email protected]/dist/js/bootstrap.bundle.min.js"
        integrity="sha384-ka7Sk0Gln4gmtz2MlQnikT1wXgYsOg+OMhuP+IlRH9sENBO0LRn5q+8nbTov4+1p"
        crossorigin="anonymous"></script>

    <div>
        <a class="btn btn-primary" href="/long_running_task" role="button">Trigger Long Running Task</a>
    </div>
</body>

</html>
Your project structure should look something like this:
code
├── __pycache__
│   └── app.cpython-38.pyc
├── app.py
├── requirements.txt
└── templates
    └── tasks.html

2 directories, 4 files
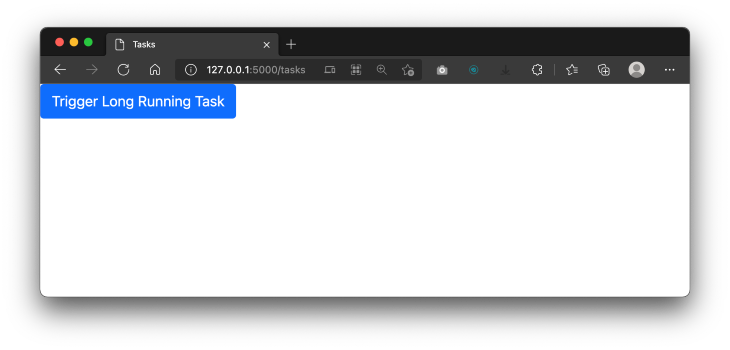
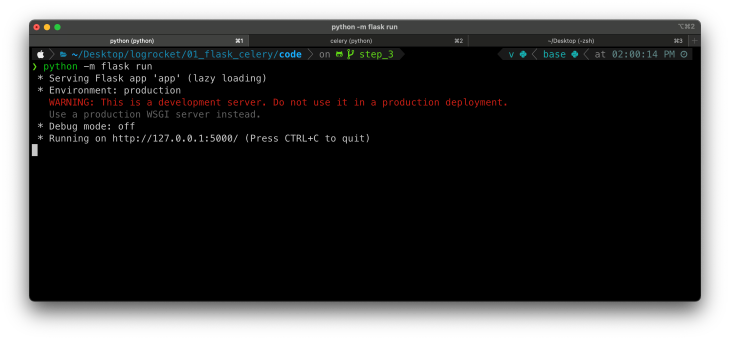
Back in the terminal, stop and restart the Flask server again, then open http://127.0.0.1:5000/tasks in your browser. You should see the tasks.html page rendered with a single button.
Now, when you click on the Trigger Long-Running Task button, it will execute to the route /long_running_task, which will execute the function def long_running_task() as defined in the app.py file.
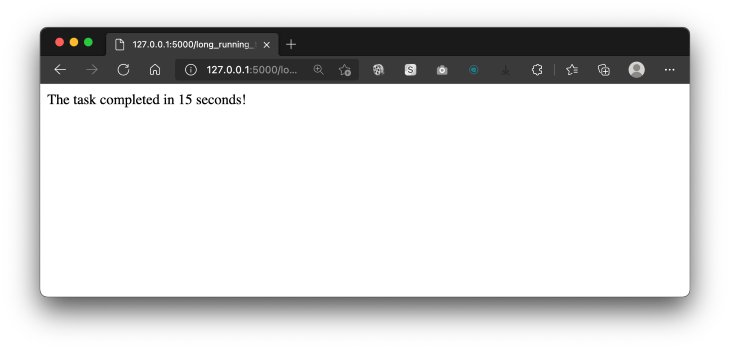
Notice that the page will be in the “loading” state for 15 seconds, so your application is stuck in that state and cannot perform any other operation until the current one is complete.
After 15 seconds, you should see the task completed, and the expected response in the browser.
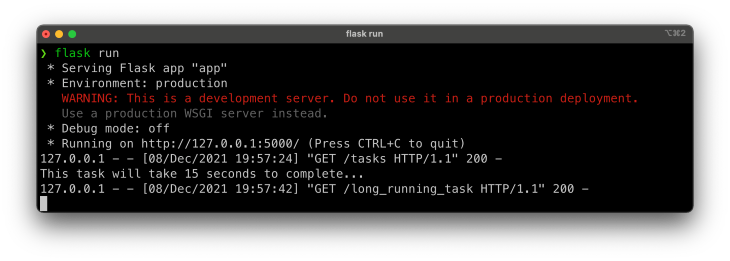
Also, note that you’ll be able to see the print statements in the terminal window while the long-running task is being executed.
Now, let’s see how we can use Celery to run this task in the background.
In case you had any problems, you should be able to see the current state of your project here.
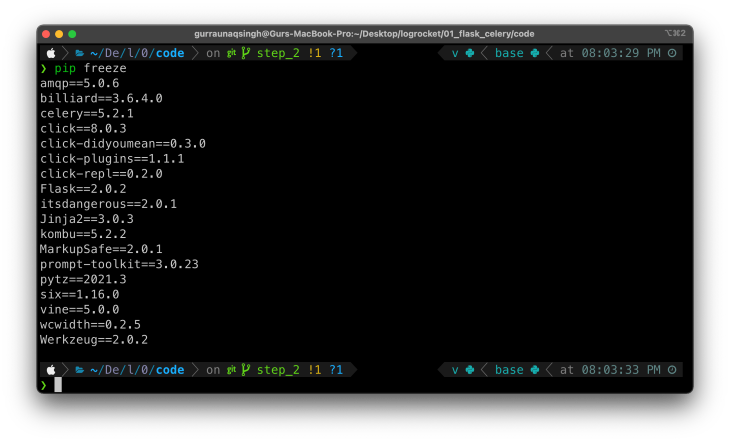
You have already installed the Celery python package in the initial setup. To confirm the installation of the package, you can run pip freeze in your terminal window with the virtualenv activated to see all the packages installed.
Next, you need to install Redis Server on your local machine. You can find the official installation instructions here.
Now, let’s set up Celery.
Create a new file in the project root called celery_utils.py. This will be used to initialize the Celery app instance, similar to how we have a Flask app initialized in app.py. Add the following code to the file:
from celery import Celery

# celery config
CELERY_BROKER_URL = 'redis://localhost:6379'
CELERY_RESULT_BACKEND = 'redis://localhost:6379'

# initialize celery app
def get_celery_app_instance(app):
    celery = Celery(
        app.import_name,
        backend=CELERY_BROKER_URL,
        broker=CELERY_BROKER_URL
    )
    celery.conf.update(app.config)

    class ContextTask(celery.Task):
        def __call__(self, *args, **kwargs):
            with app.app_context():
                return self.run(*args, **kwargs)

    celery.Task = ContextTask
    return celery
Here’s a brief explanation:
get_celery_app_instance, is defined, which will return an instance of Celery, which in turn requires the following parameters for initialization:
name: this is the name of the Celery workerbackend: this is the URL of the backend to be used, which, in this case, is Redis, and the host URL is defined with variable CELERY_BROKER_URLbroker: similar to the backend, it’s required to define the URL of the broker, which is also the Redis server<explain ContextTask><return instance of celery app>Next, let’s use Celery to define a long-running task. Make the following changes in app.py:
Add the following near the import statements.
# importing function to get celery app instance
from celery_utils import get_celery_app_instance
Add the following after the statements initializing the Flask app:
# celery app instance
celery = get_celery_app_instance(app)
Next, add the following block of code toward the bottom of the file:
# celery tasks
@celery.task
def sending_email_with_celery():
    print("Executing Long running task : Sending email with celery...")
    time.sleep(15)
    print("Task complete!")
Here, we simply defined a function named sending_email_with_celery(), which will mock the functionality of sending an email that could take 15 seconds to complete.
However, to make this function run as a background task, the decorator @celery.task is added on the line just above the function definition.
If you’re not familiar with decorators in Python, here’s a good article to get started.
Finally, define a route to trigger this function:
# route to trigger celery task
@app.route("/long_running_task_celery")
def long_running_task_celery():
# function.delay() is used to trigger function as celery task
sending_email_with_celery.delay()
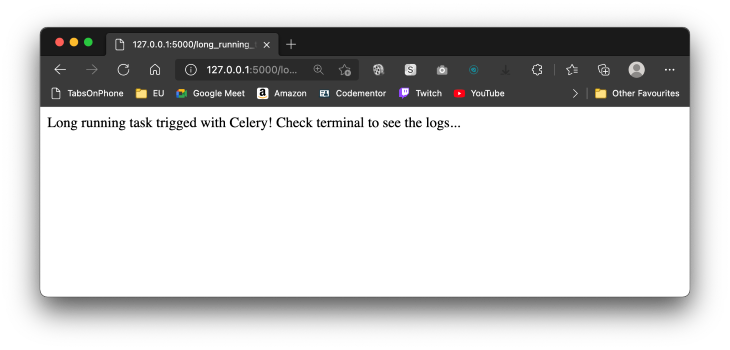
return f"Long running task triggered with Celery! Check terminal to see the logs..."
In this code block, we define the route /long_running_task_celery, which triggers a function as a Celery task. Notice that the function is called by using the delay() method.
This indicates that we want to run this function as a Celery task, not as a regular Python function.
Finally, to see this in action, let’s add another button in tasks.html to trigger this function.
<div>
    <a class="btn btn-primary" href="/long_running_task" role="button">Trigger Long Running Task</a>
</div>

<!-- new code -->
<div>
    <a class="btn btn-primary" href="/long_running_task_celery" role="button">Trigger Long Running Task with Celery</a>
</div>
Note: Here’s the GitHub repo for this section.
Time to see it in action!
Make sure you have the Flask server running in a terminal window.
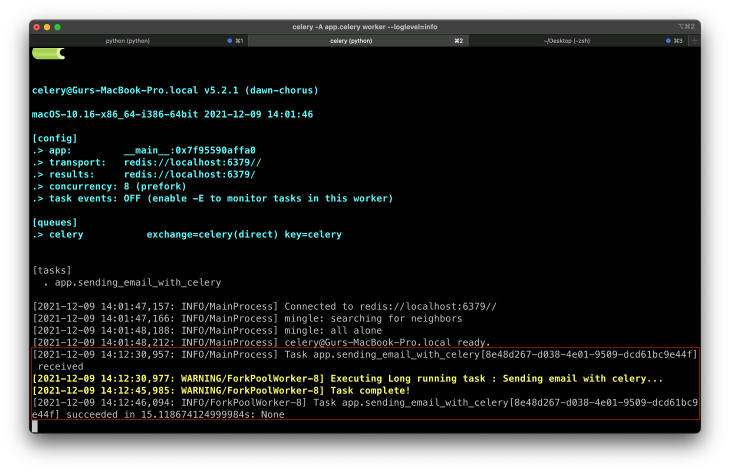
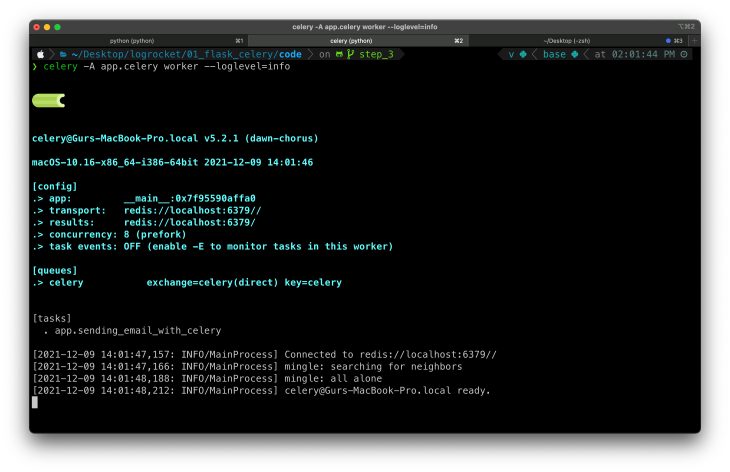
In another terminal window, cd to the root of the project and run the following command to start the Celery worker.
celery -A app.celery worker --loglevel=info
Open http://127.0.0.1:5000/tasks in your browser, where you should see two buttons:
We’ve already seen that if we trigger a long-running function with Python, the server is stuck until the execution of that function is complete.
Now, if you click on the button Trigger Long-Running Task with Celery, you’ll see that the page instantly redirects to the route /long_running_task_celery, and you’ll see an expected output in the browser window.
In the background, the execution of the function is being done by Celery. To see the logs of the function running, switch to the terminal window where you started the Celery worker. It should look something like this:
That’s it! You now know how to set up and run long-running tasks with Celery in your Flask web application. Here’s a quick recap. To run a function as a Celery task, you need to:
Install LogRocket via npm or script tag. LogRocket.init() must be called client-side, not
server-side
$ npm i --save logrocket

// Code:

import LogRocket from 'logrocket';
LogRocket.init('app/id');
// Add to your HTML:

<script src="https://cdn.lr-ingest.com/LogRocket.min.js"></script>
<script>window.LogRocket && window.LogRocket.init('app/id');</script>
@celery.task on top of the function definitionfunction_name.delay() method
Learn how to protect full-stack projects from NPM supply chain attacks with a practical security checklist.

Explore 15 essential MCP servers for web developers to enhance AI workflows with tools, data, and automation.

Learn how contrast-color() automatically picks accessible text colors using native CSS, without JavaScript.

Learn how to build a harness-style AI workflow using Claude Code with specialized Dev, QE, and Ops subagents, gated handoffs, MCP telemetry, and LEARNING.md.
Hey there, want to help make our blog better?
Join LogRocket’s Content Advisory Board. You’ll help inform the type of content we create and get access to exclusive meetups, social accreditation, and swag.
Sign up now

