Docker is a tool used to create containers for applications. These containers are used to package applications so they can run smoothly in any environment (or operating system) without need for any special setup or configuration.

Sail provides your Laravel application with a Docker development environment. With it, you don’t have to manually create a Docker container for your Laravel application. It will provide you with a local development environment consisting of PHP, MySQL, and Redis by default, although you can select the specific services you want. This means that Laravel developers no longer have to do any special configuration (like installing PHP, MySQL, a local server, etc.) on their operating system to start building a Laravel application. With Sail, they can hit the ground running.
Another advantage Sail presents is that devs do not have to worry about having the correct versions of the config software installed on their system. With a Sail container, if there is a break due to compatibility, you can simply delete the container and create a new one, all contained away from your local environment and leaving no footprints on it.
If you are collaborating with other developers on a project, Sail will make sharing easy and straightforward, as there’ll be no need to take the operating systems the other developers use into consideration.
Sail follows a long list of attempts at a Laravel development environment like Homestead, Valet, Laragon, Takeout, Laradock, and Vessel.
The entire package is made up of two files: a docker-compose.yml file that holds your application’s Docker containers, and a Sail script that provides you with a CLI for interacting with these containers. The docker-compose.yml file is located in the root directory of your project while the Sail script is located in your vendor/bin directory.
In this article, we will learn how to install and make use of Laravel Sail. We’ll create a new project and take a close look at some essential Sail commands.
Sail’s only requirement is that Docker is installed on the operating system on which it is to be run.
If you use Windows, you’ll need to install and enable Windows Subsystem for Linux 2 (WSL2). It will allow you run Linux binary executables natively on your Windows OS. Also, make sure to configure Docker Desktop to use the WSL2 backend.
Otherwise, no Docker experience is required.
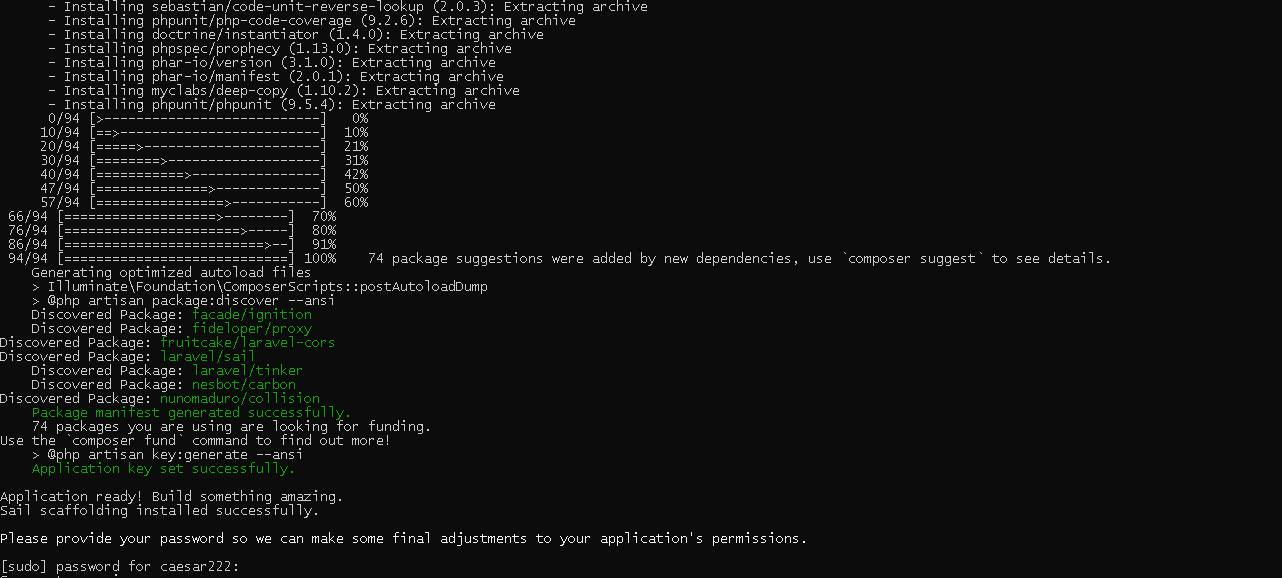
Every new Laravel application comes with Sail out of the box. It only requires one simple command to spin it up.
Run the following command to create a new Laravel application:
curl -s https://laravel.build/new-sail-application | bash
The command above creates the project in a new directory called new-sail-application. Feel free to rename that with whatever you want your project to be named.

Next, navigate into the project directory:
cd new-sail-application
To kickstart Sail, run the following command:
./vendor/bin/sail up
You can also install Sail in an existing application using Composer, assuming your local development environment is set up to use it:
composer require laravel/sail --dev
Once the installation is complete, you can publish Sail’s docker-compose.yml file in your project directory using the following command:
php artisan sail:install
Lastly, to kickstart Sail, run the following command:
./vendor/bin/sail up
Now your development environment is up and running. With Docker, every container holds one service only. This means that our Sail application comes with three services: one for PHP, one for MySQL, and a third for Redis.
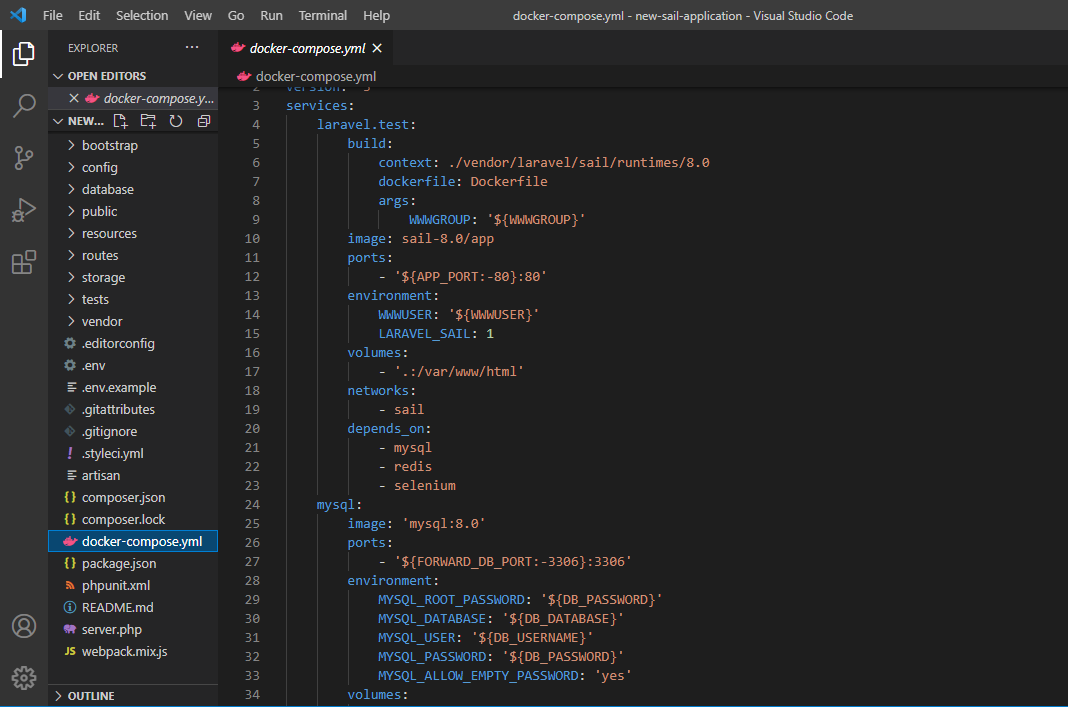
These three containers are housed and managed by Docker Compose, using the docker-compose.yml file in the root of your project. If you open this file, you’ll see a services section with three components: laravel.test, mysql, and redis:

laravel.test handles the PHP component and the other two handle what their names suggest.
Under the mySQL service (this service manages your database), you’ll find the image parameter, which indicates the image that this container is instantiating. Basically, an image is like the blueprint of a house while the container is the constructed house itself. The version of MySQL to be installed (8.0) is also specified:
mysql:
    image: 'mysql:8.0'
    ports:
        - '${FORWARD_DB_PORT:-3306}:3306'
    environment:
        MYSQL_ROOT_PASSWORD: '${DB_PASSWORD}'
        MYSQL_DATABASE: '${DB_DATABASE}'
        MYSQL_USER: '${DB_USERNAME}'
        MYSQL_PASSWORD: '${DB_PASSWORD}'
        MYSQL_ALLOW_EMPTY_PASSWORD: 'yes'
    volumes:
        - 'sailmysql:/var/lib/mysql'
    networks:
        - sail
    healthcheck:
      test: ["CMD", "mysqladmin", "ping"]
All the images we need are sourced from Docker Hub, the largest image library on the net. They come with some documentation explaining how to use them. Check out the documentation for MySQL here.
The ports parameter is used to sync your container port and local port. DB_PORT:-3306 is your local port and the line ${FORWARD_DB_PORT:-3306}:3306 syncs it with your container’s port.
Under environment, your database credentials are defined. They are currently pointing to values in the .env file located in the root directory of your project.
Docker uses volumes to persist (or save) data used by a container (even after the container is destroyed). Externalizing data or keeping data outside a container is important for a host of reasons.
Containers, by design, are created to be temporary. As such, when they crash or stop, all the data they hold is lost. When data is written to a volume and the container it belongs to is terminated, the data remains and can thus be used by a new container. Persistent data can also be shared by multiple containers on different machines.
The line volumes: - 'sailmysql:/var/lib/mysql' simply uses a volume named sailmysql to save all of the data in the var/lib/mysql directory (this is where our MySQL data is stored).
All the services on our container have to be connected to the same network to work together. The networks parameter specifies which internal network your container should use, in this case, sail.
Lastly, the healthcare parameter specifies the commands that Docker is to run to check your container’s health and ensure that it is working as expected.
If you take a close look at the laravel.test service, the parameter that comes first is build. It points to a Dockerfile located in ./vendor/laravel/sail/runtimes/8.0. This Dockerfile was created by the Laravel team and it contains instructions for building the image that we need here, so we won’t be instantiating any images from Docker Hub:
laravel.test:
    build:
        context: ./vendor/laravel/sail/runtimes/8.0
        dockerfile: Dockerfile
        args:
            WWWGROUP: '${WWWGROUP}'
    image: sail-8.0/app
    ports:
        - '${APP_PORT:-80}:80'
    environment:
        WWWUSER: '${WWWUSER}'
        LARAVEL_SAIL: 1
    volumes:
        - '.:/var/www/html'
    networks:
        - sail
    depends_on:
        - mysql
        - redis
        - selenium
The image parameter points to the image to be instantiated. In this case, the one created by build. ports maps our container and local ports together. environments points to credentials to be used in our PHP code. volumes is used to save relevant PHP data that we do not wish to lose, and networks specifies the internal network this service should be connected to.
The depends_on parameter specifies which services should be up and running before our application can be started. Our application depends on mysql, redis, and selenium.
The last service, redis, is similar to the mysql service:
redis:
    image: 'redis:alpine'
    ports:
        - '${FORWARD_REDIS_PORT:-6379}:6379'
    volumes:
        - 'sailredis:/data'
    networks:
        - sail
    healthcheck:
      test: ["CMD", "redis-cli", "ping"]
First, a Redis image is instantiated. Then our container and local ports are synced. We use a volume to save our Redis data, define the internal network this service should be connected to, and perform a health check to ensure our container is functioning properly.
By default, to run Sail commands, the line vendor/bin/sail should precede the commands. We can, however, configure a bash alias that’s just one word to make our commands shorter.
Basically, we’ll replace the line vendor/bin/sail with a word sail:
alias sail='bash vendor/bin/sail'
To run all the containers in our docker-compose.yml file and get our application started, we use the following command:
sail up
To start the containers in the background, we use:
sail up -d
Once your application is up and running, you can visit http://localhost to view it.
To stop the containers, press Control + C on your keyboard. If they are running in the background, then run:
sail down
When running artisan, composer, and npm commands, the sail alias must precede the commands.
For example instead of running:
php artisan migrate
You run:
sail artisan migrate
And instead of running:
composer require laravel/sanctum
You run:
sail composer require laravel/sanctum
You made it to the end of the tutorial! We’ve been able to create and set up a new Sail application. We perused Sail’s docker-compose.yml file and learned how containers are set up. We also learned some essential commands for running our Sail application. But there’s always more to know! To learn more about Sail, check out the official documentation here.
Install LogRocket via npm or script tag. LogRocket.init() must be called client-side, not
server-side
$ npm i --save logrocket

// Code:

import LogRocket from 'logrocket';
LogRocket.init('app/id');
// Add to your HTML:

<script src="https://cdn.lr-ingest.com/LogRocket.min.js"></script>
<script>window.LogRocket && window.LogRocket.init('app/id');</script>
Would you be interested in joining LogRocket's developer community?
Join LogRocket’s Content Advisory Board. You’ll help inform the type of content we create and get access to exclusive meetups, social accreditation, and swag.
Sign up now
Discover how to use Gemini CLI, Google’s new open-source AI agent that brings Gemini directly to your terminal.

This article explores several proven patterns for writing safer, cleaner, and more readable code in React and TypeScript.

A breakdown of the wrapper and container CSS classes, how they’re used in real-world code, and when it makes sense to use one over the other.

This guide walks you through creating a web UI for an AI agent that browses, clicks, and extracts info from websites powered by Stagehand and Gemini.
4 Replies to "Laravel and Docker: A guide to using Laravel Sail"
Not sure what I’m doing wrong, Docker is using WSL 2, Ubuntu image is on Windows, they should be connected, I run the first command but when I try to run cd new-sail-application && ./vendor/bin/sail up it says that the directory doesn’t exist, do I have to navitage to a different directory or it should just run without moving from where I am?
Also, how do I remove the Laravel apps?
On my Docker Desktop I see this image laravelsail/php80-composer but on containers I don’t see anything making reference to Laravel.
Thanks!
Glad I found this article! GG Laravel Doc
Tried running Sail on a fresh install of Fedora with Docker Desktop for Linux. I was able to get everything installed but cannot get the app to run.
“The stream or file “/var/www/html/storage/logs/laravel.log” could not be opened: failed to open stream: Permission denied”
Searched high and low for a solution but nothing seems to work.
Too complicated and fancy for old school. I though I would give Laravel a new look but moving on to something with fewer headaches.
The container should be started with “sail up -d” and not through the Docker Desktop.
This helped me fix the permission denied error on startup