
When building applications that provide users with a long list of information, such as a news feed, posts in a forum, or messages in a chat application, our goal is to show a reasonable amount of that information to the user.
Immediately after a user starts scrolling through an initial list, the web client should load more content to keep feeding the user this information. This process is referred to as infinite scrolling.
Imagine you’re going through a list of the names of everyone on earth. Although that list isn’t precisely infinite, it sure does feel like it. Your browser would likely struggle to handle a list of over eight billion items thrown at it from a GraphQL server.
This creates the need to paginate. Pagination in a GraphQL API allows clients, or our frontend, to query lists of items in parts from the API. On our frontend, we can now build infinite scrolling functionality.
This article will discuss the concept of pagination in GraphQL and how it works. We’ll dive into the idea of infinite scrolling and its applications, pros, and cons. We’ll also see how we can connect our Vue frontend to a demo GraphQL API that provides a list of data. With that, we’ll demonstrate how we can implement infinite scrolling on our frontend to fetch the data.
The Replay is a weekly newsletter for dev and engineering leaders.
Delivered once a week, it's your curated guide to the most important conversations around frontend dev, emerging AI tools, and the state of modern software.
Pagination is the process of separating or dividing content into discrete parts called pages.
While what we’re trying to accomplish in this article does not involve us creating pages to display content, it still relies on the concept of dividing content into parts in order to load it while the user scrolls.
Infinite scroll is one of the three primary forms of pagination we see in applications today. Let’s take a quick look at all three common forms of pagination: numbered, load more, and infinite scroll.
Numbered pagination is usually what we mean when we talk about pagination. In this form, content is divided and shown on separate pages.
A great example of this form of pagination is a Google search result.

The load more approach is another common form of pagination. This is where a “load more” button is at the end of a list and loads more items when clicked. It can also come in the form of a “next” button that loads more items but is not necessarily on the same page.
A great example of a load more pagination approach is on a blog. There’s usually a button at the bottom of the list that loads more blog posts when it’s clicked. This approach is great for sites where you want users to see a footer at the end of the page.

There is also another form of the load more pagination approach for unnumbered pages. For example, you get these buttons to load more content in the old version of Reddit.

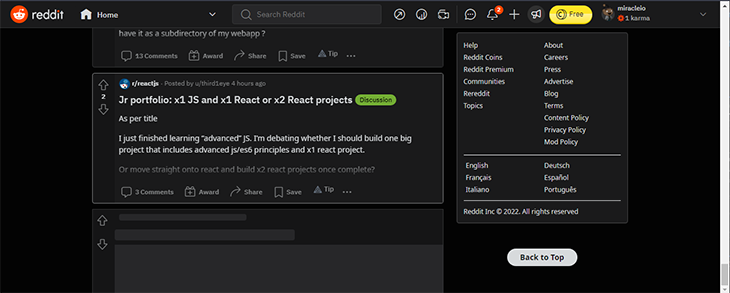
Infinite scroll is especially common in feeds where the user can continue to scroll through a long list of items. There is no concept of pages in this approach, but the list the user scrolls through is a combination of parts of shorter lists. These subsets of the main list are fetched and added as the user scrolls.
Infinite scrolling is what the new version of Reddit, as well as most social media platforms, use.
We have seen the common ways to implement pagination in an application, so now let’s look at how it works in GraphQL. Although there is no one particular way to do pagination, the GraphQL official website gives us three main ways we can go about it:
This method is typically considered the simplest form of pagination in GraphQL. For offset-based pagination, the query usually includes two arguments: first (or limit) and offset (or skip). The first argument defines how many items the list returns and the offset argument defines how many we should skip in the list.
With this kind of pagination setup, your queries may look something like this:
query {
  people(first: 3, offset: 0) {
    name
  }
}
This query will get three people on the list starting from 0, the first person. We end up with the first three people on the list.
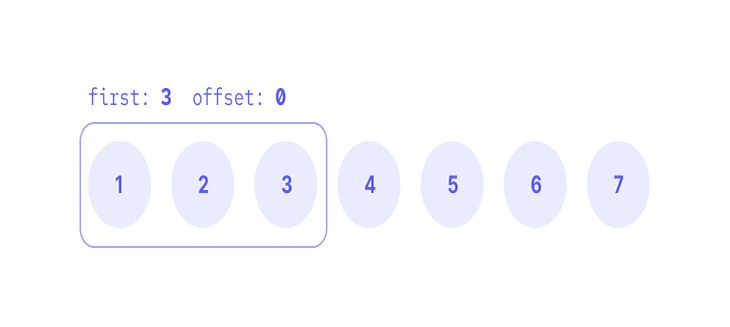
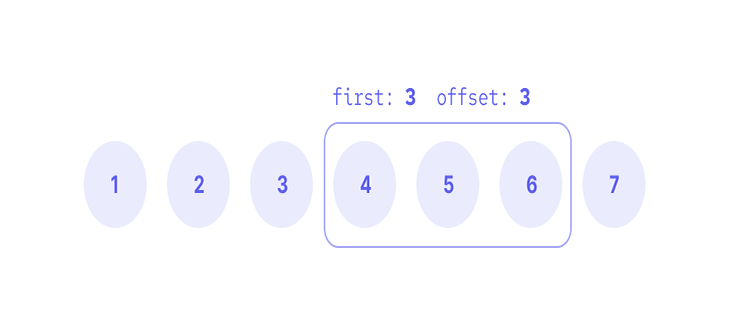
You can also decide not to start from the first person on the list. Perhaps you want the second page to have another three people starting from the fourth person on the list. Not a problem! Your query arguments will only have to change slightly:
query {
  people(first: 3, offset: 3) {
    name
  }
}
The results will now be offset by three items and start with the fourth item instead of the first.
We are also free to change the first and offset values to suit our needs. The following query gets four items from the list with an offset of 1:
query {
  people(first: 4, offset: 1) {
    name
  }
}
This means the list will contain four items starting from the second one.

That’s the basics of offset-based pagination. Though it’s simple, it also has its drawbacks – namely that it’s prone to repeat or omit data. This issue happens mostly when new items get added to the list during pagination.
When a new item gets added, the position of the items in the array might change. And since offset relies on item positions, if an item gets added to the top of the list, the last list item on the previous page might become the first item on the next page since its position is now lower.
Cursor-based pagination is the most widely accepted standard for pagination in GraphQL. It is resilient to changes that occur in the list while paginating, as it doesn’t rely on the position of items but rather on a cursor.
Cursor-based pagination can be implemented in several ways. The most common and widely acceptable one follows the Relay GraphQL connection Spec.
Implementing the Relay connection specification for cursor-based pagination might be complex but gives us much more flexibility and information.
This specification gives us some arguments we can use to paginate. They include first and after (or afterCursor ) for forward pagination and last and before for backward pagination.
We also have access to several fields.
Let’s evaluate this query:
query ($first: Int, $after: String) {
  allPeople(first: $first, after: $after){
    pageInfo {
      hasNextPage
      endCursor
    }
    edges {
      cursor
      node {
        id
        name
      }
    }
  }
}
You will notice that with the arguments first and after for the fields, we have:
pageInfo: contains information on the page that includes:
hasNextPage: whether there are other items after this current page (or part, subset)endCursor: the cursor of the last list item on the current pageedges: contains the following data for each item in the list:
cursor: usually an opaque value that can be generated from the item datanode: the actual item dataNow, looking back at the query above with the following variables:
{
  "first": 2,
  "after": "YXJyYXljb25uZWN0aW9uOjI="
}
Here’s the response we get:
{
  "allPeople": {
    "pageInfo": {
      "hasNextPage": true,
      "endCursor": "YXJyYXljb25uZWN0aW9uOjQ="
    },
    "edges": [
      {
        "cursor": "YXJyYXljb25uZWN0aW9uOjM=",
        "node": {
          "id": "cGVvcGxlOjQ=",
          "name": "Darth Vader"
        }
      },
      {
        "cursor": "YXJyYXljb25uZWN0aW9uOjQ=",
        "node": {
          "id": "cGVvcGxlOjU=",
          "name": "Leia Organa"
        }
      }
    ]
  }
}
You can try out this query yourself on the SWAPI GraphiQL playground.
Although ID-based pagination is not as commonly used as the other two methods, it’s still worth discussing.
This method is pretty similar to offset-based pagination. The difference is that instead of using offset to determine where the returned list should start, it uses afterID (or simply after) that accepts the id of an item in the list.
Take a look at this query:
query {
  people(first: 3, after: "C") {
    name
  }
}
This will get the first three items from the list after the item with the id of C.
This helps solve the offset-based pagination issue since the items returned no longer rely on the positions of the items. Now, they rely on the items themselves using id as a unique identifier.
Alright, now that we’re familiar with how pagination works in GraphQL, let’s dive into infinite scroll!
I want to assume that we’ve all used a social media or newsfeed app at least once before. We should therefore be familiar with what infinite scroll is all about. New content gets added to the feed before or at the same time you’ve reached the bottom of the page.
For JavaScript applications, we can implement infinite scrolling in two main ways: either with scroll event handlers or the Intersection Observer API.
For scroll event handlers, we run a function that will fetch the following page on two conditions:
A generic JavaScript code for this method would look something like this:
 window.addEventListener('scroll', () => {
    let {
        scrollTop,
        scrollHeight,
        clientHeight
    } = document.documentElement;

    if (scrollTop + clientHeight >= scrollHeight && hasNextPage) {
      fetchMore()
    }
});
Here, we’re listening to a scroll event in the window. In the callback function, we get the scrollTop, scrollHeight, and clientHeight of the document.
Then, we have an if statement that checks if the amount scrolled (scrollTop) added to the height of viewport (clientHeight) is greater than or equal to the height of the page (scrollHeight), as well as ifhasNextPage is true.
If the statement is true, it runs the function fetchMore() that gets more items and adds them to the list.
Unlike the scroll event handler method, this method does not rely on the scroll event. Instead, it watches for when an element is visible on the viewport and fires an event.
Here’s a basic example:
const options = {
  root: document.querySelector("#list"),
  threshold: 0.1,
};

let observer = new IntersectionObserver((entries) => {
  const entry = entries[0];
  if (entry.isIntersecting) {
    fetchMore()
  }
}, options);

observer.observe(document.querySelector("#target"));
We define the options with the settings for the observer. With it, we’re watching for changes in the visibility of the target element in the root. The root here is an element with the id of list.
We also have a threshold that determines how much of the target element intersects the root element.
We assign the IntersectionObserver function to observer.value. We then pass a callback function along with the defined options.
The callback accepts the parameter entries, a list of entries received by the callback with an entry for each target that reported a change in its intersection status. Each entry contains several properties, like isIntersecting, which tells us if the target element is now intersecting the root and, in most cases, is visible.
Once entry.isIntersecting is true, the fetchMore() function is fired and adds more items to the list.
We’ll be building a simple Vue application with Apollo Client to interface with a demo GraphQL API. You can find the final project of what we’ll be building hosted on Netlify.
To get started, you’ll need:
For this tutorial, we’ll be using the SWAPI GraphQL Wrapper, a wrapper around SWAPI built using GraphQL.
First, cone the repository from GitHub:
git clone https://github.com/graphql/swapi-graphql.git
Then install dependencies with the following:
npm install
Start the server with:
This will start the GraphQL API server at a random localhost port.
🚨 If you’re on Windows and encounter any problems similar to the one mentioned in this issue while installing, you can follow the instructions to resolve it. In
package.json, you can also edit line 40 (build:lambda)to addSETbeforeNODE_ENV–SET NODE_ENV. Then runnpm installagain.
Alternatively, you can simply use this deployed version for your queries.
To create a new app, navigate to the directory of your choice and run:
npm init vue@latest
Now, go through the prompts to configure your installation:
√ Project name: ... vue-infinite-scroll
√ Add TypeScript? ... No / Yes
√ Add JSX Support? ... No / Yes
√ Add Vue Router for Single Page Application development? ... No / Yes
√ Add Pinia for state management? ... No / Yes
√ Add Vitest for Unit Testing? ... No / Yes
√ Add Cypress for both Unit and End-to-End testing? ... No / Yes
√ Add ESLint for code quality? ... No / Yes

Scaffolding project in C:\Users\user\Documents\otherprojs\writing\logrocket\vue-infinite-scroll...

Done. Now run:
  cd vue-infinite-scroll
  npm install
  npm run dev
Navigate to your newly created vue-infinite-scroll directory, install the packages listed in the output above and start the application:
cd vue-infinite-scroll
npm install
npm run dev
Next, we’ll install the following packages:
npm install --save graphql graphql-tag @apollo/client @vue/apollo-composable
We’re installing the additional @vue/apollo-composable package for Apollo support with the Vue Composition API.
Next, let’s make some configurations.
In the ./src/main.js file, add the following to create an ApolloClient instance:
// ./src/main.js

import { createApp, provide, h } from 'vue'
import { createPinia } from 'pinia'

import { ApolloClient, InMemoryCache } from '@apollo/client/core'
import { DefaultApolloClient } from '@vue/apollo-composable'

import App from './App.vue'
import './assets/base.css'

// Cache implementation
const cache = new InMemoryCache()

// Create the apollo client
const apolloClient = new ApolloClient({
  cache,
  uri: 'http://localhost:64432'
  // or
  // uri: 'https://swapi-gql.netlify.app/.netlify/functions/index`
})

const app = createApp({
  setup() {
    provide(DefaultApolloClient, apolloClient)
  },
  render: () => h(App)
})

app.use(createPinia())
app.mount('#app')
Here, we created an apolloClient instance with InMemoryCache and the uri being the SWAPI GraphQL server we set up earlier.
Now, we’ll fetch data from GraphQL. In the ./src/App.vue file, let’s set up our list:
<!-- ./src/App.vue -->
<script setup>
import { computed, onMounted, ref } from "vue";

import gql from "graphql-tag";
import { useQuery } from "@vue/apollo-composable";

// GraphQL query
const ALLSTARSHIPS_QUERY = gql`
  query AllStarships($first: Int, $after: String) {
    allStarships(first: $first, after: $after) {
      pageInfo {
        hasNextPage
        endCursor
      }
      edges {
        cursor
        node {
          id
          name
          starshipClass
        }
      }
    }
  }
`;

// destructure
const {
  // result of the query
  result,
  // loading state of the query
  loading,
  // query errors, if any
  error,
  // method to fetch more
  fetchMore,
  // access to query variables
  variables
} = useQuery(ALLSTARSHIPS_QUERY, { first: 5 });

// computed value to know if there are more pages after the last result
const hasNextPage = computed(() => result.value.allStarships.pageInfo.hasNextPage);

</script>
<template>
  <main>
    <ul class="starship-list">
      <p v-if="error">oops</p>
      <!-- "infinite" list -->
      <li v-else v-for="starship in result?.allStarships.edges" :key="starship.node.id" class="starship-item">
        <p>{{ starship.node.name }}</p>
      </li>
    </ul>
    <!-- target button, load more manually when clicked -->
    <button ref="target" @click="loadMore" class="cta">
      <span v-if="loading">Loading...</span>
      <span v-else-if="!hasNextPage">That's a wrap!</span>
      <span v-else>More</span>
    </button>
  </main>
</template>
<style scoped>
button {
  cursor: pointer;
}
main {
  width: 100%;
  max-width: 30rem;
  margin: auto;
  padding: 2rem;
}
.starship-list {
  list-style: none;
  padding: 4rem 0 4rem 0;
}
.starship-item {
  font-size: xx-large;
  padding: 1rem 0;
}
.cta {
  padding: 0.5rem 1rem;
  background: var(--vt-c-white-soft);
  color: var(--color-background-soft);
  border: none;
  border-radius: 0.5rem;
}
</style>
We first import gql from the graphql-tag package and useQuery from @vue/apollo-composable. useQuery allows us to make GraphQL queries.
Next, we set up our query ALLSTARSHIPS_QUERY with the first and after variables that we will define when we make the query.
To make the query, we use useQuery(). useQuery() provides several properties like result, loading, error, fetchMore, and variables.
When calling useQuery(), we pass in the actual query ALLSTARSHIPS_QUERY and an object containing our variables, { first: 5 }, to fetch the first five items.
Also, we have a <button> with ref="target" in our <template>. This is our “load more” button.
As we progress, we will only use it to observe when we’ve reached the end of the list and automatically load more content using the Intersection Observer API.
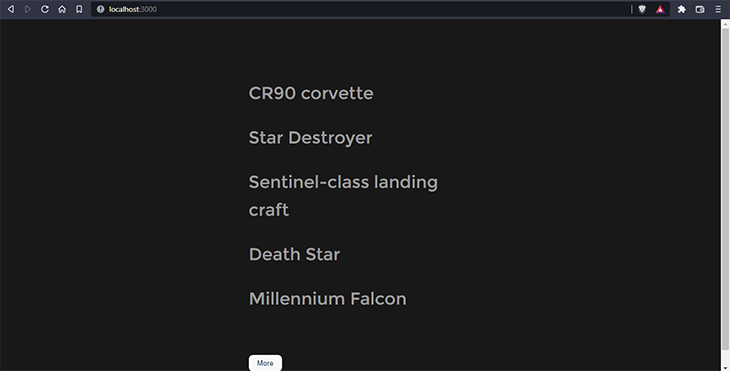
Here is what we should have right now:
Let’s go step-by-step to see how we can use the target button to load more items when clicked. This is very easy with Apollo. Apollo provides the fetchMore() method we can use to, as its name implies, fetch more content and merge it with the original result.
For this to work, we’ll wrap the fetchMore() in a loadMore() function in ./src/App.vue:
<!-- ./src/App.vue -->
<script setup>
// ...

// function to load more content and update query result
const loadMore = () => {
  // fetchMore function from `useQuery` to fetch more content with `updateQuery`
  fetchMore({

    // update `after` variable with `endCursor` from previous result
    variables: {
      after: result.value?.allStarships.pageInfo.endCursor,
    },

    // pass previous query result and the new results to `updateQuery`
    updateQuery: (previousQueryResult, { fetchMoreResult }) => {
      // define edges and pageInfo from new results
      const newEdges = fetchMoreResult.allStarships.edges;
      const pageInfo = fetchMoreResult.allStarships.pageInfo;

      // if newEdges actually have items,
      return newEdges.length
        ? // return a reconstruction of the query result with updated values
          {
            // spread the value of the previous result
            ...previousQueryResult,

            allStarships: {
              // spread the value of the previous `allStarhips` data into this object
              ...previousQueryResult.allStarships,

              // concatenate edges
              edges: [...previousQueryResult.allStarships.edges, ...newEdges],

              // override with new pageInfo
              pageInfo,
            },
          }
        : // else, return the previous result
          previousQueryResult;
    },
  });
};
Here, we have the loadMore() function that calls the fetchMore() method. fetchMore() accepts an object of variables and updateQuery().
We will define the updated variables in the variables property. Here, we update the after variable to correspond with the last cursor from the first (or previous) result.
In updateQuery(), however, we get and define edges and pageInfo from new query results and reconstruct the query result, if any. We retain the values of the previous result object by using the spread syntax to concatenate object properties or entirely replace them with the new one (like with pageInfo, for example ).
As for the edges, we add the new results to the previous ones in the edges array.
Remember the “target” button? We have an @click handler that calls the loadMore() function:
<button ref="target" @click="loadMore" class="cta">
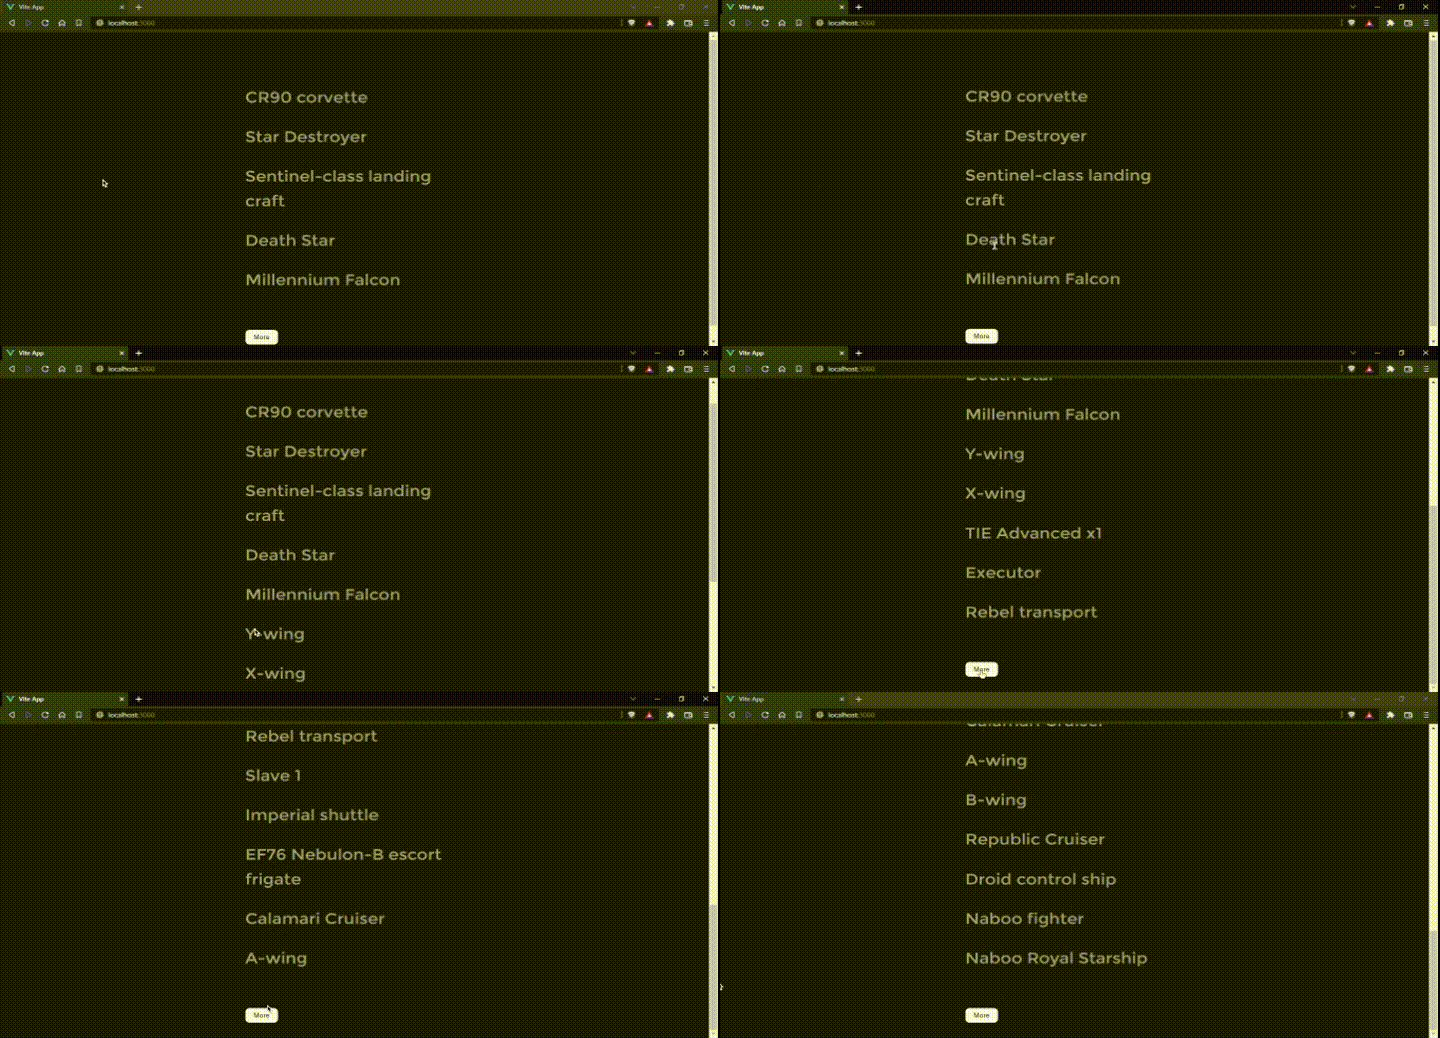
Now, we should have our app loading more starships at the push of a button:
Awesome! Let’s turn up our thrusters a bit and see how we can get rid of manual effort for a real infinite scroll feel. First, we’ll look at how to do this with scroll event handlers.
This will work similarly to what we’ve explained earlier. In ./src/App.vue, we have an onMounted() hook where we’ll start listening to scroll events as soon as the app mounts:
<!-- ./src/App.vue -->
<script setup>
// ...

onMounted(() => {
  // listen to the scroll event in the window object (the page)
  window.addEventListener(
    "scroll",
    () => {
      // define
      let {
        // the amount useer has scrolled
        scrollTop,
        // the height of the page
        scrollHeight,
        // the height of viewport
        clientHeight
      } = document.documentElement;
      // if user has scrolled to the bottom of the page
      if (scrollTop + clientHeight >= scrollHeight && hasNextPage.value) {
        // exccute the loadMore function to fetch more items
        loadMore();
      }
    },
    {
      // indicate that the listener will not cancel the scroll
      passive: true,
    }
  );
});
</script>
You can see that in the scroll event listener callback, we execute the loadMore() function when the user scrolls to the bottom of the page.
🚩 A drawback to the scroll event handler method is that the user has to scroll for this to work. Ensure that the content on the page is not too small for the user to scroll through.
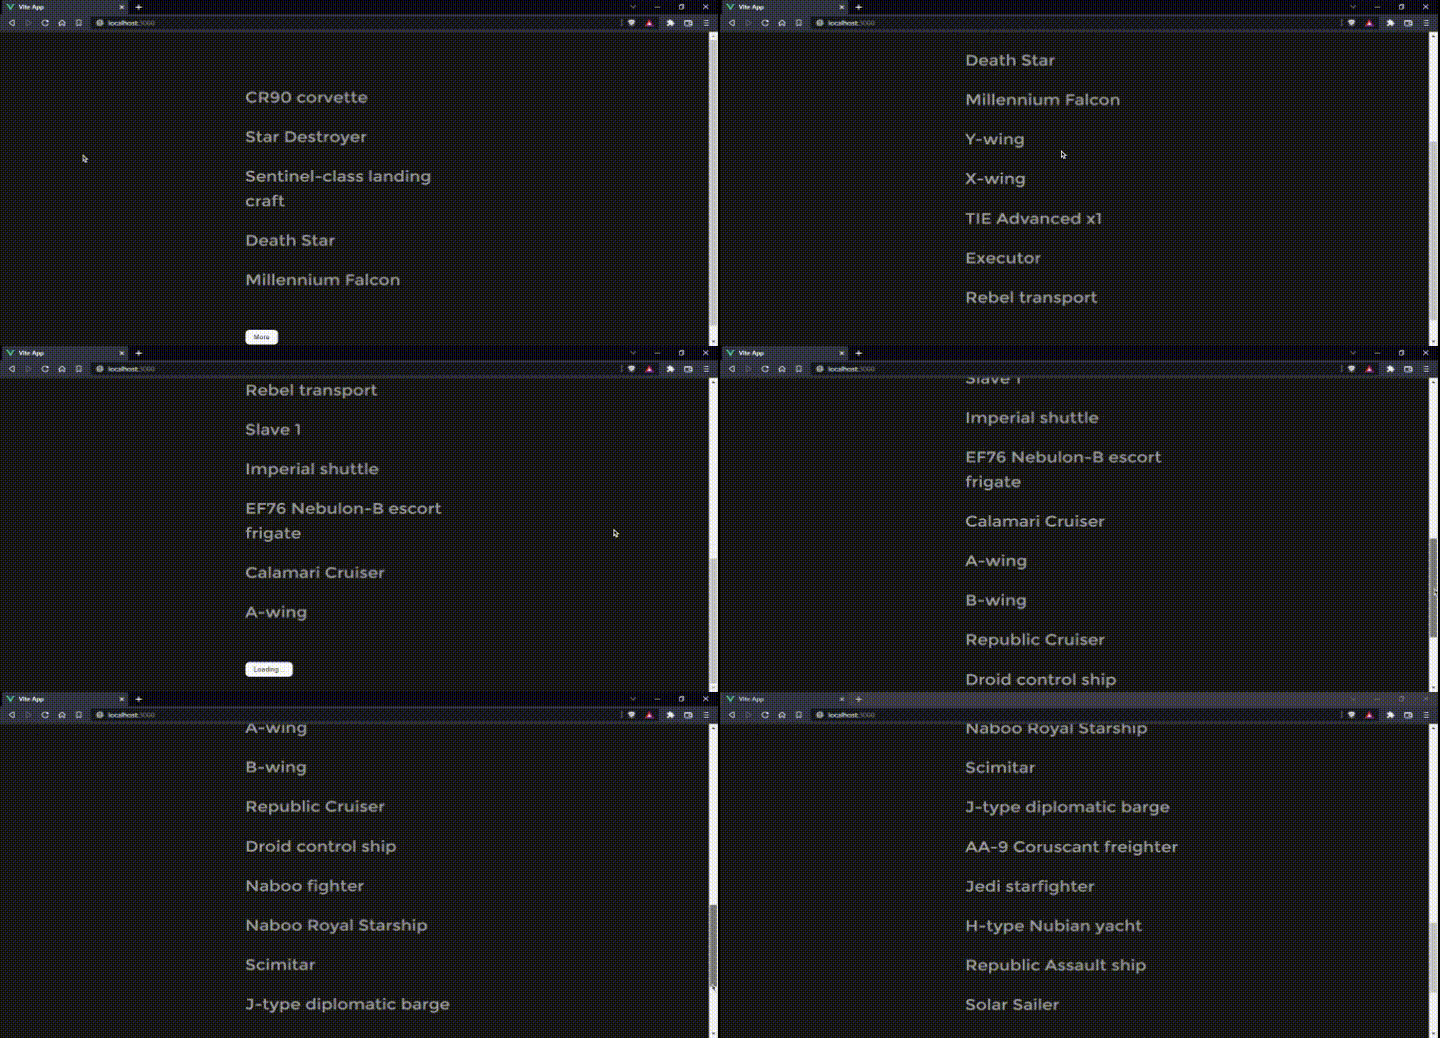
Let’s see it in action:
Sweet! Moving on, let’s see how we can achieve the same thing with the Intersection Observer API.
For this method, we need an element to observe that will tell us when we’ve reached the end of the list. There’s no better element to do that for us than our button!
To target the button in our <script>, we’ll create a target (the same name used in the ref attribute of the button in the <template>) variable and assign it to a ref(null).
We’ll also create a ref for observer which will be our IntersectionObserver() in the onMounted() hook:
<!-- ./src/App.vue -->
<script setup>
// ...

// create ref for observer
const observer = ref(null);

// create ref for target element for observer to observe
const target = ref(null);

onMounted(() => {
  // ...

  // options for observer
  const options = {
    threshold: 1.0,
  };

  // define observer
  observer.value = new IntersectionObserver(([entry]) => {
    // if the target is visible
    if (entry && entry.isIntersecting) {
      // load more content
      loadMore();
    }
  }, options);

  // define the target to observe
  observer.value.observe(target.value);
});
</script>
Here, in our onMounted() hook, we first define the options we will pass to our observer.
We define the observer by initializing a new IntersectionObserver() and passing a callback function along with our options.
The function takes in a destructured [entry] as a parameter. The if statement then determines if the entry is intersecting the root. This intersection implies that the target is visible on the viewport and executes the loadMore() function.
The entry is determined by the argument we pass to observer.observe().
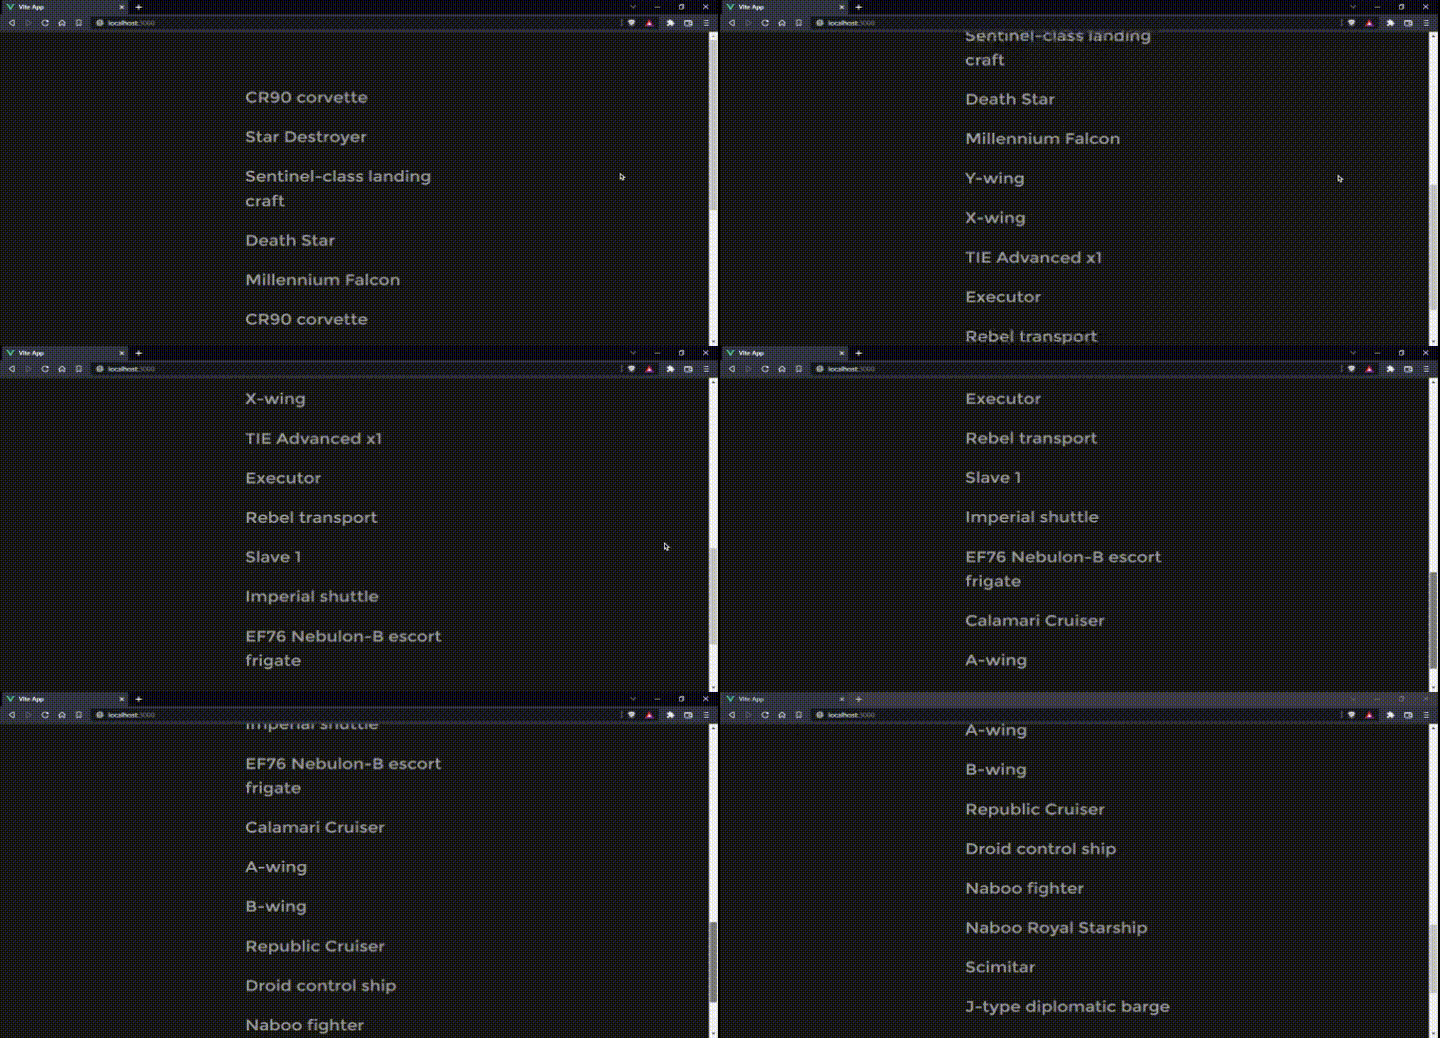
With that, we have a pretty neat infinite scrolling list!
And there we have it! We created a simple Vue application that fetched data from a GraphQL API with infinite scroll functionality.
We covered the basics of pagination, its different forms, and how pagination works in GraphQL. We discussed infinite scrolling and how we can achieve the effect in JavaScript. We also dived into two main ways to achieve it: scroll event handlers and the Intersection Observer API.
We had a lot of fun building our application with Vue and Apollo Client, connecting it to the GraphQL API, and building out the infinite scrolling functionality using both scroll event handlers and the Intersection Observer API.
Infinite scrolling is one of the many ways we can structure a large amount of information being displayed to our users. It has its pros and cons, but with everything we’ve covered here, I’m sure you’ll be able to figure out if it’s the best approach for your next big project!
There are plenty of resources out there to read up on if you’re trying to understand both pagination and infinite scrolling with GraphQL:
You can get the repository for both the demo API and the frontend project
While GraphQL has some features for debugging requests and responses, making sure GraphQL reliably serves resources to your production app is where things get tougher. If you’re interested in ensuring network requests to the backend or third party services are successful, try LogRocket.


LogRocket lets you replay user sessions, eliminating guesswork around why bugs happen by showing exactly what users experienced. It captures console logs, errors, network requests, and pixel-perfect DOM recordings — compatible with all frameworks.
LogRocket's Galileo AI watches sessions for you, instantly aggregating and reporting on problematic GraphQL requests to quickly understand the root cause. In addition, you can track Apollo client state and inspect GraphQL queries' key-value pairs.

@container scroll-state: Replace JS scroll listeners nowCSS @container scroll-state lets you build sticky headers, snapping carousels, and scroll indicators without JavaScript. Here’s how to replace scroll listeners with clean, declarative state queries.

Explore 10 Web APIs that replace common JavaScript libraries and reduce npm dependencies, bundle size, and performance overhead.

Russ Miles, a software development expert and educator, joins the show to unpack why “developer productivity” platforms so often disappoint.

Discover what’s new in The Replay, LogRocket’s newsletter for dev and engineering leaders, in the February 18th issue.
Would you be interested in joining LogRocket's developer community?
Join LogRocket’s Content Advisory Board. You’ll help inform the type of content we create and get access to exclusive meetups, social accreditation, and swag.
Sign up now