Editor’s note: This post was updated 4 March 2022 to add screenshots of the UI for additional clarity and verify the steps of the tutorial are still accurate.
The Jamstack refers to a web application that has no server-side component to it; instead, it relies on templated markup files that are requested through a client-side JavaScript API to render content on a page. All of the templated Markup is generated prior to deployment, so there is no waiting for pages to build on the fly, as is the case for dynamic websites.
The Jamstack is becoming more and more popular for building websites because of its impressive performance, low cost, high security, and positive developer experience.
A great solution to building a site with the Jamstack is to use Gatsby along with Netlify CMS. In this post, we’ll explain how Gatsby and Netlify CMS work using a demo web app built with Gatsby and Netlify CMS.
Gatsby is a static site generator that uses React and GraphQL. Gatsby generates a bunch of JavaScript and CSS files split up in such a way that a page will load the smallest amount of code possible to keep loading times to a minimum. GraphQL is used to query data from the Markup files into the React component files.
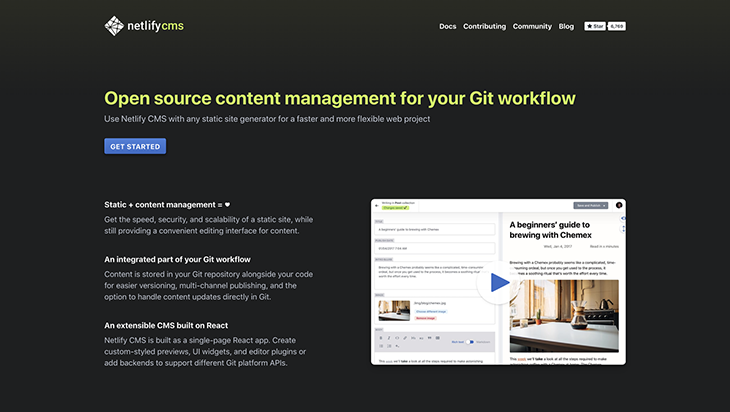
Netlify CMS can provide the Markup data for a Gatsby website and allows a user to enter content through an intuitive and easy to use interface, which Gatsby then uses to create the appropriate pages for a web app.
When saving content on Netlify CMS, the data gets saved into the web application’s Git repository as Markdown files.
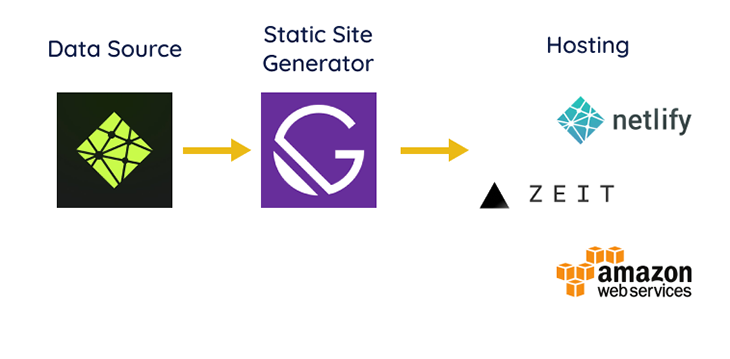
After Gatsby has generated all web app files from its build process, the web app can then be deployed to a static website host such as Netlify, Now, or Amazon S3.
This walkthrough will explain the main parts of a web app built with Gatsby and Netlify CMS. This walkthrough is based on an example web app created for a fictional JavaScript meetup group.
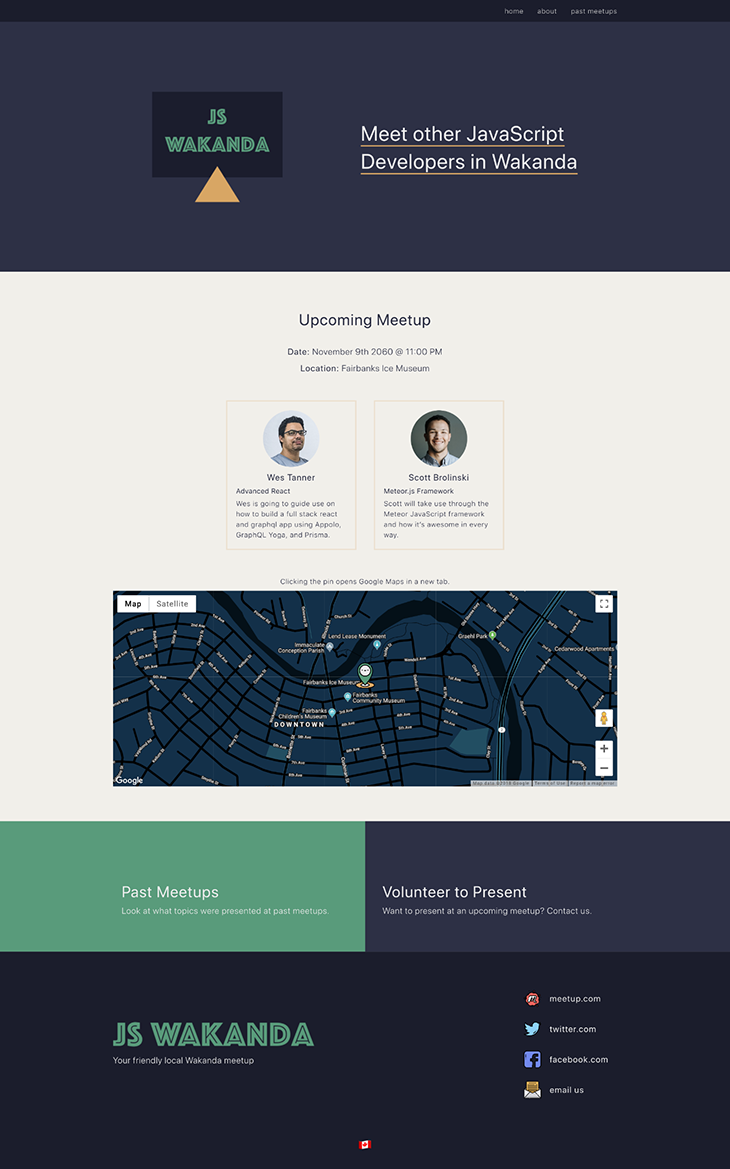
We’ll cover the following:
/adminLet’s get started.
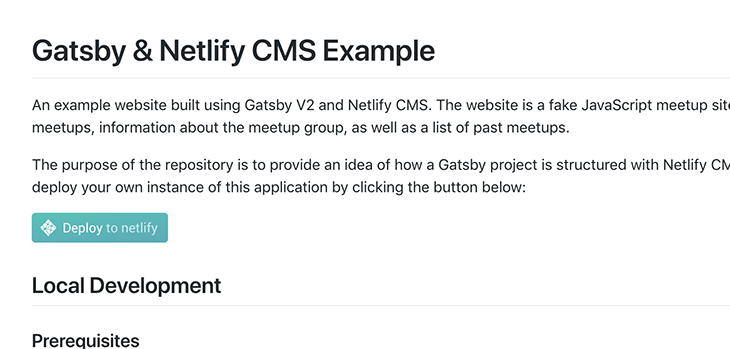
You can view the source code for the web app on GitHub and easily deploy your own instance of the app by clicking the Deploy to Netlify button in the README.
Clicking Deploy to Netlify will direct you to Netlify’s website, where it asks you to connect your GitHub account so that it can clone the repository and deploy an instance of the web app. I’d encourage you to use this function while following along with this walkthrough if you’d like to be able to access and explore the Netlify CMS yourself.
Once you are redirected to Netlify, you will be presented with a screen with various steps as shown in the picture below:
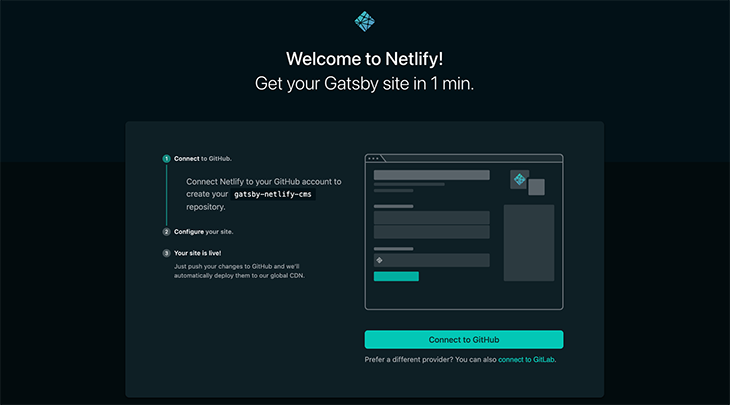
Click Connect to GitHub so that Netlify can create a repository in your GitHub account for this project; we’re going to use GitHub, but if you wish to proceed with GitLab, you can still do so.
After you click Connect to GitHub, you should see a GitHub authorization pop-up to authorize Netlify to create repositories. Click Authorize Netlify. Enter your GitHub password if prompted, and then you should be presented with the following screen:
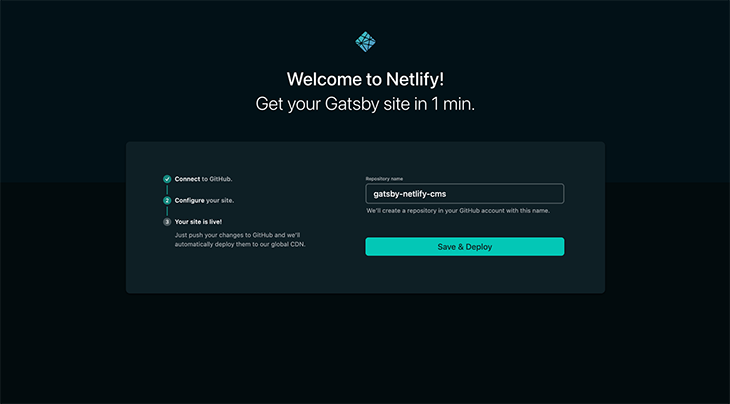
Now provide a repository name. I will leave it to the default in this case, but you can provide any name of your choice. Then click on Save & Deploy. The page should redirect to your Netlify dashboard:
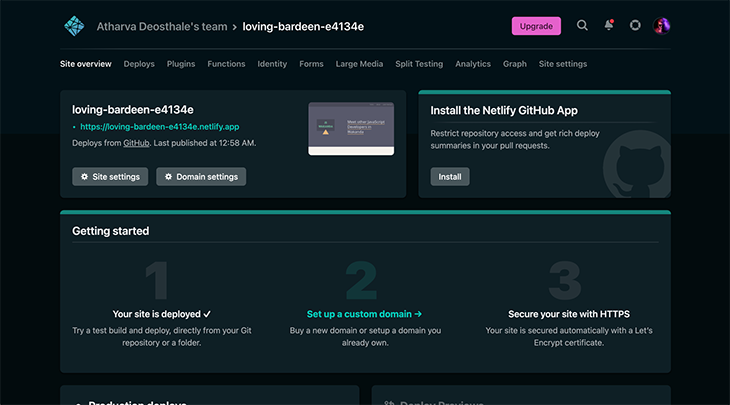
/adminTo be able to access the Netlify CMS at the /admin route of the site, we’ll need to enable Netlify’s Git Gateway through their Identity service. Git Gateway allows a user to have contributors added to the CMS without giving them full access to the code repository, while Netlify’s Identity service handles all of the authentications and provides an interface for user management.
The next steps will enable Identity in the Netlify dashboard; invite yourself as a user, and then enable the Git Gateway.
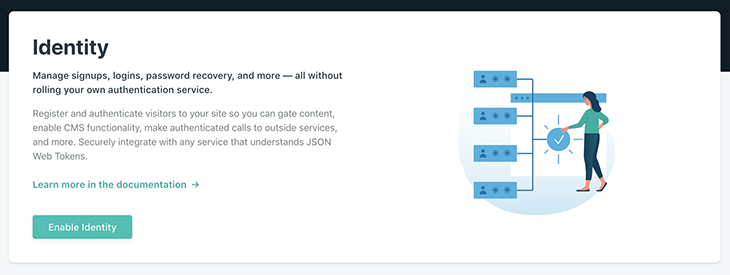
Click Identity on the top navigation bar.
Go ahead and click that Enable Identity button in the Netlify dashboard.
Next, click the Invite users button and enter your email address to invite yourself as a user and gain access to the CMS admin panel.

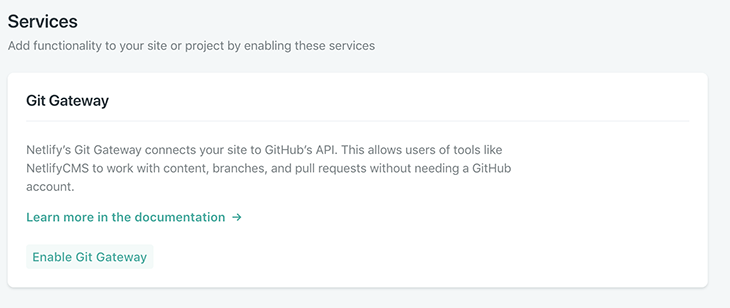
Now, click Site Settings on the top navigation bar. Choose Identity, and then Services on the sidebar. Make sure you click Enable Git Gateway to allow Netlify to interface with your GitHub repository.
After inviting yourself and enabling the Git Gateway, you should receive an email inviting you to create a user profile for the app. Click the link in the email to accept the invitation, and then you should be prompted to create a password.
Once you create your password, you should be able to access the Netlify CMS for the web app by accessing the /admin route for your site and then logging in with the email and password you’ve just signed up with.
The name of the domain used for the web app you deployed with Netlify can be found at the top of the overview page in the Netlify Dashboard. In my case, I’ve customized the domain in Settings to be gatsby-netlify-cms-example.netlify.cms, so I can access my app’s admin by going to https://gatsby-netlify-cms-example.netlify.com/admin.
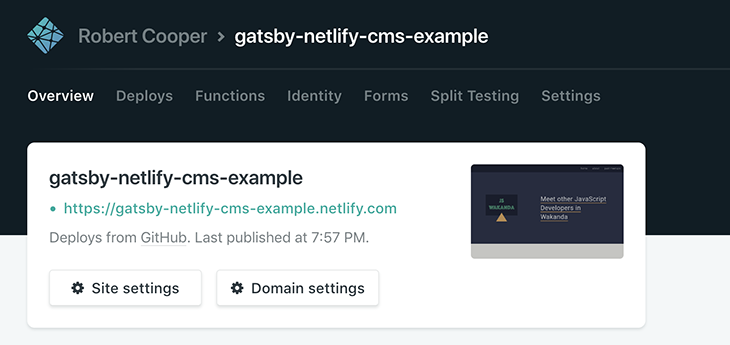
Accessing https://gatsby-netlify-cms-example.netlify.com/admin for the web app prompts a user to login with a username and password as shown here.
Let’s take a look at the code. Our project has two folders: src/ and static/.
The src/ directory contains all of the React components and Sass files that determine the app’s UI. The src/ directory also holds the Markdown files, which contain all of the text and data we’ve entered into the CMS. When new data is saved in the CMS, it gets added to this src/ directory in the form of Markdown files.
The static/ directory contains the images or files uploaded through the CMS, as well as the CMS config.yaml file, which determines the type of data that can be added through the CMS interface.
For example, config.yaml is where you would specify that you want to define a collection called “meetups” and that each meetup should have a title, date, list of presenters, and location associated with it. Read the documentation for more info on the configuration file.
...

collections:
  - name: "meetups"
    label: "Meetups"
    description: "Meetup dates, location, and presenter information."
    folder: "src/pages/meetups"
    create: true
    fields:
      - { label: "Template Key", name: "templateKey", widget: "hidden", default: "meetup" }
      - { label: "Title", name: "title", widget: "string" }
      - { label: "Date", name: "date", widget: "datetime" }
      - {
          label: Presenters,
          name: presenters,
          required: true,
          widget: list,
          fields:
            [
              { label: Name, name: name, required: true, widget: string },
              {
                label: Presentation Title,
                name: presentationTitle,
                required: false,
                widget: string,
              },

              ...
Gatsby is set up to use GraphQL to query data in JavaScript files and pass it to React components. When looking at a React page template file, you will see a GraphQL query at the bottom of the file that queries all of the data required for the page.
...

export const aboutPageQuery = graphql`
  query AboutPage($id: String!) {
    markdownRemark(id: { eq: $id }) {
      html
      frontmatter {
        title
        mainImage {
          image
          imageAlt
        }
        gallery {
          image
          imageAlt
        }
        developerGroups
        organizers {
          title
          gallery {
            image
            imageAlt
            name
          }
        }
        seo {
          browserTitle
          title
          description
        }
      }
    }
    ...LayoutFragment
  }
`
The names of the queried data in the GraphQL query are based on the names of the fields provided in the config.yaml file. However, some of the field names are less intuitive, such as frontmatter and markdownRemark.
Fortunately, Gatsby comes with GraphiQL which helps you explore all of the available data in the Gatsby application through GraphQL queries. GraphiQL also acts as a way to discover the names of all the GraphQL fields through its documentation explorer.
You can access GraphiQL when running the web app locally by using yarn develop and accessing http://localhost:8000/___graphql.
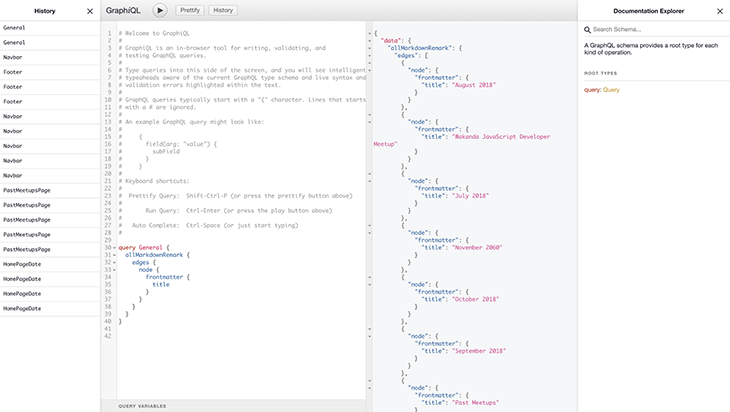
Data queried with GraphQL in a React component file allows for all of the queried data to be accessed through an object passed to the file’s exported React component.
Below, the exported AboutPage component receives data provided by a GraphQL query.
...

const AboutPage = ({ data }) => {
  const { markdownRemark: page, footerData, navbarData } = data;
  const {
    frontmatter: {
      seo: { title: seoTitle, description: seoDescription, browserTitle },
    },
  } = page;

  return (
    <Layout footerData={footerData} navbarData={navbarData}>
      <Helmet>
        <meta name="title" content={seoTitle} />
        <meta name="description" content={seoDescription} />
        <title>{browserTitle}</title>
      </Helmet>
      <AboutPageTemplate page={{ ...page, bodyIsMarkdown: false }} />
    </Layout>
  );
};

AboutPage.propTypes = {
  data: PropTypes.object.isRequired,
};

export default AboutPage;

...
Notice how the above React component for the AboutPage template has a child component of AboutPageTemplate? This is so that you can export the AboutPageTemplate component and use it to set up the About page’s preview, which is shown in the CMS. We’ll cover this in more detail when we look at the CMS and its preview feature, which requires a bit of extra thought to properly setup within the React project.
Running the web app locally is as simple as installing the project dependencies and running the start script (yarn develop).
Running the start script makes the site accessible at http://localhost:8000/.
One thing to remember while developing is that, once content has been added or modified through the CMS, you will need to run git pull locally to fetch the latest changes from the CMS.
Deploying any updates to the code is as simple as pushing new commits to your remote Git repository because Netlify will automatically build the app via the yarn build command and serve the updated code.
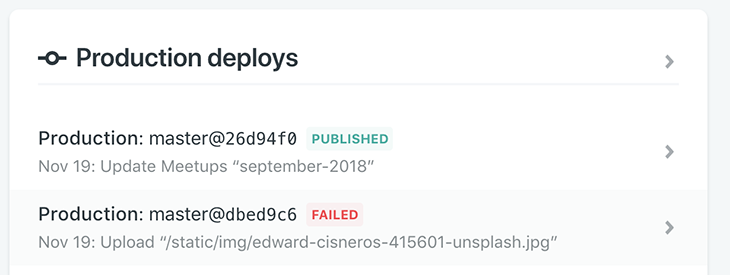
When deploying, it’s a good idea to make sure the build script ran successfully because, if there were modifications made to the structure of the data the CMS was told to expect, there may be some errors. If the build fails, you will need to read the error message to see why the script failed to build and then make adjustments accordingly.
After authenticating into Netlify CMS, as covered above, you’ll see a page displaying the site’s collections on the left and a list of latest meetups on the right. All of the data entered through the CMS will be stored in a Git repository when saved. Once there is a new commit to the Git repository, Netlify will trigger a Gatsby build of the app and then deploy it with the new content (this is called continuous deployment).
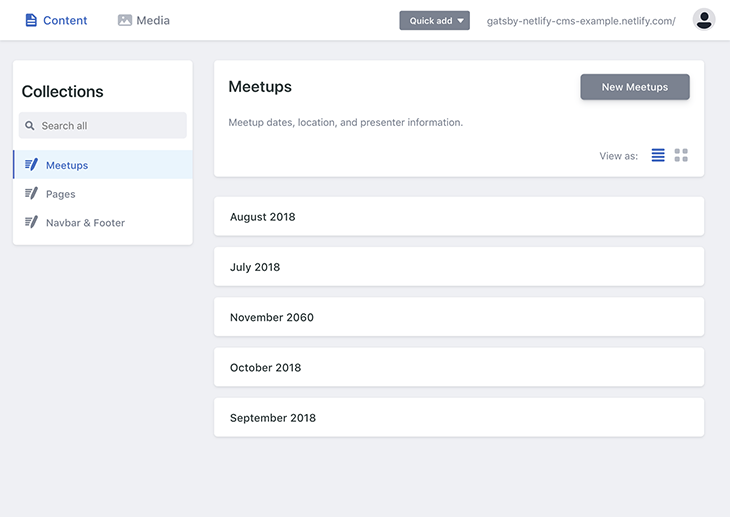
The app has been coded in such a way that all of the content displayed on the website can be configured in the CMS (even the nav bar and footer content)!
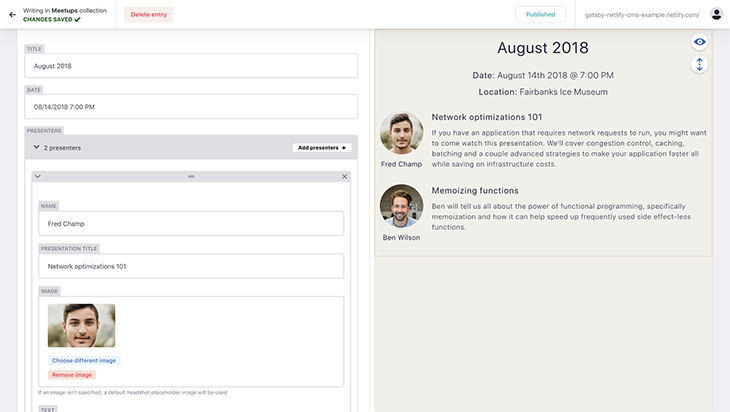
Here, we will be adding/editing a new meetup entry through the CMS.
Now, we can edit the footer through the CMS.
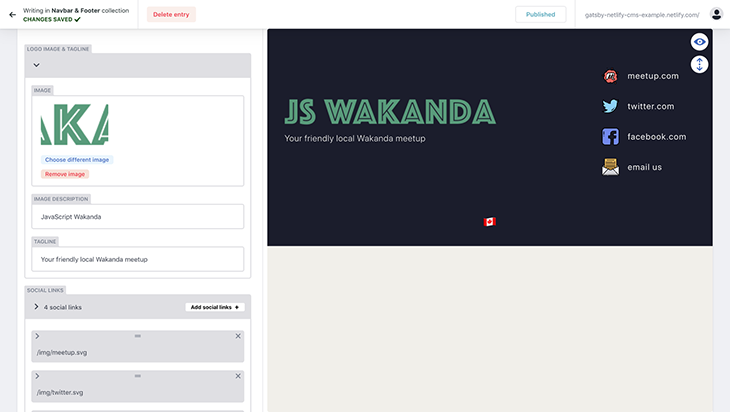
As we mentioned above, Netlify CMS allows you to view a live preview of your page while you edit content in the CMS. Setting up the preview requires a bit of thought when setting up the React code, and I haven’t had luck in having images display immediately after uploading them, but it works decently well, considering the complexities involved with displaying a live preview for a static site.
If you’re interested in learning more about how Gatsby and Netlify CMS work together, you can explore the source code for the above example application, refer to the Gatsby and Netlify CMS documentation, as well as look at a starter template for Gatsby and Netlify CMS.
Install LogRocket via npm or script tag. LogRocket.init() must be called client-side, not
server-side
$ npm i --save logrocket

// Code:

import LogRocket from 'logrocket';
LogRocket.init('app/id');
// Add to your HTML:

<script src="https://cdn.lr-ingest.com/LogRocket.min.js"></script>
<script>window.LogRocket && window.LogRocket.init('app/id');</script>
Hey there, want to help make our blog better?
Join LogRocket’s Content Advisory Board. You’ll help inform the type of content we create and get access to exclusive meetups, social accreditation, and swag.
Sign up now
Get to know RxJS features, benefits, and more to help you understand what it is, how it works, and why you should use it.

Explore how to effectively break down a monolithic application into microservices using feature flags and Flagsmith.

Native dialog and popover elements have their own well-defined roles in modern-day frontend web development. Dialog elements are known to […]

LlamaIndex provides tools for ingesting, processing, and implementing complex query workflows that combine data access with LLM prompting.