Editor’s note: This post was updated on 19 April 2023 to include information on Vitest test-timeout and instructions on how to migrate from Jest to Vitest.

When developing Vue applications, we use one or more components to ensure our code is easy to read and maintain. Verifying whether a component executes as expected without error is essential where application functionality and performance matter.
With Vue component testing, we can test our individual components to verify that they work correctly and that asynchronous operations are properly triggered. Component testing catches issues relating to components’ props, events, styles, classes, lifecycle hooks, etc.
There are many automated testing frameworks we can use for testing Vue components, such as Vitest, Jest, Cypress, etc. the Vue team recommends using Vitest to test Vue applications because of its unique features. Vitest is created and maintained by Vue and Vite team members.
In this tutorial, we’ll explore the Vitest framework, how to configure it, and how to use it to test Vue components. We’ll also cover how to use snapshots and code coverage.
To follow along with this tutorial, ensure you have Node.js installed on your computer and are familiar with Vue.
Jump ahead:
happy-domtest-timeoutVitest is a super fast testing framework that requires little configuration. Because Vitest and Vite use the same configuration file, it is simple to integrate Vitest into a Vue application.
According to the Vitest team, “Vitest aims to position itself as the Test Runner of Choice for Vite projects and as a solid alternative even for projects not using Vite.”
Vitest is compatible with the Jest API. If you are familiar with Jest, you will know how to work with Vitest. Apart from the similarities Vitest shares with the Jest API, let’s look at some of the features that make it a better testing framework:
vite.config.js file to ensure that the test environment is similar to the building environmentTo understand how to run automated component testing in Vue, let’s set up a Vue program with the following commands:
npm create vite@latest vue-app --template vue
cd vue-app
npm install
Once the project installation is complete, run the command below to start the application:
npm run dev
Open http://127.0.0.1:5173/ in the browser. You should see the app running successfully.
Now, let’s install Vitest with the command below:
npm install -D vitest
After the installation, we need to add Vitest to the package.json file. In the package.json file, add the test script as follows:
// ...
"scripts": {
  // ...
   "test": "vitest",
 },
// ...
Next, open the vitest.config.js file and add the following code to it:
import { defineConfig } from 'vite'
import vue from '@vitejs/plugin-vue'

// https://vitejs.dev/config/
export default defineConfig({
 plugins: [vue()],
 test:{
   globals:true,
 }
})
Setting the globals property to true will allow the Vitest APIs to be accessible within the test files without importing them.
happy-domTest Utils is a Vue testing library that provides methods for mounting and interacting with Vue components. Install Test Utils with the command below:
npm install --save-dev @vue/test-utils
We should be able to mock the DOM API in our component testing. Vitest currently supports both happy-dom and jsdom. In this tutorial, we’ll make use of happy-dom. Run the command below to install happy-dom:
npm install [email protected]
After installation, add –dom to the test script in the package.json file:
// …
"scripts": {
   // …
   "test": "vitest --dom",
 },
// …
Also, we need to add happy-dom to the vite.config.js file to make it globally available in our test files:
// …
 test:{
   // …
   environment: 'happy-dom',
 }
// …
Next, let’s create a simple component called GuessAge.vue that enables users to enter their name and guess the age of the user based on the name entered using the Agify.io API.
Inside the src/components folder, create a GuessAge.vue file and add the following code:
<template>
  <h1>{{ title }}</h1>
  <div class="card">
   <div style="width:400px;height:130px;margin-top:20px;border-style: dotted;" >
   <br>
    <span>Firstmame: {{firstname}}</span> <br>
    <span>Age: {{age}}</span> <br>

    </div><br><br>
     <label> Enter Firstname </label><br>
     <input type="text" v-model="search" style="font-size:20px;border-radius:10px;" placeholder=" Name ..."> <br> <br>
    <button type="button" @click="getAge">Guess Age</button>
    <br> <br> <br>
    <input type="radio" value="pop"> <label>Save my data</label>
  </div>
</template>
<script setup>
import { ref } from 'vue'
defineProps({
  title: String
})
</script>
<script>
export default {
    data() {
        return {
            search:"",
            firstname:"",
            age:"",
        }
    },
    computed: {
       getAge() {
        fetch('https://api.agify.io/?name='+ this.search)
        .then(response => response.json())
        .then(data => {
            this.age = data.age
            this.firstname = data.name
            this.search=""
        })
        }
    }
}
</script>
Now, we need to create a test file for our component. As a naming convention, the test file name has to start with the component name and end with .spec.js or .test.js. Each component should have a test file when testing multiple components.
Now, inside the components folder, create a test file called GuessAge.spec.js. The file will contain a simple test script for our GuessAge component.
Let’s test the GuessAge component to see if it receives the correct props when mounting. We can test the value of the title prop at mount time by adding the following code to the GuessAge.spec.js file:
import {mount} from "@vue/test-utils";
import GuessAge from "../components/GuessAge.vue";
// import { expect, test } from "vitest";
const wrapper = mount(GuessAge);

it("testing GuessAge component props", async () => {
  expect(GuessAge.props.title).toContain("Guess User Age App");
});
We import mount from @vue/test-utils, allowing us to wrap our component into a special object called Wrapper, which gives us various test options.
You should import { expect, test } from "vitest"; if you set the value of globals to false in the Vite configuration file.
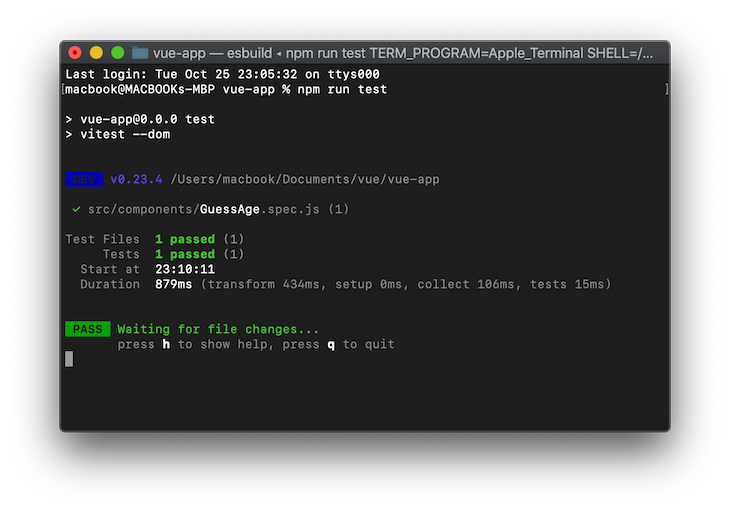
Run the command below to test the component in watch mode:
npm run test
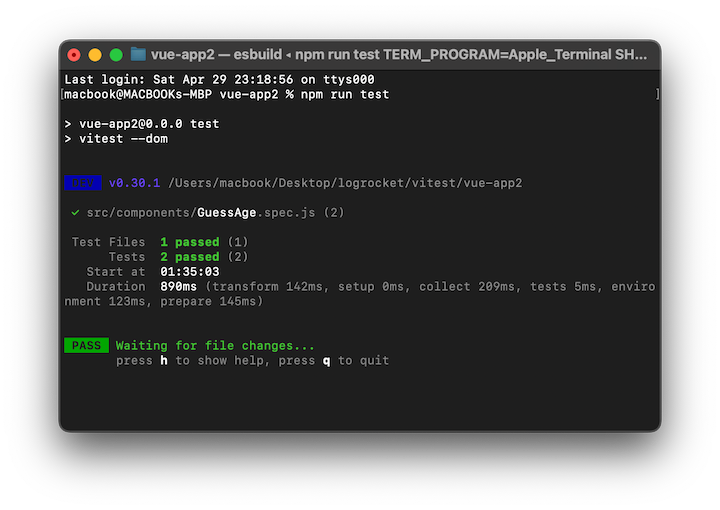
We can also check if a function exists in our application by using the toBe('function') assertion method, as shown in the code below:
it("Test if data is a function", () => {
  expect(typeof GuessAge.data).toBe("function");
});
Here’s what you should see in your terminal:
A snapshot is used to keep track of changes in the user interface. A typical snapshot test case renders a UI component, takes a snapshot, and compares it to a reference snapshot file alongside the test. It compares the current state of your UI to the established snapshots. The test will fail if the current state does not match the established state.
To run a snapshot test and keep track of changes in your UI, add the code below to the GuessAge.spec.js test file:
test('snapshot UI testing', () => {
   const wrapper = mount(GuessAge,{});
   expect(wrapper.text()).toMatchSnapshot()
  })
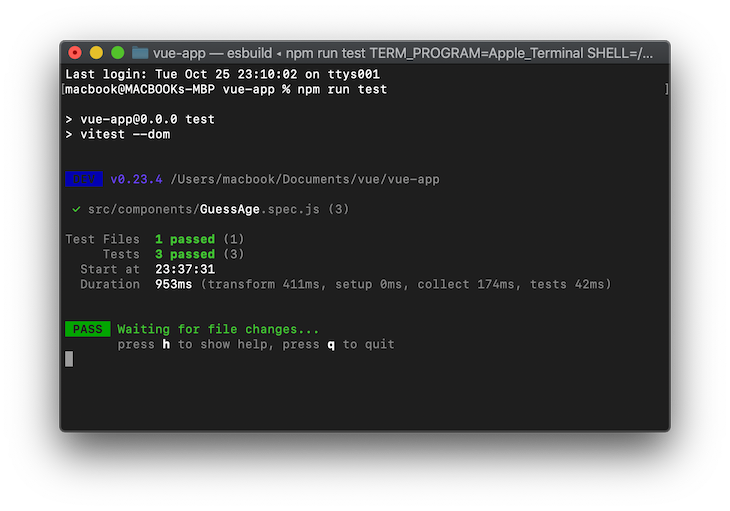
Since Vitest supports hot module reloading, you do not have to run the test command each time the test file is modified. Here’s what you should see in your terminal:
When testing Vue components with HTTP requests, we first need to mock the network request; otherwise, the test will fail.
Mocking with Mock Service Worker (MSW) makes it easy to test HTTP requests by intercepting the requests made by your tests without changing any of the application code.
Install MSW using the command below:
npm install msw --save-dev
We must import the following two dependencies inside our GuessAge.spec.js test file to use MSW:
import { setupServer } from 'msw/node'
import { rest } from 'msw'
Let’s create an instance of the mock server that would intercept the HTTP requests by adding the following code to our GuessAge.spec.js test file:
export const restHandlers = [
   rest.get('https://api.agify.io/', (req, res, ctx) => {
      return res(ctx.status(200), ctx.json([
         {
            age: 55,
            name: "tope"
         }
      ]))
   }),
]
const server = setupServer(...restHandlers)
// Start server before all tests
beforeAll(() => server.listen({ onUnhandledRequest: 'error' }))
//  Close server after all tests
afterAll(() => server.close())
// Reset handlers after each test `important for test isolation`
afterEach(() => server.resetHandlers())
Now, let’s check if a button exists in our application and whether clicking the Guess Age button will clear the input tag after fetching the user’s age:
test("has a button", () => {
  expect(wrapper.find("button").exists()).toBe(true);
});

test("Button clicked", async () => {
   const ac = await wrapper.get("button").trigger("click")
   expect(wrapper.vm.search).toEqual("")
})
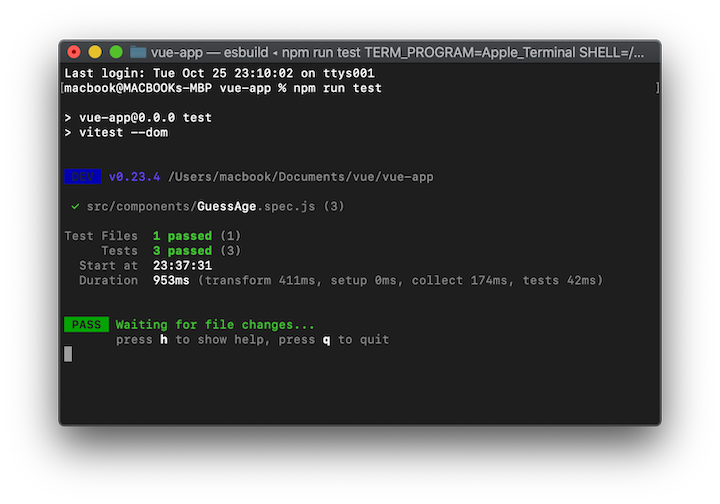
Here’s what you should see in the terminal:
To report and analyze code performance to ascertain how effective and well-written your code is, Vitest supports native code coverage via c8 and Istanbul.
To configure and run coverage testing, we need to add coverage to the vite.configure.js file as follows:
export default defineConfig({
  plugins: [vue()],
  test:{
    globals:true,
    coverage: {
      provider: 'istanbul'
    },
    environment: 'happy-dom',
  }
})
Also, we need to add coverage to the package.json file, add the coverage to the script as follows:
// ...
"scripts": {
  // ...
   "coverage": "vitest run --coverage"
 },
// ...
Now that we have configured the coverage testing, the next thing is to install Istanbul using the command below:
npm i -D @vitest/coverage-istanbul
The test files are run when the command below is executed, and Vitest will display the coverage report matrix on the terminal:
npm run coverage
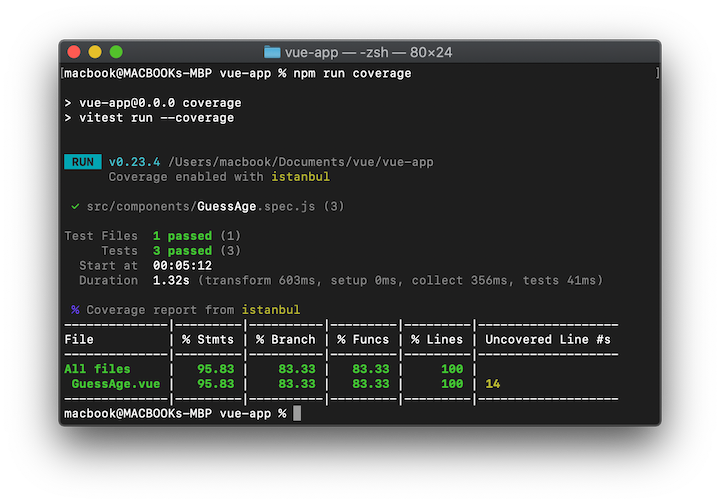
test-timeoutWhen running tests, it’s important to ensure they complete within a reasonable time. Sometimes, a test may take too long to complete, which can cause issues and delay the test suite from running. To address this, Vitest provides a test-timeout option that allows us to set a timeout for our tests. This option specifies the maximum time a test can take to complete before it fails with a timeout error.
To set a timeout for all tests and replace the default time, use the command below:
npx vitest run --test-timeout=50000
This command will set the timeout value for tests in the Vitest testing framework to 50s. You can replace this value with a different time value, depending on your test requirements.
Migrating your application tests from Jest to Vitest is very straightforward. Both testing frameworks use similar APIs, so you may not need to make significant changes to your existing code when migrating to Vitest.
Let’s walk through the steps for how to migrate an existing Jest application to Vitest:
First, we must remove Jest from our project and install Vitest along with all the necessary dependencies by running the commands below:
npm uninstall jest --save-dev
npm install vitest --save-dev
npm install --save-dev @vue/test-utils
package.json fileNext, we’ll need to update our test scripts in the package.json file to use Vitest instead of Jest. This can be done by changing the test script to Vitest:
"scripts": {
  "test": "vitest",
}
Now, let’s run the command below to test our application:
npm run test
If you’re using module mocking in your Jest test code, you’ll need to update it to the following Vitest test code:
// Jest mock code
jest.mock('./module-path', () => 'hello')

// Vitest mock code
vi.mock('./module-path', () => ({
  default: 'hello'
}))
We have successfully written automated tests for our Vue components using Vitest.
With automated testing, we can quickly and confidently prevent regressions in our Vue applications and ensure we push error-free code to production.
This tutorial taught us how to configure and use Vitest to test Vue components. You can learn more about Vitest and how to migrate from Jest to Vitest in the official docs.
Debugging Vue.js applications can be difficult, especially when users experience issues that are difficult to reproduce. If you’re interested in monitoring and tracking Vue mutations and actions for all of your users in production, try LogRocket.

LogRocket lets you replay user sessions, eliminating guesswork by showing exactly what users experienced. It captures console logs, errors, network requests, and pixel-perfect DOM recordings — compatible with all frameworks.
With Galileo AI, you can instantly identify and explain user struggles with automated monitoring of your entire product experience.
Modernize how you debug your Vue apps — start monitoring for free.
Hey there, want to help make our blog better?
Join LogRocket’s Content Advisory Board. You’ll help inform the type of content we create and get access to exclusive meetups, social accreditation, and swag.
Sign up now
This guide walks you through creating a web UI for an AI agent that browses, clicks, and extracts info from websites powered by Stagehand and Gemini.

This guide explores how to use Anthropic’s Claude 4 models, including Opus 4 and Sonnet 4, to build AI-powered applications.

Which AI frontend dev tool reigns supreme in July 2025? Check out our power rankings and use our interactive comparison tool to find out.

Learn how OpenAPI can automate API client generation to save time, reduce bugs, and streamline how your frontend app talks to backend APIs.