Editor’s note: This article was last reviewed and updated by Abiola Farounbi in January 2025 to cover how to accurately display PDFs within React applications after successfully generating them.

There are several reasons why you might want to incorporate a PDF document generator feature in your application, including:
Fortunately, the React ecosystem provides a wealth of tools offering simple ways to generate PDF documents directly within React applications.
One great tool is the react-pdf library, which simplifies the PDF generation process within your React project.
In this article, we’ll explore why you might want to implement a PDF document generation feature, the fundamentals of react-pdf, and advanced concepts. We’ll also compare react-pdf to other libraries and explore various methods for displaying PDFs within react applications.
There are many use cases for a PDF generator feature in a React application, such as offline access to the application’s content, report generation, and more. However, the most common use case for such a feature in modern apps is data exports — for example, invoices or brochures.
To put it into perspective, consider a thriving online business. Every sale means generating an invoice, a process that can quickly become tedious. In order to create a receipt for each customer, you would need to follow steps like:
Sure, that might work.
But consider this: what if the business gets hundreds of customers in a single day? This situation could result in a substantial waste of time and energy, as the same process would need to be repeated for each customer.
So, how do we mitigate this problem?
The best way to solve this issue is to automate this operation by using an API. This is where react-pdf and other similar libraries come in.
While building a PDF generator from the ground up is technically possible, it’s crucial to weigh the pros and cons before taking this approach. Let’s explore this process vs. using a third-party library to see which aligns better with your project goals.
Pros of building a PDF generator from scratch include:
However, crafting a PDF document generator from the ground up can be tedious and time-consuming. You would need to consider implementing the following features:
As you can tell, this can be quite tedious. Additionally, beyond the initial development effort, maintaining a custom PDF generator requires ongoing upkeep. Bug fixes, compatibility updates, and potential security vulnerabilities all become your responsibility.
Although the customization and learning experience of building your own PDF generator can be valuable, the time investment and ongoing maintenance burden can be significant. Using a library like react-pdf relieves you of the burden of implementing all these features, allowing you to focus on the core logic of your application.
To install react-pdf, run the following terminal command:
npm i @react-pdf/renderer
The following block of code renders a basic PDF document in the browser:
import {
  Document,
  Page,
  Text,
  View,
  StyleSheet,
  PDFViewer,
} from "@react-pdf/renderer";
// Create styles
const styles = StyleSheet.create({
  page: {
    backgroundColor: "#d11fb6",
    color: "white",
  },
  section: {
    margin: 10,
    padding: 10,
  },
  viewer: {
    width: window.innerWidth, //the pdf viewer will take up all of the width and height
    height: window.innerHeight,
  },
});

// Create Document Component
function BasicDocument() {
  return (
    <PDFViewer style={styles.viewer}>
      {/* Start of the document*/}
      <Document>
        {/*render a single page*/}
        <Page size="A4" style={styles.page}>
          <View style={styles.section}>
            <Text>Hello</Text>
          </View>
          <View style={styles.section}>
            <Text>World</Text>
          </View>
        </Page>
      </Document>
    </PDFViewer>
  );
}
export default BasicDocument;
In this code:
StyleSheet module allows developers to apply CSS code to their PDF documents. Here, we are telling React to change the background color and the font color of our pagesviewer object, we are using the width and height properties. As a result, this will tell react-pdf that we want the browser’s PDF viewer to take up all of the space on the pagePDFViewer component will render a PDF viewer on the browserLet’s test it out! As the next step, render the BasicDocument component to the DOM like so:
import BasicDocument from "./BasicDocument";
function App() {
  return (
    <div className="App">
      <BasicDocument />
    </div>
  );
}
export default App;
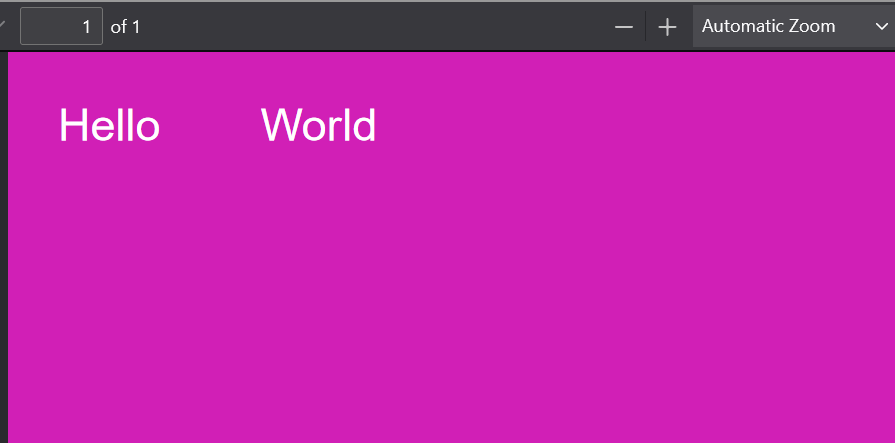
You should see the following:
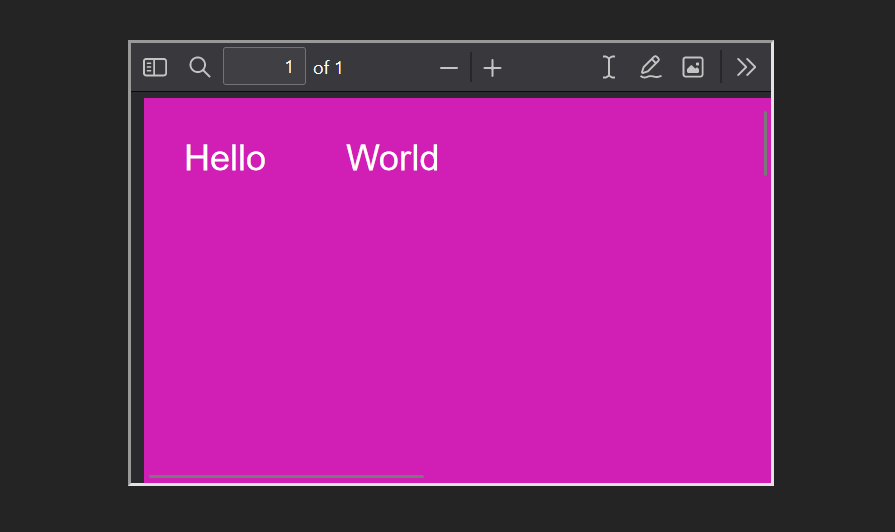
We can even reduce the viewer’s available space:
const styles = StyleSheet.create({
  viewer: {
    width: window.innerWidth / 3,
    height: window.innerHeight / 2,
  },
  //further code...
});
In this snippet, we restricted the viewport’s width and height properties. This will decrease their available sizes on the page:
The react-pdf library offers a variety of components we can display in our generated PDF. In this section, we’ll discuss and demonstrate some of these components.
We can display anchor links using the Link component. This is handy for cases where you want to redirect the user to a website:
import { Link } from "@react-pdf/renderer";
<Text>
  <Link src="www.facebook.com">Go to Facebook</Link>
</Text>
Here, we are assigning the src prop to Facebook’s website. When the user clicks on this piece of text, the app will redirect them to the page:
To attach annotations to your document, use the Note component. One critical use case for this element is when you need to display comments in a file:
import { Note } from "@react-pdf/renderer";
<Note>This will take the user to Facebook</Note>
Hovering over this annotation will display the text we set:
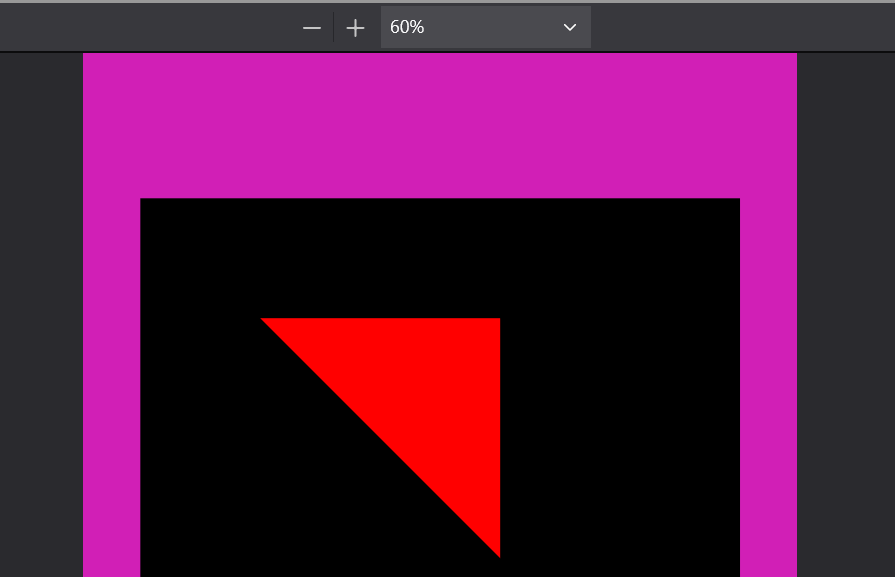
CanvasThe Canvas component lets users draw content on the page. This is suitable for displaying simple diagrams and logos in SVG format.
This code snippet renders a triangle on the page:
import { Canvas } from "@react-pdf/renderer";
// Create styles
const styles = StyleSheet.create({
  canvas: {
    backgroundColor: "black",
    height: 500,
    width: 500,
  },
});
<Canvas
  style={styles.canvas}
  paint={
    (painterObject) =>
      painterObject
        .save()
        .moveTo(100, 100) //move to position 100,100
        .lineTo(300, 100) //draw a line till 300, 100
        .lineTo(300, 300) //draw another line till 300,300
        .fill("red") //when the diagram is drawn, set the background color to pink
  }
/>
In the above snippet, we used the Canvas component to display a diagram. The paint prop is a callback function. One of its parameters is a painterObject argument, which gives us access to drawing methods:
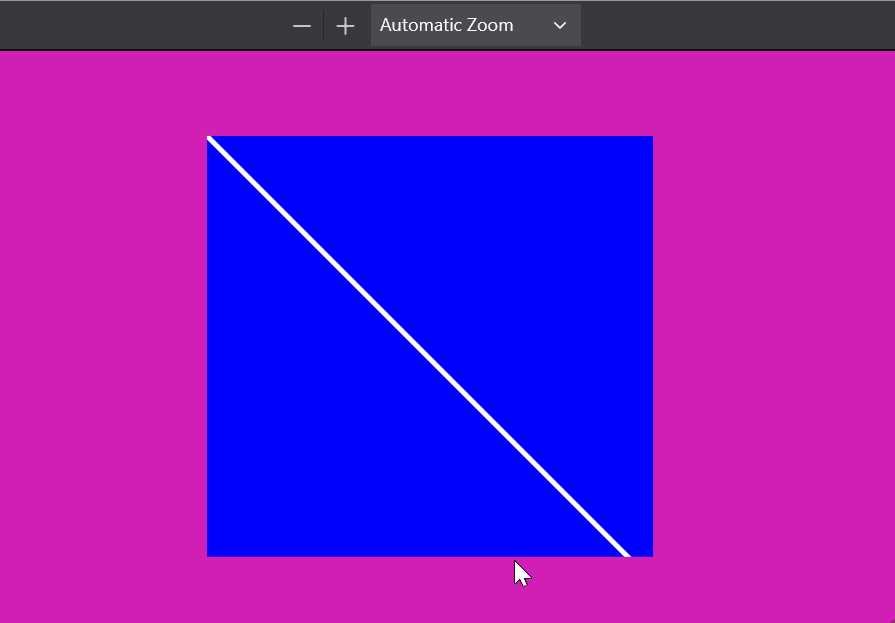
react-pdf also bundles an SVG component to render SVG diagrams. Just like Canvas, we can use this for rendering simple diagrams.
This piece of code renders a line on the page:
import { Line, Svg } from "@react-pdf/renderer";
// Create styles
const styles = StyleSheet.create({
  line: {
    x1: "0", //starting coords are x1 and y1
    y1: "0",
    x2: "200", //ending coords:
    y2: "200",
    strokeWidth: 2,
    stroke: "rgb(255,255,255)", //stroke color
  },
});
<Svg width={"50%"} height={"50%"} style={{ backgroundColor: "blue" }}>
  <Line style={styles.line} />
</Svg>
Here, we used Line to render a line in the document. Notice that Line is a child of the Svg component:
We can also use the Polygon component to render closed shapes like so:
import { Svg, Polygon } from "@react-pdf/renderer";

<Svg width={"50%"} height={"50%"} style={{ backgroundColor: "blue" }}>
  <Polygon
    points="100,100 200,100 200,250 100,250"
    fill="white" //color of background
    stroke="black" //color of border
    strokeWidth={10} //border thickness
  />
</Svg>
The points prop accepts a dataset of coordinates. This will help the app render the graphic:
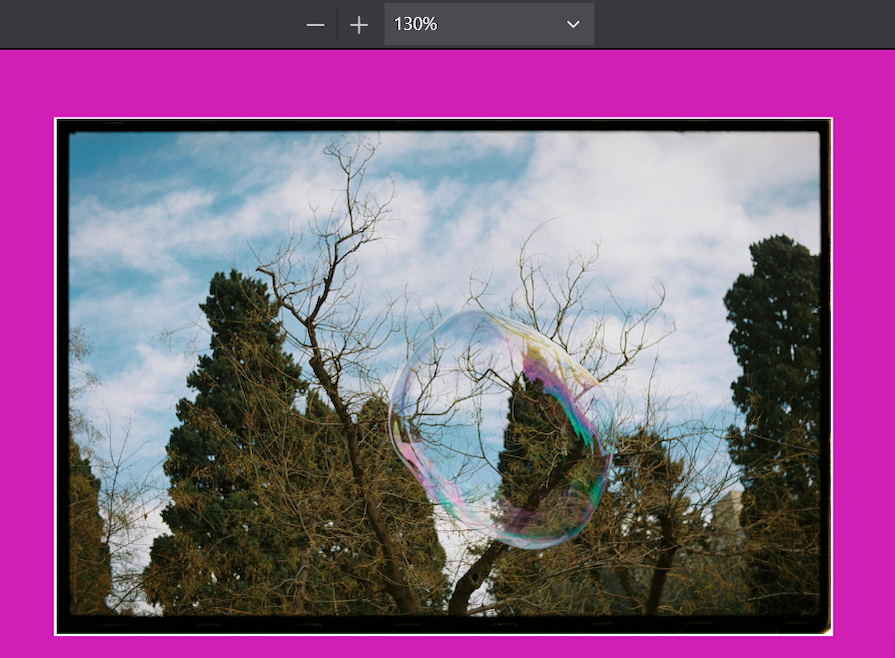
The Image component gives us the ability to insert images over the network or on a local disk. This is great for displaying complex diagrams or screenshots.
This block of code renders a 500 by 500 pixel image on the PDF:
import { Image } from "@react-pdf/renderer";
const styles = StyleSheet.create({
  image: {
    width: 500,
    height: 500,
  },
});
<Image
  style={styles.image}
  src="https://images.pexels.com/photos/20066389/pexels-photo-20066389/free-photo-of-a-bubble-is-floating-in-the-sky-over-trees.jpeg?auto=compress&cs=tinysrgb&w=1260&h=750&dpr=2"
/>
The src prop contains the source URL of the image that we want to render:
Now that we’ve gone through the fundamentals, let’s discuss some advanced concepts for using react-pdf to generate PDFs in a React project.
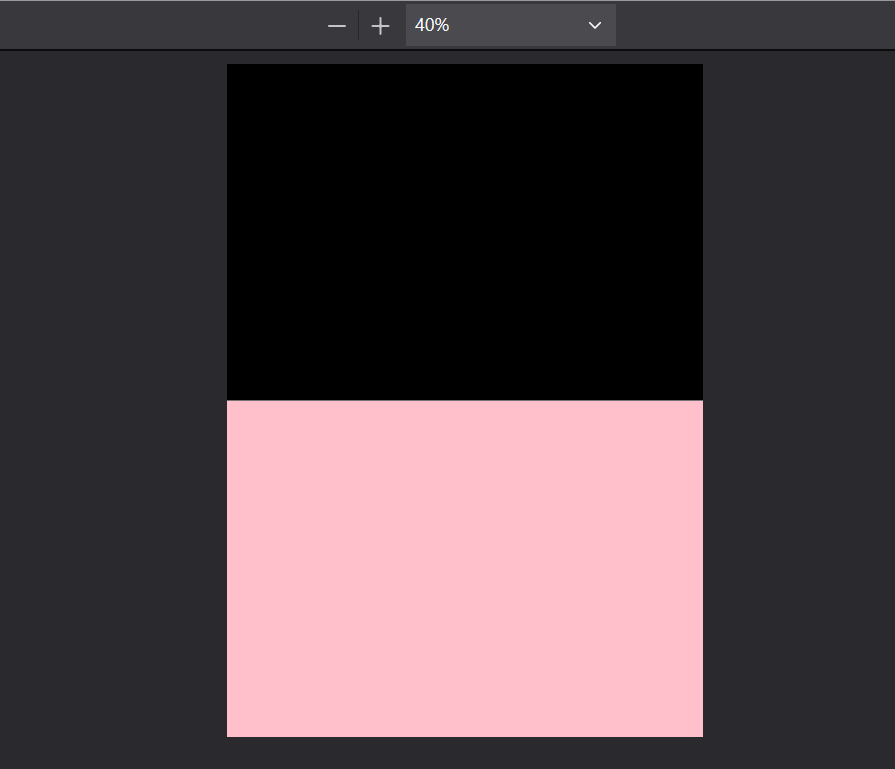
Just like CSS, react-pdf lets developers use the flex property, which allows for responsive design. This is handy for cases where you want your documents to scale up or down depending on the device’s screen size:
// Create styles. Notice that we have specified a flex direction.
const styles = StyleSheet.create({
  page: {
    flexDirection: "column",
  },
});
<Page size="A4" style={styles.page}>
  <View style={{ backgroundColor: "black", flex: 1 }}></View>
  <View style={(styles.section, { backgroundColor: "pink", flex: 1 })}></View>
</Page>
In this piece of code, we used the flex property on both of our View components. This means that half the page will have a background color of black and the other half will have a pink colored background:
Page breaks are useful for ensuring that a certain element will always show up on the top of the page. We can enable page breaks via the break prop like so:
// Create styles
const styles = StyleSheet.create({
  text: {
    fontSize: 40,
  },
});
// Create Document Component
<Page>
  <Text break style={styles.text}>
    First PDF break
  </Text>
  <Text break style={styles.text}>
    Second break
  </Text>
</Page>
The result will appear as shown below:
With react-pdf, we can render dynamic text using the render prop of the Text component like so:
<Document>
  <Page size="A4">
    <Text
      style={styles.text}
      render={({ pageNumber, totalPages }) =>
        `Page ${pageNumber} of ${totalPages}`
      }
      fixed
    />
  </Page>
  <Page>
    <Text> Hello, second page!</Text>
  </Page>
</Document>
Here, the render prop has two arguments:
pageNumber: The current index of the pagetotalPages: The total number of pages that this document containsWe are displaying both of their values to the client:
Note that the render function is executed twice for <Text /> elements: once for layout on the page wrapping process, and again after it knows how many pages the document will have. Therefore, use it in cases where app performance is not a problem.
We can also use the render prop on our View element:
<View render={({ pageNumber }) => (
    //detect if user is NOT on an even page:
        pageNumber % 2 === 0 && (
          <View style={{ background: 'red' }}>
            {/*If condition is fulfilled, display this component*/}
            <Text>I'm only visible in odd pages!</Text>
          </View>
        )
      )} />
The react-pdf library is just one of the many tools available in the React ecosystem to help generate, render, annotate, or style PDF documents in a React application. Let’s explore other tools that you can use either in place of or alongside the react-pdf library and discuss their unique features and ideal use cases.
react-pdf-highlighter is a lightweight PDF annotation library built on the PDF.js package by Mozilla. You can use this package alongside other libraries that generate or render PDF documents (such as react-pdf) by integrating annotation features such as highlighting text in PDF documents after generating them.
The react-pdf-highlighter package undergoes regular updates and has 900+ stars on GitHub and 5K+ weekly downloads on npm.
Features of react-pdf-highlighter include:
Quickstart command:
npm i react-pdf-highlighter
react-pdf-tailwind is not exactly a PDF generator or renderer. It’s more of a utility tool that allows you to style PDF documents created with libraries, such as the react-pdf library, using Tailwind utility classes.
Because it’s built on Tailwind, it undergoes constant updates. It has over 300 stars on GitHub and 6K+ weekly downloads on npm. The react-pdf-tailwind library is basically a wrapper for Tailwind, so it doesn’t have any distinct features other than to style PDF documents using Tailwind utility classes.
Quickstart command:
npm i react-pdf-tailwind
react-print-pdf is an across-the-board solution for creating PDF documents in a React application. Unlike other solutions, react-print-pdf gives you full control over your document’s layout. You can design complex and customized layouts with features like footnotes, headers, margins, and more.
This open source package has good community support, undergoes constant updates, and has over 2K+ stars on GitHub.
Features of react-print-pdf include:
Quickstart command:
npm install @onedoc/react-print
After generating PDFs, the next step is to accurately display them in your application.
PDFs can be displayed in React apps using various methods, including standard HTML elements and PDF viewing libraries like the ones mentioned above. These approaches provide flexibility depending on your use case, from simple embedding to advanced rendering.
A commonly used method for doing so is using the <iframe> element. You can embed the PDF file by setting its src attribute to the PDF’s file path:
import React from 'react';

const IframePDFViewer = () => {
 return (
 <div>
  <iframe
    src="/document.pdf" //specify the path the PDF file
    title="Sample PDF "
    style={{width: '600px', height: '500px'}} //specify styling options
  />
 </div>
 );
};
export default IframePDFViewer;
Another method is using the <embed> element. It provides a straightforward method to display PDF files directly on a page but offers limited customization and flexibility in how the PDF is rendered:
import React from 'react';

const EmbedPDFViewer = () => {
 return (
 <div>
   <embed
      src="/document.pdf" //specify the path the PDF file
      type="application/pdf" //specify the type of file
      width="100%"
      height="600px"
   />
 </div>
 );
};
export default EmbedPDFViewer;
Another method for displaying PDFs in React apps is using the <object> element. This element defines a container for an external resource like PDFs. It also provides additional fallback for providing fallback content for incompatible browsers:
import React from 'react';

const ObjectPDFViewer = () => {
 return (
 <div>
   <object
      data="/document.pdf"  //specify the path the PDF file
      type="application/pdf" //specify the type of file
      width="600px"
      height="600px">
      <p>Here's a link to <a href="/document.pdf">the PDF</a>instead.</p>
   </object>
 </div>
 );
};
export default ObjectPDFViewer;
N.B., static assets such as PDF files are typically placed in the public folder of your project. This folder is directly accessible via the root URL of your application, making it an ideal location for serving files that need to be publicly accessible.
We can also use the wojtekmaj/react-pdf package to display PDFs in React applications. This approach comes with control and flexibility in how the PDFs are displayed. The package is designed solely for displaying or rendering PDF documents, making it suitable for use alongside a PDF generator such as the react-pdf package.
wojtekmaj/react-pdf has excellent community support and undergoes constant updates. Additionally, it boasts over 9K+ stars on GitHub and 900K+ weekly downloads on npm. With such popularity, you can be assured that it is suitable for use in your applications.
Features of the wojtekmaj/react-pdf library include:
Quickstart command:
npm i react-pdf
An example use case is using the library to display PDFs one page at a time:
import React, { useState } from "react";
import { Document, Page } from "react-pdf";

export default function DisplayPDF() {

  const [numPages, setNumPages] = useState(null);
  const [pageNumber, setPageNumber] = useState(1);

  const filePath = "/document.pdf";

  function onDocumentLoadSuccess({ numPages }) {
    setNumPages(numPages);
  }

  function changePage(offset) {
    setPageNumber((prevPageNumber) => {
      const newPageNumber = prevPageNumber + offset;
      if (newPageNumber >= 1 && newPageNumber <= numPages) {
        return newPageNumber;
      }
      return prevPageNumber;
    });
  }

  return (
    <>
      <Document
        file={filePath}
        options={{ workerSrc: "/pdf.worker.js" }}
        onLoadSuccess={onDocumentLoadSuccess}
      >
        <Page pageNumber={pageNumber} />
      </Document>
      <div>
        <p>
          Page {pageNumber || (numPages ? 1 : "--")} of {numPages || "--"}
        </p>
        <button
          type="button"
          disabled={pageNumber <= 1}
          onClick={() => changePage(-1)}
        >
          Previous
        </button>
        <button
          type="button"
          disabled={pageNumber >= numPages}
          onClick={() => changePage(1)}
        >
          Next
        </button>
      </div>
    </>
  );
}
In this code:
pageNumber and numPages are initially defined to manage the current page and the total number of pages<Document> component loads the PDF file (/document.pdf) and uses the onLoadSuccess callback to retrieve the total number of pagesoptions property specifies the path to the PDF worker script required by the library for efficient rendering<Page> component displays the current PDF page based on the pageNumberpageNumber state accordingly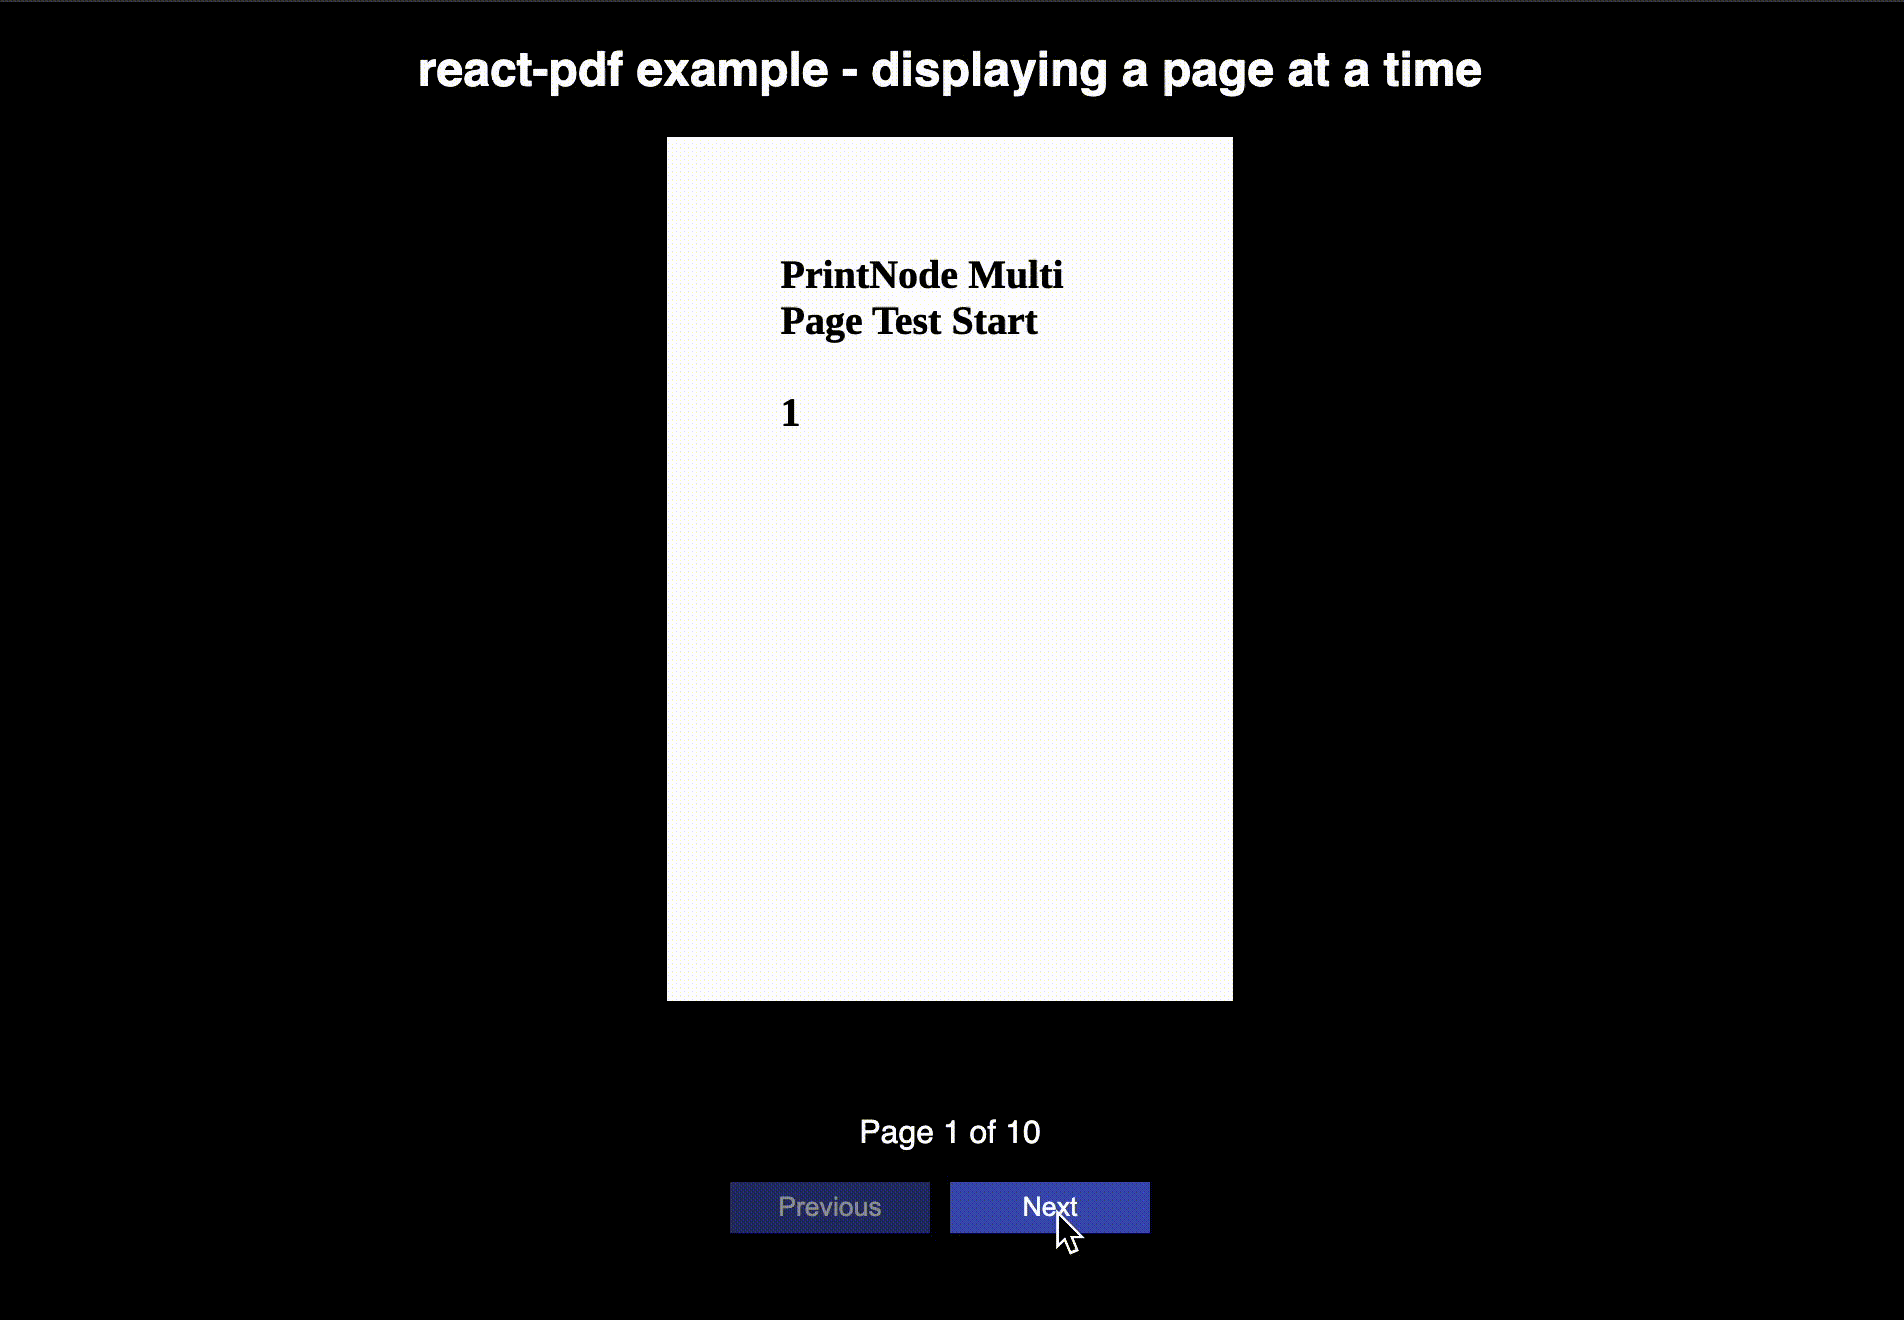
In this article, we covered the fundamentals of the react-pdf library. Not only is it secure and robust, but it is also lightweight, thus bringing good performance to the table. We also covered different methods of displaying PDFs in the browser and how to display PDFs one page at a time.
Thank you for reading. Happy coding!
Install LogRocket via npm or script tag. LogRocket.init() must be called client-side, not
server-side
$ npm i --save logrocket

// Code:

import LogRocket from 'logrocket';
LogRocket.init('app/id');
// Add to your HTML:

<script src="https://cdn.lr-ingest.com/LogRocket.min.js"></script>
<script>window.LogRocket && window.LogRocket.init('app/id');</script>

Learn how to build smooth staggered animations in CSS using modern features like sibling-index(), complete with practical examples, fallbacks, and accessibility tips.

Compare the top AI development tools and models of July 2026. View updated rankings, feature breakdowns, and find the best fit for you.

Learn how to detect unused and ghost dependencies in JavaScript projects using Knip, a project-level linter that keeps your dependency graph accurate.

Learn how Storybook MCP enables AI agents to understand your component library, generate accurate UI, and validate code using documentation, stories, and automated tests.
Would you be interested in joining LogRocket's developer community?
Join LogRocket’s Content Advisory Board. You’ll help inform the type of content we create and get access to exclusive meetups, social accreditation, and swag.
Sign up now

