After working on mobile application development for a few years, I started to develop 2D games. In this article, I would like to share with you my observations and compare two different concepts in the scope of mobile development. I will walk through the differences one by one and add example code snippets from my example of a Swift, SpriteKit 2D game.
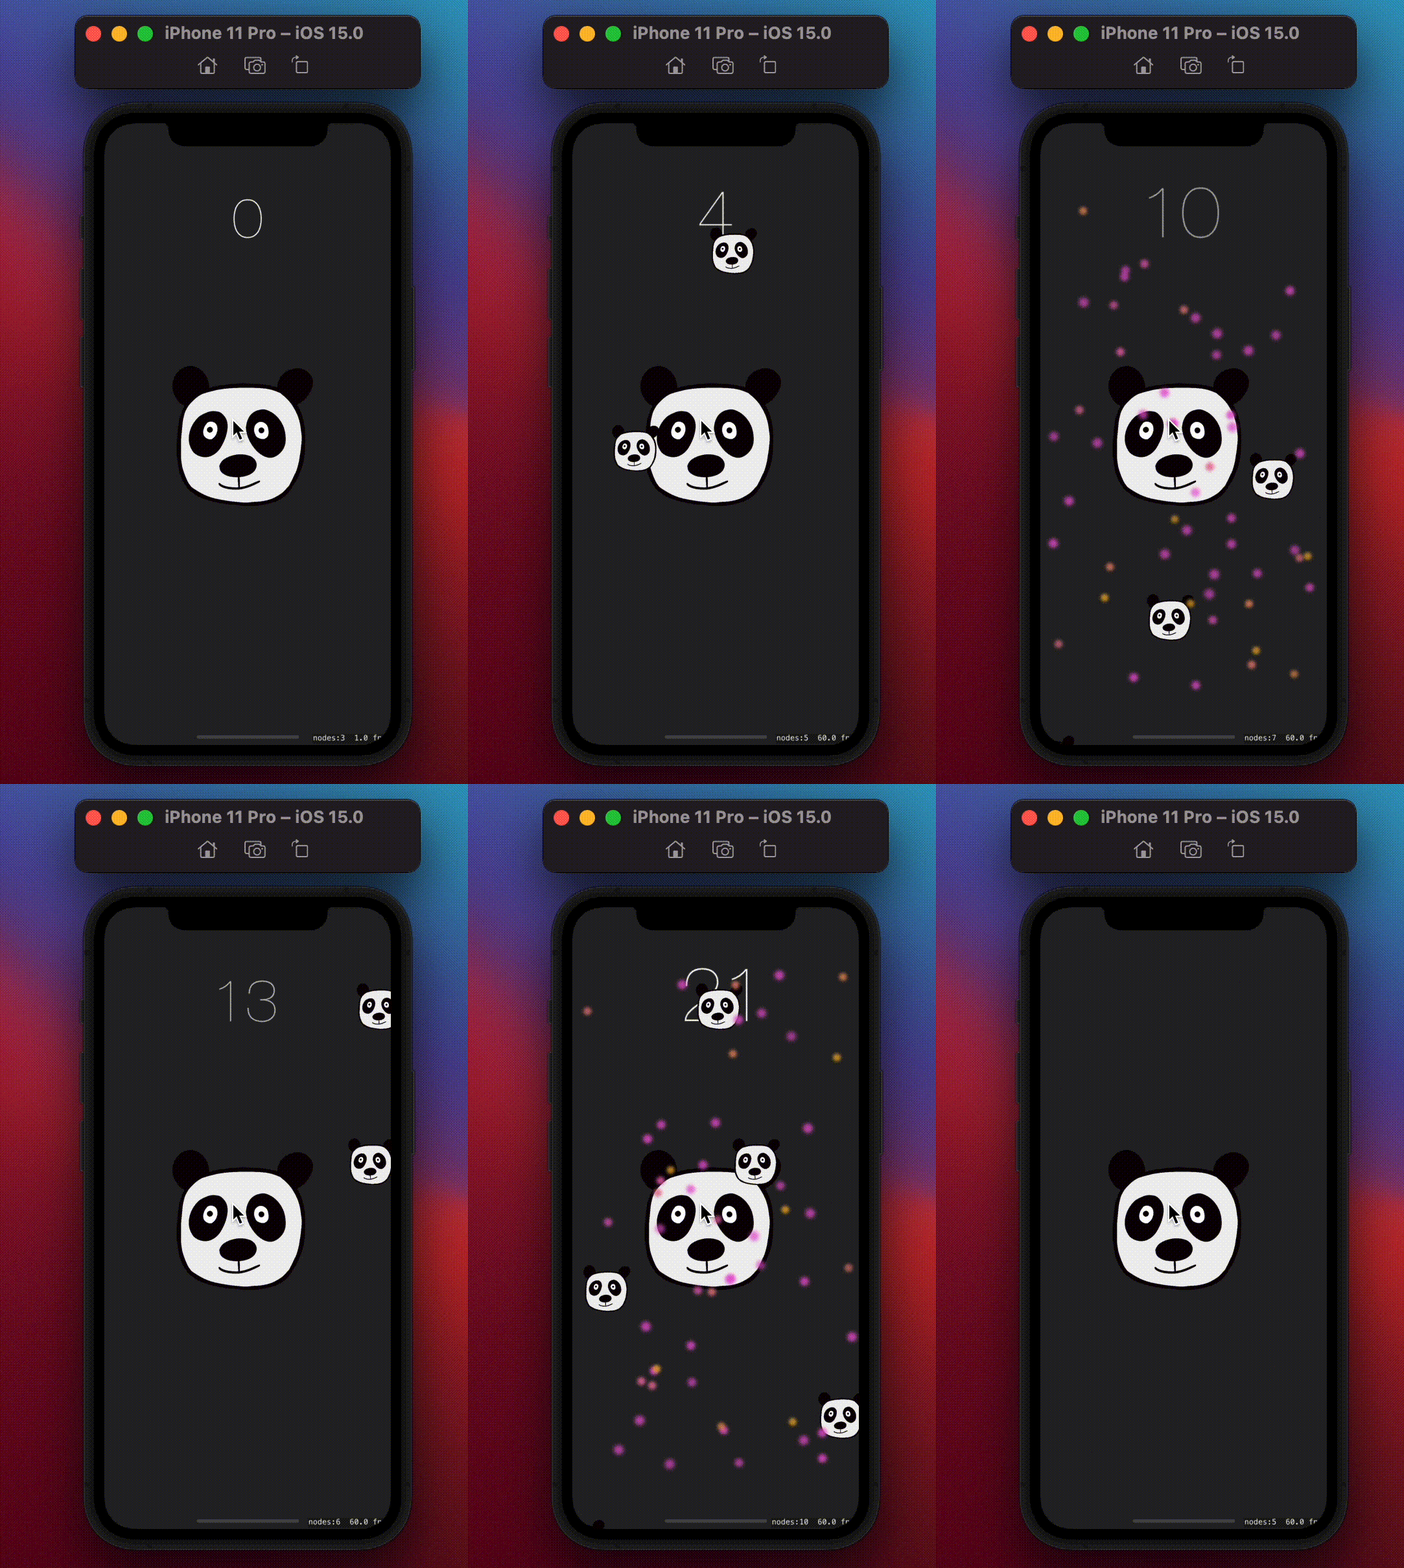
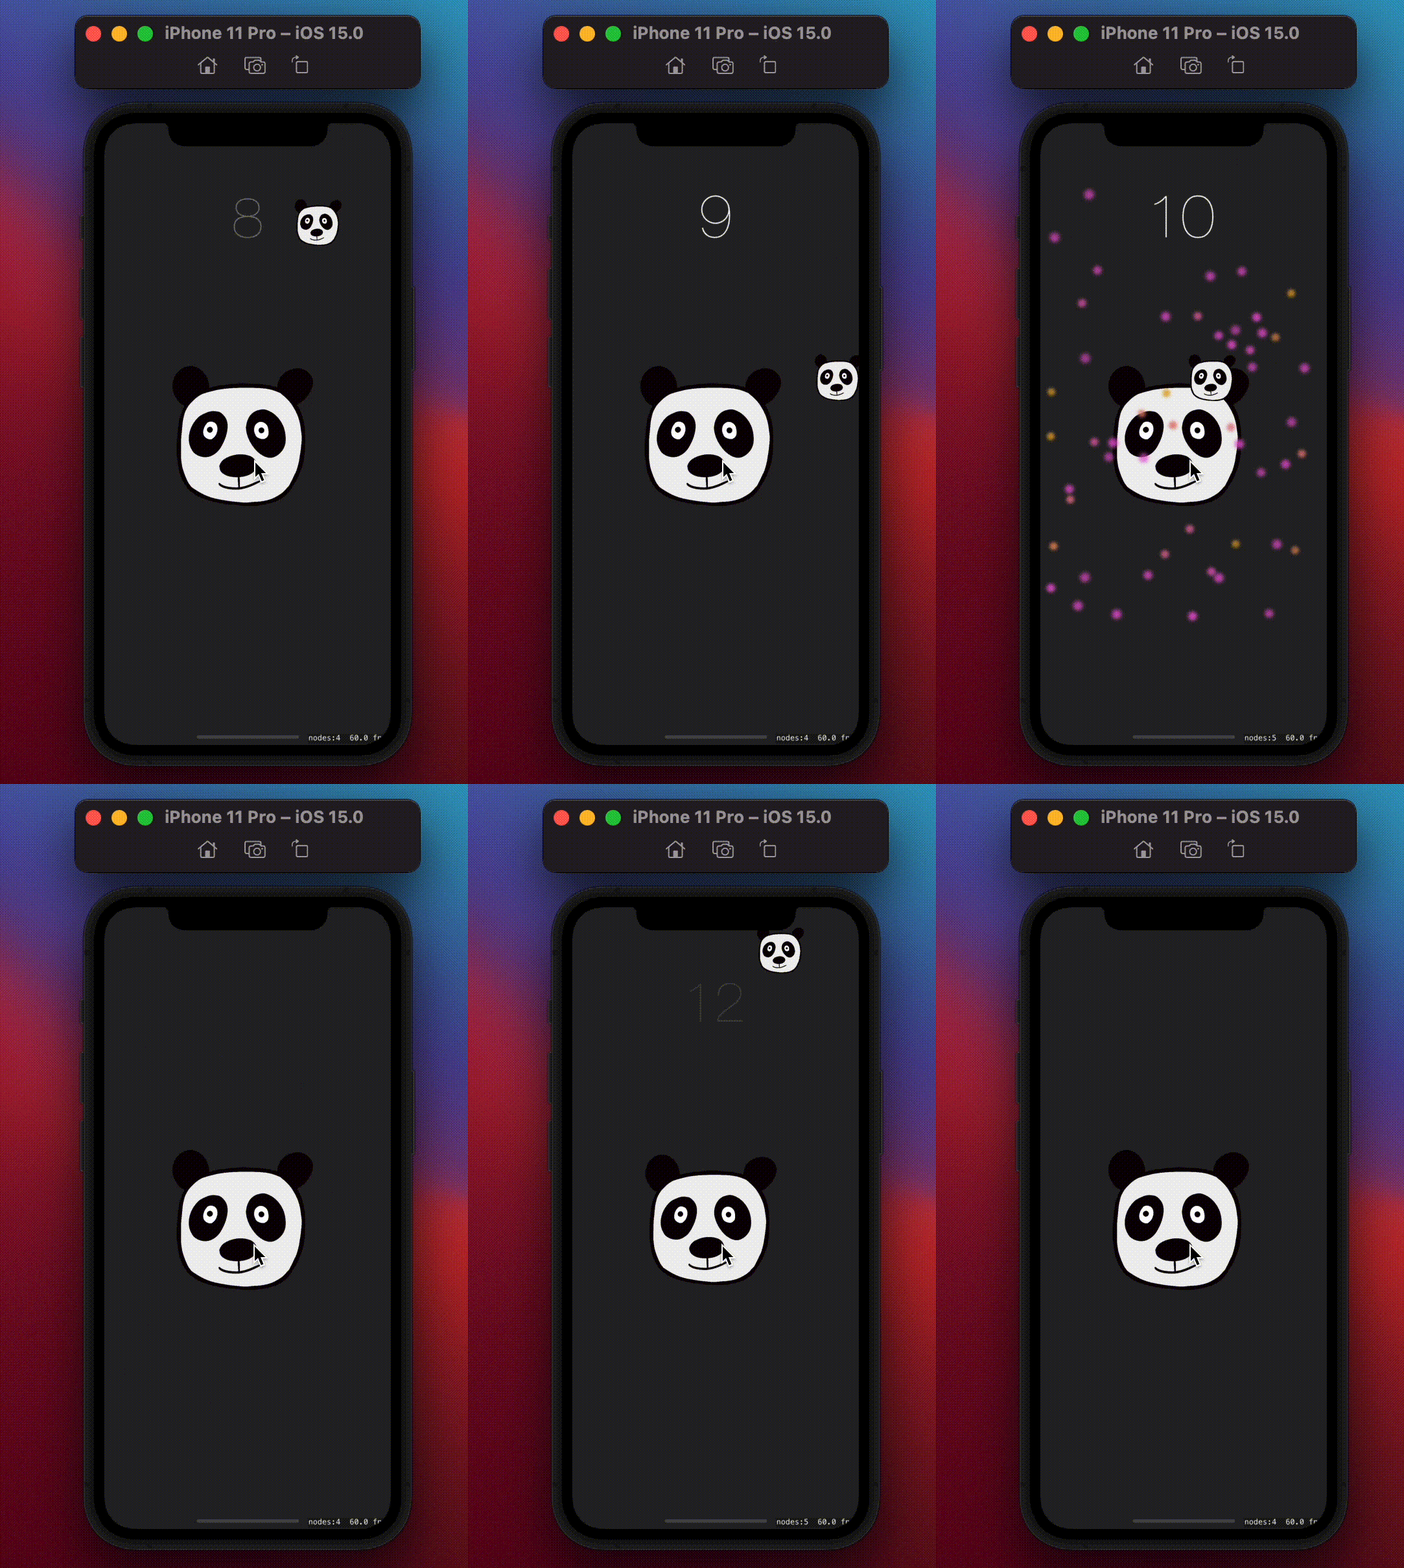
My game is called Panda Clicker, and the aim is to touch the Panda image in the center of the screen. In each touch, a small panda slides from the top of the screen, a sound plays, and the score increases. When the score becomes a number that is a multiplier of 10, the device vibrates, and the user sees a particle animation on the screen. You may reach the source code here. 🐼 I will cover it in this article in detail.
During this article, I will mention nodes and scenes. Let’s talk about what they are first.
In SpriteKit, nodes are organized hierarchically into node trees, similar to how views and subviews work. Apple’s developer docs put it this way: “Most commonly, a node tree is defined with a scene node as the root node and other content nodes as descendants. The scene node runs an animation loop that processes actions on the nodes, simulates physics, and renders the contents of the node tree for display.”
With that in mind, we are ready to talk about the comparison between 2D games and mobile development!
While you are developing a game, you need to think more about the senses. What will be the player hear when they click that button? What will they feel while holding their phone? What visuals will they see? How long will that animation take? What will be the aim for the user? You will probably need to think differently than developing a mobile application. Let’s start! 🕵🏼♀️
You may have seen an example of a treasure hunt game. As a basic explanation, it is a game where a user attempts to find something that has been hidden.
I am adding an example from the Sims Mobile Treasure Hunt event. In this example GIF below, two spots have fifty ancient relics and one has thirty golden bunnies. Each time, the rewards in the area (and the spots with these awards) generate randomly, and there is one chance to select — or you need to spend some SimCash to get one more chance, but whatever. 🙂
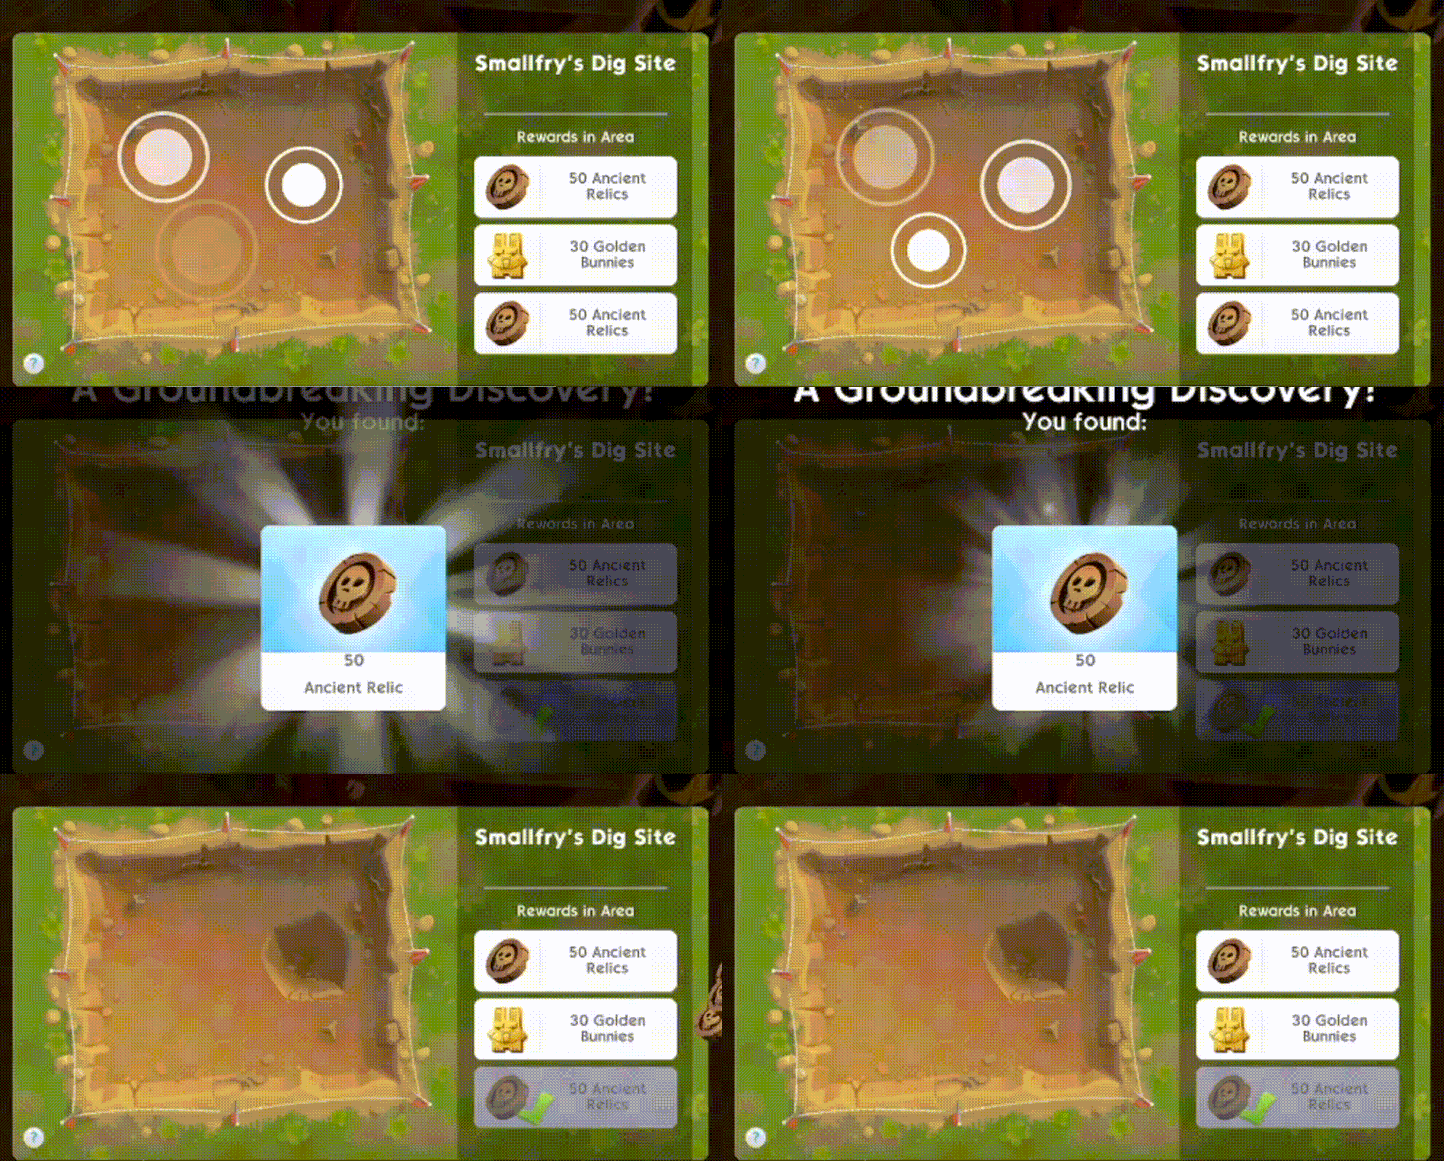
If we could have the treasures in the same positions, the game wouldn’t be entertaining, right? If I knew the left one always contains golden bunnies, how would I get excited? It would be consistent, stable, and boring. We are looking for randomness here to have fun. It gives us uncertainty about where the treasure is. It gives a little bit of stress, but also joy when we succeed. Trying to find where would it be and listening to my instincts about the treasure position is the fun part of this game.
However, we wouldn’t like randomness in a bank application. Imagine you open your transfers page and your transfers are not ordered chronologically. No way! Every user would be complaining about it.
We are more looking for consistency in the mobile applications to use them easily. Otherwise, users get confused about finding the section they need. But in a mobile game, randomness is one of the things that will help you to achieve fun!
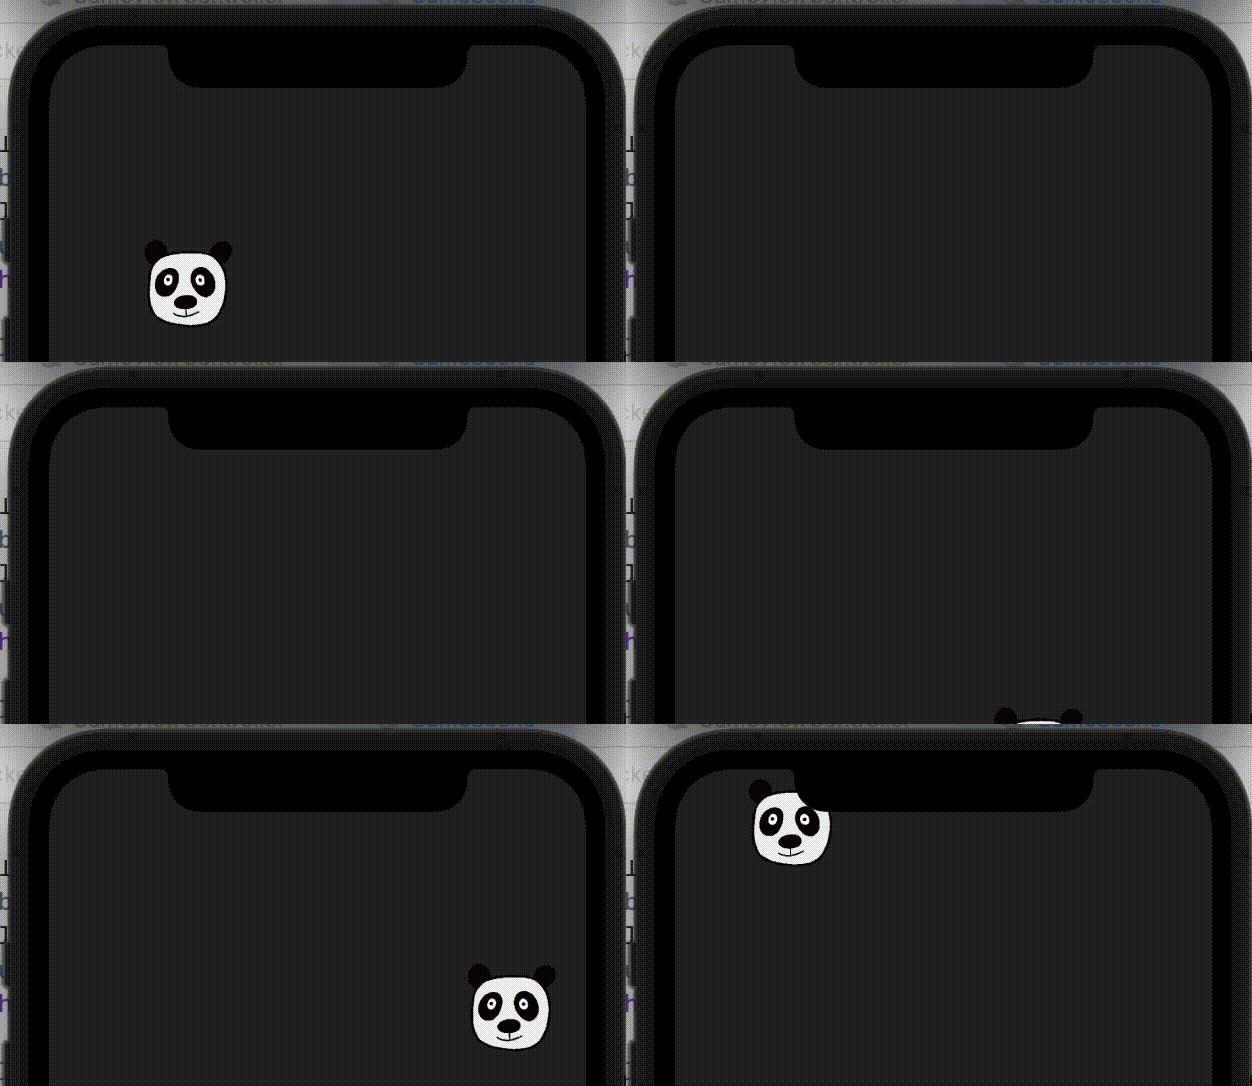
I am adding an example code snippet below to give you an idea about randomness. It is from Panda Clicker, which is my example project. The following code creates a node for the scene. I added an image I drew on Procreate and called it “panda.”
It gets the image and creates a node called “panda.” It gets a random x position between 0 and the screen width. Then, it positions the node in that random x position at the top of the screen. How they slide on the screen is the topic of the animations that we will cover later on:
let screenSize: CGRect = UIScreen.main.bounds
let panda = SKSpriteNode(imageNamed: "panda")
let randomXPos = CGFloat.random(in: 0..<screenSize.width)
panda.position = CGPoint(x: randomXPos, y: screenSize.height)
While I am developing the user interface in a mobile application, I don’t need to calculate much. The paddings, height, and width are certain and I can reach the values on Figma. I never calculated a complex equation in developing UI.
However, developing a mobile game was different. As I stated before, there might be randomness in 2D games, and maybe in the specific part of a screen. You need to set the boundaries for that randomness.
Let’s say there will be images in those random positions. What happens when your image’s center is inside the boundaries but some parts overflow? You also need to consider your image size. How about the boundaries? They may differ depending on device; some devices have larger widths, some devices have larger heights. You need to consider the device size. You need to think about this in detail and calculate more!
Apple’s developer docs have this to say: “Although you can control the exact position of every node in a scene, often you want these nodes to interact with each other, colliding with each other. You might also want to do things that are not handled by the action system, such as simulating gravity and other forces.”
For these purposes, you need to add a physics engine to your game. SpriteKit and Unity have this feature already. To hear more about the physics engine, you can check out this video on designing a physics engine.
In mobile app development, there is no need to handle inputs manually. However, in game development, inputs are the most important part of games. As developers, we are coding according to the input we take from a gamepad, touch, mousepad, keyboard, and so on to provide the best user experience.
In our case, this is a mobile game, therefore touch is important as an input. In application development, UI elements are giving the data of what the user touched on the screen. In game development, we are converting the screen position as a game camera and finding the touch position of the user.
In mobile applications such as a bank application or a chat application, you probably do not see animations as much as in 2D games. The user doesn’t have an interest in animation in a bank application; they would like to use a bank application in a secure, fast, and easy way! Good user experience is the key!
When it comes to 2D games, animations are what make the games fancier. Just think about match-three games like Candy Crush. Think about this game without any animations. The box just disappears when you clicked. The lack of feedback would make users disinterested. When developing games, animations are not a must, but they’re recommended if you want to attract users.
Just a basic example to show the difference with and without animation below.

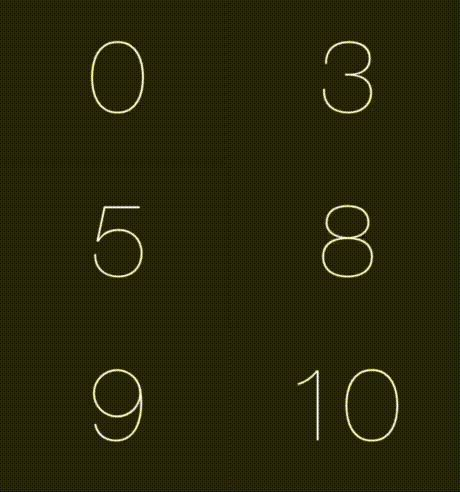
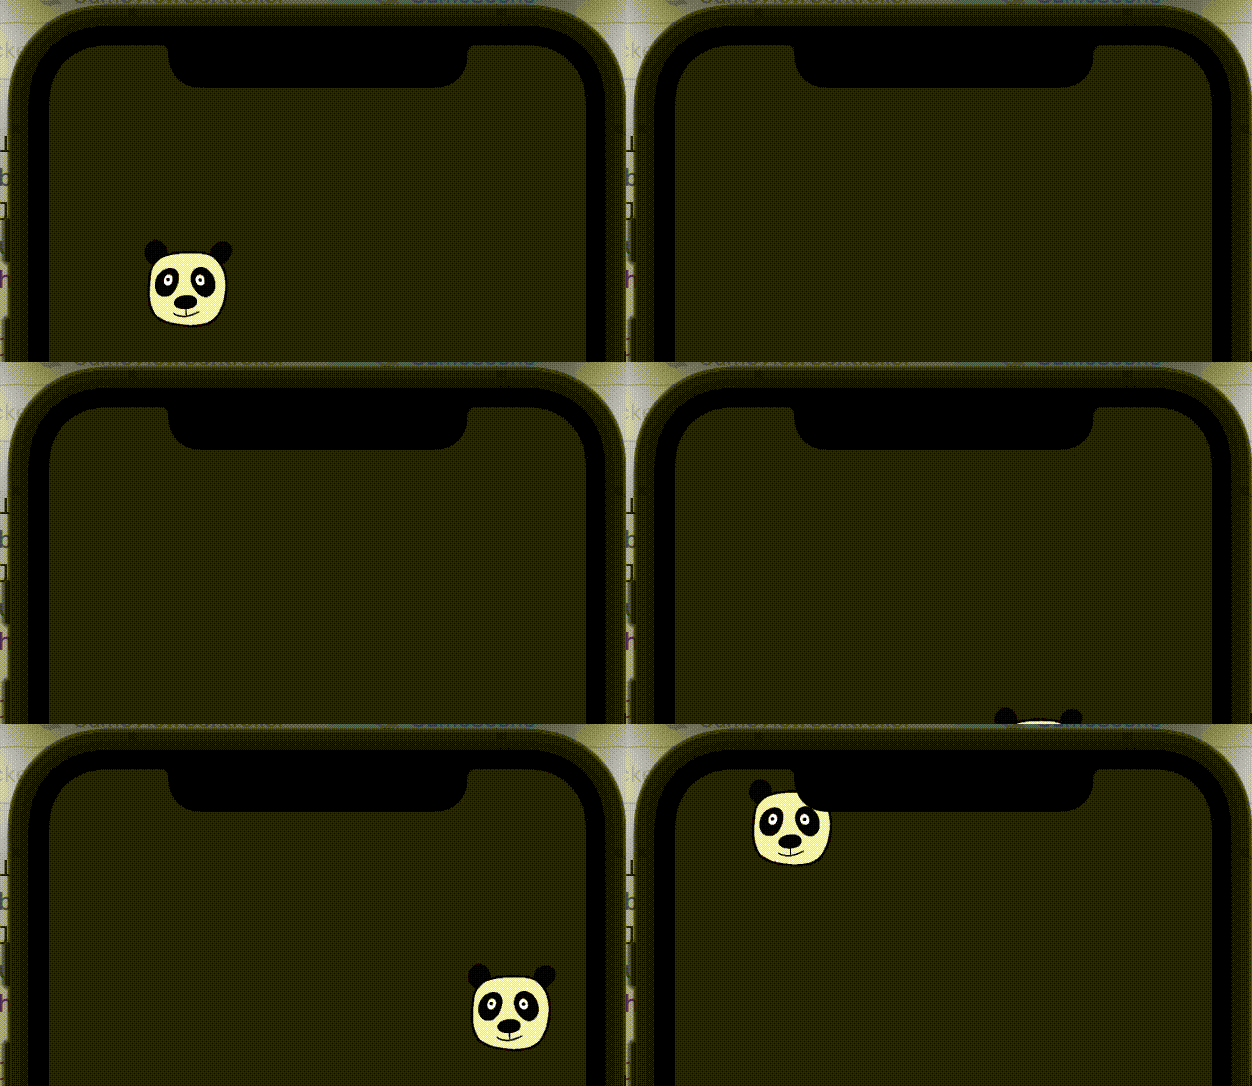
In the Randomness section, we saw the pandas sliding down the screen at a random x coordinate. Now it’s time to hear more about how they slide. In the below code, let’s recall how to add the node to the screen. Then just a statement provided slides it: that moveTo() function.
// recall creating a node and giving a random x position at the top of the screen
let panda = SKSpriteNode(imageNamed: "panda")
let randomXPos = CGFloat.random(in: 0..<screenWidth)
panda.position = CGPoint(x: randomXPos, y: screenHeight)

// below codes moves the node to the -72 in the y coordinate, in the 0.80 seconds and removes the node from the scene.
panda.run(.sequence([
      .moveTo(y: -72, duration: 0.80),
      .removeFromParent()
      ]))
When we are considering animations, there can be elements that move on the screen, or an effect called particles. A particle system is a complex node that emits these so-called particles in the game scene. Particle effects are largely used in video games for various graphic touches — glitter, smoke, explosions, rain, snow, and so on.
In comparison to mobile app development, no one thinks about adding particles to the screen when you are just sending some money to someone else, but in a game, it needs to be exciting and engaging. Luckily, particles will help you to achieve that! Add special effects to your app, such as glittering or realistic fire with smoke, using particle effects.
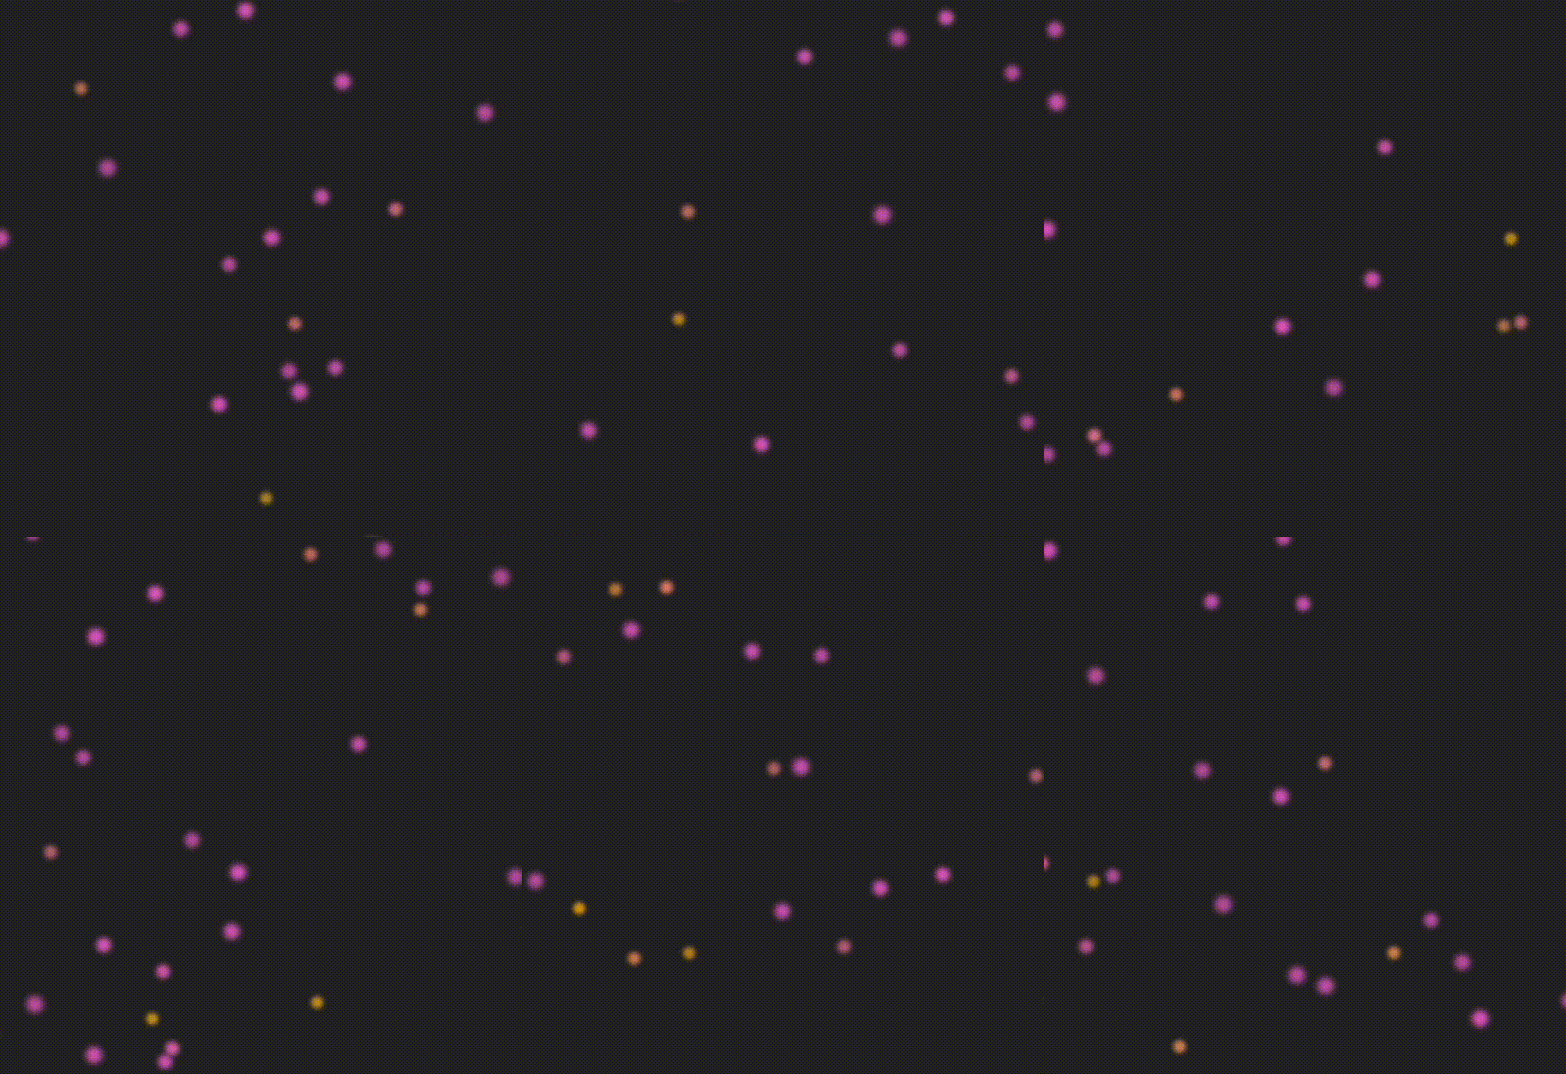
If you are developing using SpriteKit, you may create and configure particle effects using Xcode’s SpriteKit Particle Editor, or in code. In PandaClicker, I created a SpriteKit Particle File and called it “MagicParticle.” I changed the values on the Xcode editor like the amount of the particles and the colors. Particles appear when the score is a multiplier of 10 and then disappear.
if let myEmitter =  SKEmitterNode(fileNamed: "MagicParticle.sks") {
      myEmitter.position = CGPoint(x: screenWidth / 2, y: screenHeight / 2)
      addChild(myEmitter)
}
In the above code snippet, I created an emitter node and I positioned the node in the center of the screen. Then I added it as a child of the scene’s root node.
Until now, we have covered some visual elements. Let’s change the topic and talk about haptics. It is the use of technology that stimulates the senses of touch and motion. In other words, it is the science and technology of transmitting and understanding information through touch.
As macReports puts it, “Some iPhone models include haptic feedback (also called Haptics or System Haptics). This feature uses the Taptic Engine to provide haptic feedback, combined with an audible tone and/or visual feedback. Taptic Engine produces vibration and haptic feedback functions.”
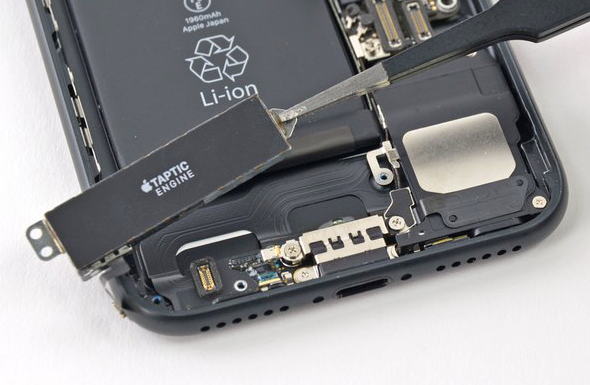
When we are addressing the player’s senses, it is a great option to provide something that the player will feel. Therefore, it is engaging to feel something through your phone when it’s quite exciting at that moment in the game!
In Panda Clicker, I have added the haptics when the user achieves a score that is a multiplier of 10. I am adding the haptics code below. I have selected the medium style, you may choose what you desire by trial and error. If your device doesn’t support this feature, but you would like to get an idea of how it works, check out information on haptics here. It shows you how they sound and feel:
let generator = UIImpactFeedbackGenerator(style: .medium)
generator.impactOccurred()
The above video shows how the medium impact haptic sounds. Also, bear in mind that this feature requires hardware, it is not possible to see if your haptics code runs as you desire on a simulator. You have to test it on a physical device that supports haptics.
We covered touch senses, but what about hearing? When you are developing a game, sounds are essential as well. You may put background music, or just add sound effects, or why not both? You need to consider the harmony between the game and the sounds. If you are working with a design team, they will probably give you the sound files, but if you are an indie developer working alone, you need to think about your own.
I found royalty-free sound to add to Panda Clicker and named it panda_tap.mp3. When the player touches the big panda on the screen, the following code runs and the panda_tap sound plays:
SKAction.playSoundFileNamed("panda_tap.mp3", waitForCompletion: true)
We walked through randomness before, and when it comes to sounds we may randomize them as well! We may have several sounds for the win case of the game to make it more exciting!
An example code snippet is below. It is not from Panda Clicker, but I am adding it as an example of randomness in sounds. In this code, we have four sound files in an array that gets a random element in that array and assigns it to a randomWinSound variable. Then, SKAction plays the randomWinSound:
var randomWinSound = ["AudioAssets/perfect.mp3",
                      "AudioAssets/awesome.mp3",
                      "AudioAssets/well_done.mp3",
                      "AudioAssets/congrats.mp3"].randomElement()!
SKAction.playSoundFileNamed(randomWinSound, waitForCompletion: true)
In mobile applications, there is no win or lose. However, when we are developing a mobile game, it is better to have winning or losing for anything to make users play with a purpose!
If you start developing, you should consider: what will be the player’s purpose? What will be the obstacles to achieving that or what would make them fail? You need to think from the player’s perspective and how will they engage with the game.
These are all of my observations until now. I hope it gives you an idea about the comparison of mobile app development and mobile game development. Your experiences may differ, but I wanted to share my journey and point of view. You may check out my example 2D game called Panda Clicker here.
You may reach me via [email protected] for any feedback or questions.
See you in the next article! 🥰
Take care 🥳
https://www.ultraleap.com/company/news/blog/what-is-haptics/
https://developer.apple.com/documentation/uikit/animationandhaptics
https://www.androidcentral.com/haptic-feedback-most-important-smartphone-feature-no-one-talks-about
https://developer.apple.com/documentation/spritekit/sknode/gettingstartedwith_nodes
https://macreports.com/iphone-system-haptics-what-they-are-enable-or-disable/
Install LogRocket via npm or script tag. LogRocket.init() must be called client-side, not
server-side
$ npm i --save logrocket

// Code:

import LogRocket from 'logrocket';
LogRocket.init('app/id');
// Add to your HTML:

<script src="https://cdn.lr-ingest.com/LogRocket.min.js"></script>
<script>window.LogRocket && window.LogRocket.init('app/id');</script>
Would you be interested in joining LogRocket's developer community?
Join LogRocket’s Content Advisory Board. You’ll help inform the type of content we create and get access to exclusive meetups, social accreditation, and swag.
Sign up now
This guide walks you through creating a web UI for an AI agent that browses, clicks, and extracts info from websites powered by Stagehand and Gemini.

This guide explores how to use Anthropic’s Claude 4 models, including Opus 4 and Sonnet 4, to build AI-powered applications.

Which AI frontend dev tool reigns supreme in July 2025? Check out our power rankings and use our interactive comparison tool to find out.

Learn how OpenAPI can automate API client generation to save time, reduce bugs, and streamline how your frontend app talks to backend APIs.