
Let’s take a look at how you can use Node.js to generate a meta image for some piece of content, like a blog post.
We’ll assume:
1200px x 627pxThe Replay is a weekly newsletter for dev and engineering leaders.
Delivered once a week, it's your curated guide to the most important conversations around frontend dev, emerging AI tools, and the state of modern software.
I manually generate meta images for each of the posts I write for my blog. It makes the experience more pleasant for readers perusing post lists, and it looks good when shared on social media.
But it takes quite a bit of time for me to find the right icon, choose a color I haven’t overused recently, export the image, and add it to my project. If I could automate that process, I wouldn’t have to do any work and would still have a decent-looking image.
For me, or anyone already manually generating images, it’s a time-saver. But for those who don’t already generate images, it makes your content look more polished when shared. And, links with images are more likely to get clicked by users.
First thing’s first: we’re going to start our new JavaScript project. (If you know how to do that, great! If not, here’s a handy guide.)
Once you have the basics in place, install your dependencies. For this project, all we need is node-canvas.
npm install canvas
Create a new file in the root of your project called draw.js. This is going to be the script we run. For now, let’s use it to log a “hello world” message.
console.log("hello world")
In your package.json file, you probably have a scripts section, which is a test script. Add to that section a draw script that runs node draw.js.
{
  // ...
  "scripts": {
    "draw": "node draw.js"
  }
}
Now run it!
npm run draw
You should see “hello world” printed on your terminal window. If you did, you’re up and running and we can start generating our image.
Let’s begin by simply generating a purple rectangle and saving it to a file called image.png in the root of our project. Update your draw.js file to look like this:
const { createCanvas } = require("canvas");
const fs = require("fs");

// Dimensions for the image
const width = 1200;
const height = 627;

// Instantiate the canvas object
const canvas = createCanvas(width, height);
const context = canvas.getContext("2d");

// Fill the rectangle with purple
context.fillStyle = "#764abc";
context.fillRect(0, 0, width, height);

// Write the image to file
const buffer = canvas.toBuffer("image/png");
fs.writeFileSync("./image.png", buffer);
Now run the script again (npm run draw) and check your project for an image.png file. Open it up and you should see a blank purple rectangle.

Next, let’s introduce some content. We’ll start with the post title. Add a post object to the top of the file (we’ll add the author to this object later), then render the title on the image.
const { createCanvas } = require("canvas");
const fs = require("fs");

const width = 1200;
const height = 627;

// Add post object with the content to render
const post = {
  title: "Draw and save images with Canvas and Node"
}

const canvas = createCanvas(width, height);
const context = canvas.getContext("2d");

context.fillStyle = "#764abc";
context.fillRect(0, 0, width, height);

// Set the style of the test and render it to the canvas
context.font = "bold 70pt 'PT Sans'";
context.textAlign = "center";
context.fillStyle = "#fff";
// 600 is the x value (the center of the image)
// 170 is the y (the top of the line of text)
context.fillText(post.title, 600, 170);

const buffer = canvas.toBuffer("image/png");
fs.writeFileSync("./image.png", buffer);
This is what we get:
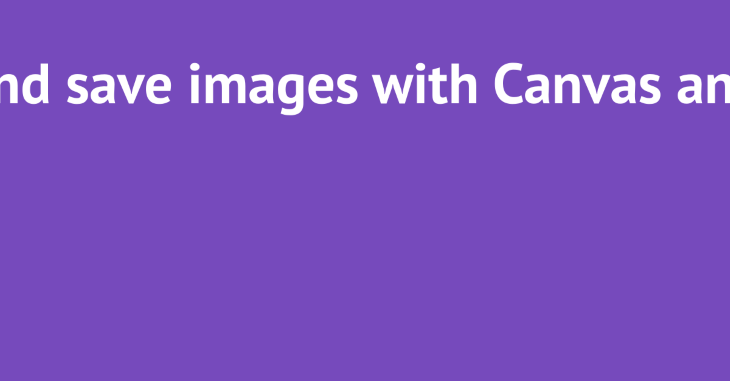
Whoops! It did exactly what we told it to, but that amount of text at that size is too large for the canvas, and it bleeds over the edge.
Now, we could make the text smaller, but I wouldn’t decrease it by too much because I want it to be easy to read when the image is shared. We also may still run into these issues even if we shrink the text.
Let’s wrap the text instead!
Because this is going to require quite a bit of logic to work correctly, let’s keep our main script file clean and create a new helper. Add a file to utils/format-title.js. Here’s the code, annotated so it’s easier to follow what’s going on.
const getMaxNextLine = (input, maxChars = 20) => {
  // Split the string into an array of words.
  const allWords = input.split(" ");
  // Find the index in the words array at which we should stop or we will exceed
  // maximum characters.
  const lineIndex = allWords.reduce((prev, cur, index) => {
    if (prev?.done) return prev;
    const endLastWord = prev?.position || 0;
    const position = endLastWord + 1 + cur.length;
    return position >= maxChars ? { done: true, index } : { position, index };
  });
  // Using the index, build a string for this line ...
  const line = allWords.slice(0, lineIndex.index).join(" ");
  // And determine what's left.
  const remainingChars = allWords.slice(lineIndex.index).join(" ");
  // Return the result.
  return { line, remainingChars };
};

exports.formatTitle = (title) => {
  let output = [];
  // If the title is 40 characters or longer, look to add ellipses at the end of
  // the second line.
  if (title.length >= 40) {
    const firstLine = getMaxNextLine(title);
    const secondLine = getMaxNextLine(firstLine.remainingChars);
    output = [firstLine.line];
    let fmSecondLine = secondLine.line;
    if (secondLine.remainingChars.length > 0) fmSecondLine += " ...";
    output.push(fmSecondLine);
  }
  // If 20 characters or longer, add the entire second line, using a max of half
  // the characters, making the first line always slightly shorter than the
  // second.
  else if (title.length >= 20) {
    const firstLine = getMaxNextLine(title, title.length / 2);
    output = [firstLine.line, firstLine.remainingChars];
  }
  // Otherwise, return the short title.
  else {
    output = [title];
  }

  return output;
};
Notice that we export the second function. This is the one we’ll use in the main script. The first function takes a string and returns both the next line and the remaining characters, and it does not allow any line to be more than 20 characters in length.
Next, import it into the main draw.js script.
const { createCanvas } = require("canvas");
const fs = require("fs");

// Import the helper function.
const { formatTitle } = require("./utils/format-title");

const post = {
  title: "Draw and save images with Canvas and Node"
}

const width = 1200;
const height = 627;
// Extract the starting Y value for the title's position, which
// we'll move if we add a second line.
const titleY = 170;
// Set the line height of the text, which varies based on the
// font size and family.
const lineHeight = 100;

const canvas = createCanvas(width, height);
const context = canvas.getContext("2d");

context.fillStyle = "#764abc";
context.fillRect(0, 0, width, height);

context.font = "bold 70pt 'PT Sans'";
context.textAlign = "center";
context.fillStyle = "#fff";

// Format the title and render to the canvas.
const text = formatTitle(post.title);
context.fillText(text[0], 600, titleY);
// If we need a second line, we move use the titleY and lineHeight
// to find the appropriate Y value.
if (text[1]) context.fillText(text[1], 600, titleY + lineHeight);

const buffer = canvas.toBuffer("image/png");
fs.writeFileSync("./image.png", buffer);
Run it again, then open up the resulting image.png file.
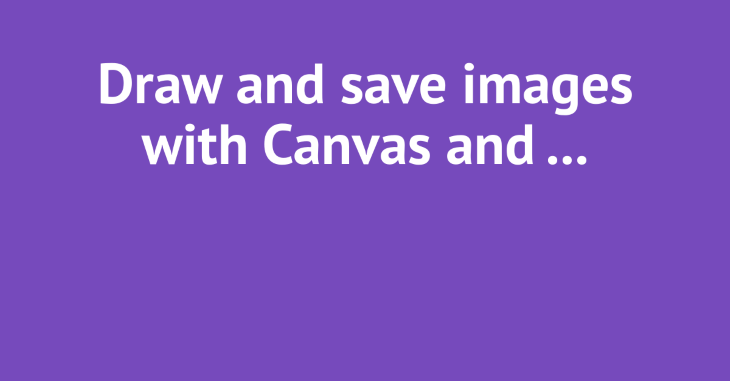
That’s great! Our title is pretty long, so it’s broken down into two lines. The second line is still too long, so the formatTitle helper added ellipses at the end of it.
Try changing the title to something between 20 and 40 characters, then run the script again and see what happens.
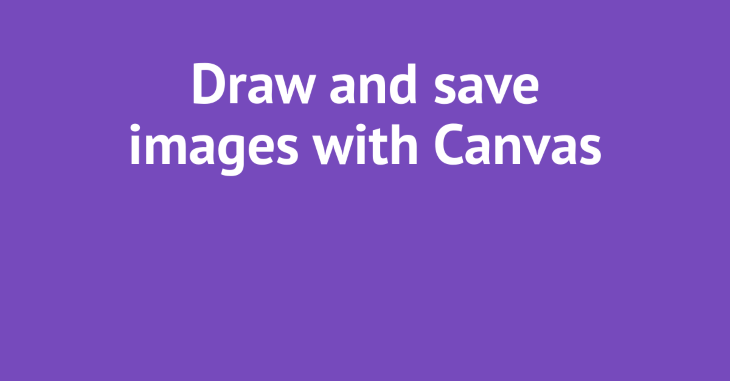
Notice that the line broke after “save” and not after “images” as it had with the full title. This is because the formatTitle function is trying to be smart, and if the title is between 20 and 40 characters, it’s going to make the lines similar in length so we (hopefully) don’t get a bad break. It’s not perfect by any means, but it’s solving these simple cases.
If we shorten it even further, we can get the title all on one line.
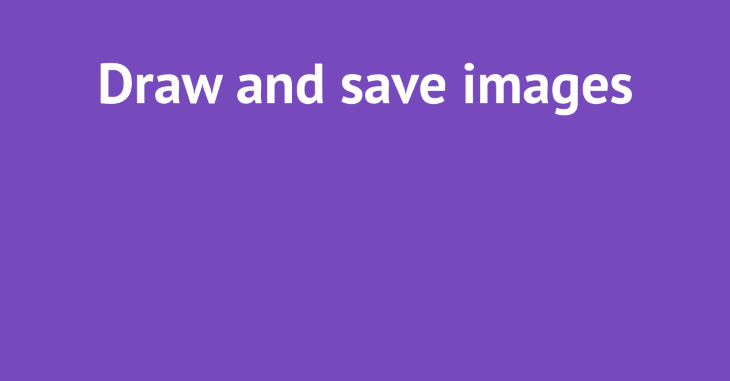
Okay! We’re making progress. 😅
Let’s move on to add the byline with the author name.
const { createCanvas } = require("canvas");
const fs = require("fs");

const { formatTitle } = require("./utils/format-title");

// Add author name to the post object. (Notice that I
// put the title back to the original.)
const post = {
  title: "Draw and save images with Canvas and Node",
  author: "Sean C Davis",
};

const width = 1200;
const height = 627;
const titleY = 170;
const lineHeight = 100;
const authorY = 500;

const canvas = createCanvas(width, height);
const context = canvas.getContext("2d");

context.fillStyle = "#764abc";
context.fillRect(0, 0, width, height);

context.font = "bold 70pt 'PT Sans'";
context.textAlign = "center";
context.fillStyle = "#fff";

const text = formatTitle(post.title);
context.fillText(text[0], 600, titleY);
if (text[1]) context.fillText(text[1], 600, titleY + lineHeight);

// Render the byline on the image, starting at 600px.
context.font = "40pt 'PT Sans'";
context.fillText(`by ${post.author}`, 600, authorY);

const buffer = canvas.toBuffer("image/png");
fs.writeFileSync("./image.png", buffer);
Run it again.
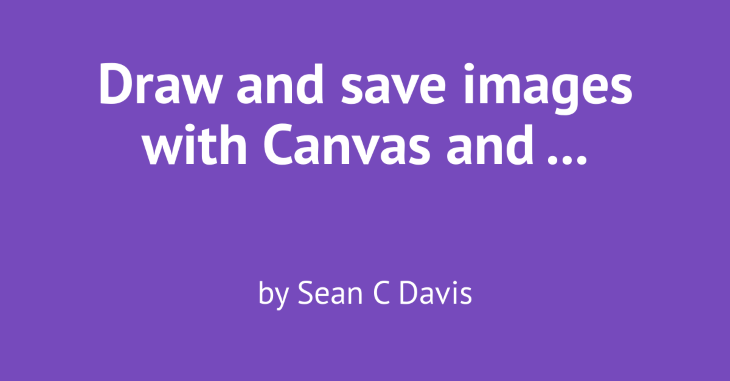
This is starting to look like something we can use!
Let’s round it out by adding a logo. We’re going to have to make a few logical changes here. First, add a logo to assets/logo.png. Here’s the one I used for this example.
Note: I made the image 800px wide because we’re rendering it at 400px and it’ll still look crisp on higher DPR screens. You may want to go larger or smaller based on the image you’re using.
The code below is annotated to help you follow the changes.
// Bring in loadImage function from canvas so we can
// add an image to the canvas.
const { createCanvas, loadImage } = require("canvas");
const fs = require("fs");

const { formatTitle } = require("./utils/format-title");

const post = {
  title: "Draw and save images with Canvas and Node",
  author: "Sean C Davis",
};

const width = 1200;
const height = 627;
// Set the coordinates for the image position.
const imagePosition = {
  w: 400,
  h: 88,
  x: 400,
    y: 75,
};
// Because we are putting the image near the top (y: 75)
// move the title down.
const titleY = 300;
const titleLineHeight = 100;
// Bring up the author's Y value as well to make it all
// fit together nicely.
const authorY = 525;

const canvas = createCanvas(width, height);
const context = canvas.getContext("2d");

context.fillStyle = "#764abc";
context.fillRect(0, 0, width, height);

context.font = "bold 70pt 'PT Sans'";
context.textAlign = "center";
context.fillStyle = "#fff";

const titleText = formatTitle(post.title);
context.fillText(titleText[0], 600, titleY);
if (titleText[1]) context.fillText(titleText[1], 600, titleY + titleLineHeight);

context.font = "40pt 'PT Sans'";
context.fillText(`by ${post.author}`, 600, authorY);

// Load the logo file and then render it on the screen.
loadImage("./assets/logo.png").then((image) => {
  const { w, h, x, y } = imagePosition;
  context.drawImage(image, x, y, w, h);

  const buffer = canvas.toBuffer("image/png");
  fs.writeFileSync("./image.png", buffer);
});
Run it again.
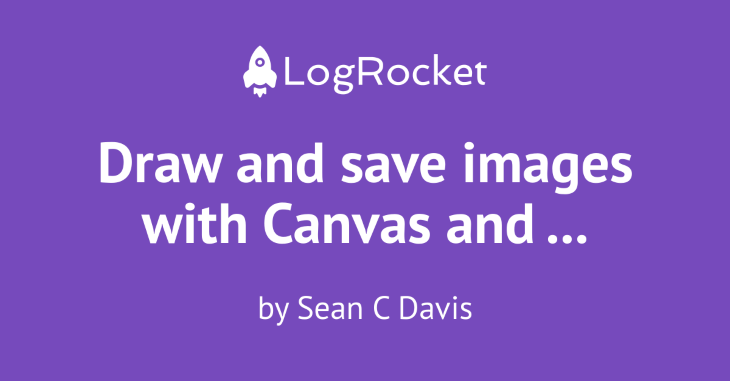
And look at that! Woohoo! I love it. It looks great and is shareable.
Let’s double-check that it covers our use cases. Shorten the title so it fits on a single line, then run the script again.
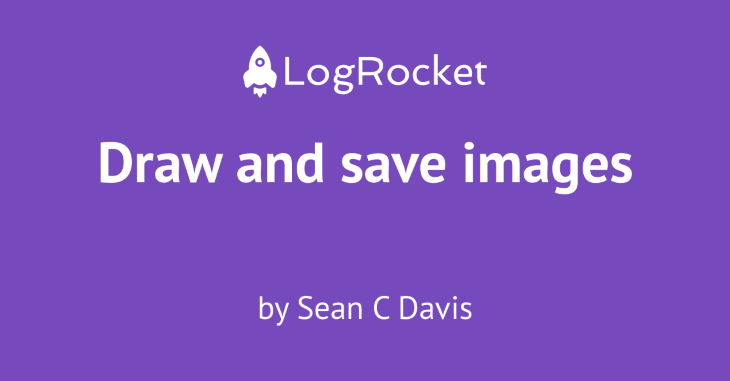
Hmmm … that doesn’t look so good. 🙁
Let’s add a little more positioning logic.
const { createCanvas, loadImage } = require("canvas");
const fs = require("fs");

const { formatTitle } = require("./utils/format-title");

const post = {
  title: "Draw and save images with Canvas and Node",
  author: "Sean C Davis",
};
// Move the title formatter up farther because we're going to
// use it to set our Y values.
const titleText = formatTitle(post.title);

const width = 1200;
const height = 627;
const imagePosition = {
  w: 400,
  h: 88,
  x: 400,
    // Calculate the Y of the image based on the number of
    // lines in the title.
    y: titleText.length === 2 ? 75 : 100,
};
// Do the same with the title's Y value.
const titleY = titleText.length === 2 ? 300 : 350;
const titleLineHeight = 100;
// And the author's Y value.
const authorY = titleText.length === 2 ? 525 : 500;

const canvas = createCanvas(width, height);
const context = canvas.getContext("2d");

context.fillStyle = "#764abc";
context.fillRect(0, 0, width, height);

context.font = "bold 70pt 'PT Sans'";
context.textAlign = "center";
context.fillStyle = "#fff";

context.fillText(titleText[0], 600, titleY);
if (titleText[1]) context.fillText(titleText[1], 600, titleY + titleLineHeight);

context.font = "40pt 'PT Sans'";
context.fillText(`by ${post.author}`, 600, authorY);

loadImage("./assets/logo.png").then((image) => {
  const { w, h, x, y } = imagePosition;
  context.drawImage(image, x, y, w, h);

  const buffer = canvas.toBuffer("image/png");
  fs.writeFileSync("./image.png", buffer);
});
Okay, one more time with the short title.
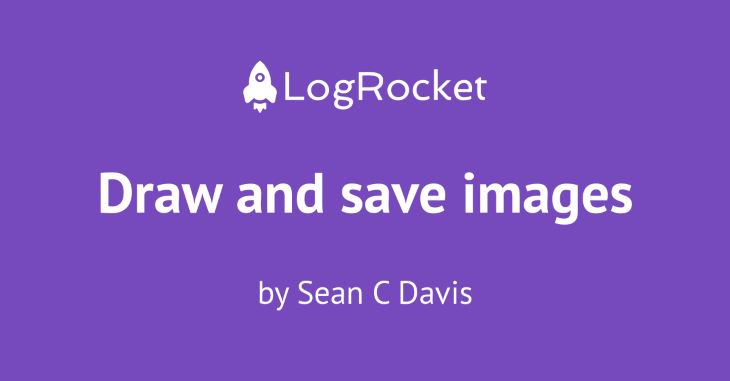
Looking good! Not pixel-perfect, but pretty solid. Depending on your use case — image size, font family, and size — you’ll want to play with the values until it looks right, but now you have a powerful foundation in place.
You can use this in any number of ways. I wanted to stop here because we’ve solved the problem we set out to solve. However, I opened up another post in which I read post data from a directory of files and generate images for each one. This provides some added logic that may help you bring your script into something you can use for production.
Read that post here. And here is its example code.
I’d love to see how you took this example and applied it to your project. Share it with the world (and me)!
 Monitor failed and slow network requests in production
Deploying a Node-based web app or website is the easy part. Making sure your Node instance continues to serve resources to your app is where things get tougher. If you’re interested in ensuring requests to the backend or third-party services are successful, try LogRocket.

LogRocket lets you replay user sessions, eliminating guesswork around why bugs happen by showing exactly what users experienced. It captures console logs, errors, network requests, and pixel-perfect DOM recordings — compatible with all frameworks.
LogRocket's Galileo AI watches sessions for you, instantly identifying and explaining user struggles with automated monitoring of your entire product experience.
LogRocket instruments your app to record baseline performance timings such as page load time, time to first byte, slow network requests, and also logs Redux, NgRx, and Vuex actions/state. Start monitoring for free.

React Server Components and the Next.js App Router enable streaming and smaller client bundles, but only when used correctly. This article explores six common mistakes that block streaming, bloat hydration, and create stale UI in production.

Gil Fink (SparXis CEO) joins PodRocket to break down today’s most common web rendering patterns: SSR, CSR, static rednering, and islands/resumability.

@container scroll-state: Replace JS scroll listeners nowCSS @container scroll-state lets you build sticky headers, snapping carousels, and scroll indicators without JavaScript. Here’s how to replace scroll listeners with clean, declarative state queries.

Explore 10 Web APIs that replace common JavaScript libraries and reduce npm dependencies, bundle size, and performance overhead.
Would you be interested in joining LogRocket's developer community?
Join LogRocket’s Content Advisory Board. You’ll help inform the type of content we create and get access to exclusive meetups, social accreditation, and swag.
Sign up now