Next.js is a React framework that aims to extend the capabilities of React with built-in features like routing, TypeScript support, and hybrid static and server rendering for websites and apps.

While content in a Next.js app can be hardcoded, read from a JSON file, or consumed from a database, sourcing content from a content management system (CMS) like Sanity CMS can provide more flexible authoring to developers.
In this post, we’ll take a look at how using Next.js and Sanity CMS, a headless CMS, can provide better content management in a Jamstack-powered web application or website.
Sanity CMS is a headless CMS, which is a content authoring backend system decoupled from the presentation layer or client. It exposes stored content as data over an API for consumption on different platforms such as websites, mobile applications, and the Internet of Things, and is a stark divergence from traditional CMS like WordPress.
Sanity CMS takes a structured approach to content authoring, providing a concise number of features to manage images through its image pipeline, text through Portable Text, and design. It also offers Sanity Studio, a fully functional, customizable, and extendable editor built with React.
Headless CMS dutifully embodies the decoupled approach of the Jamstack architecture with benefits like the following:
Because the backend system is separated from the presentation layer, there is a smaller area exposed to security threats.
Headless content is exposed as data over an API and is thus platform agnostic.
Content modeling is at the heart of headless CMS and requires content descriptions be a first-class citizen, meaning they can be structured for the specific needs of any app.
The separation between content and code makes it easier for content editors to focus on content editing and developers to focus on code.
In the headless CMS ecosystem, known as the head, is where content is consumed in the head. It is irrelevant to the body, where content is authored and stored, and can be picked at a developer’s discretion.
Jamstack sites have been known to suffer from long build times when they contain a considerably large amount of content. While there are solutions like Incremental Static Regeneration (ISR), incremental builds, and Distributed Persistent Rendering (DPR), separating content from the head solves the long build time problem within headless CMS.
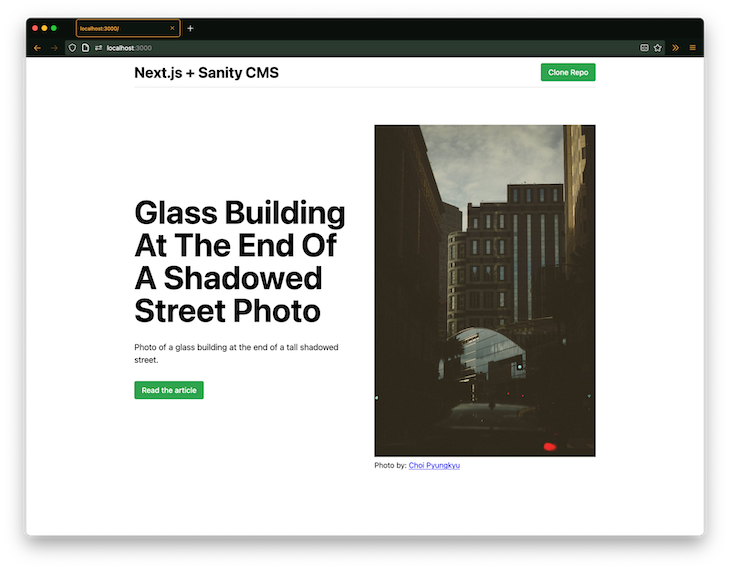
To illustrate using Next.js with Sanity CMS in the Jamstack architecture, we’ll build a simple landing page to understand Sanity’s basic content management process, including working with its command-line interface (CLI) and manipulating its schemas, within Next.js.
Follow along with this commit that includes styling and default landing page content that is hardcoded. Our final product will look like the image below:
The method to our madness will be to:
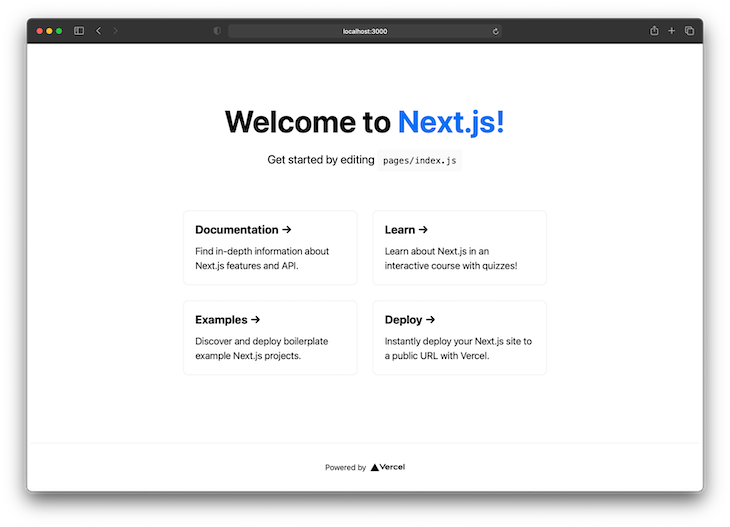
First, create a Next.js app with its content hardcoded.
Begin by creating a Next.js app with create-next-app and run this command:
yarn create next-app client
Next, run the Next.js app with the following command:
cd client
yarn dev
Visit the Next.js app at http://localhost:3000.
Now that we’ve successfully created a Next.js app with hardcoded content, it’s time to create and run a project in Sanity Studio.
Before proceeding to the next step, make sure you have a Sanity account or create one if you do not.
Next, install the Sanity CLI globally with the following command:
yarn add @sanity/cli --global
This will install the necessary tooling for working with Sanity through the CLI.
After the Sanity CLI installs, create a new Sanity project with the following:
sanity init
When this command runs, an interactive question-and-answer session appears for creating a Sanity Studio project. We can input the following answers to the corresponding questions for this project:
Select project to use input Create new projectYour project name: input cmsUse the default dataset configuration? input YesSelect project template input Clean project with no predefined schemas
While we created a Sanity Studio project with Sanity CLI, we can alternatively use one of the starters as well.
To run the Sanity project, start Sanity Studio on port 3333 with the following command:
cd cms
sanity start -p 3333
Then visit the Next.js app at http://localhost:3333 and sign in to Sanity.io if prompted.
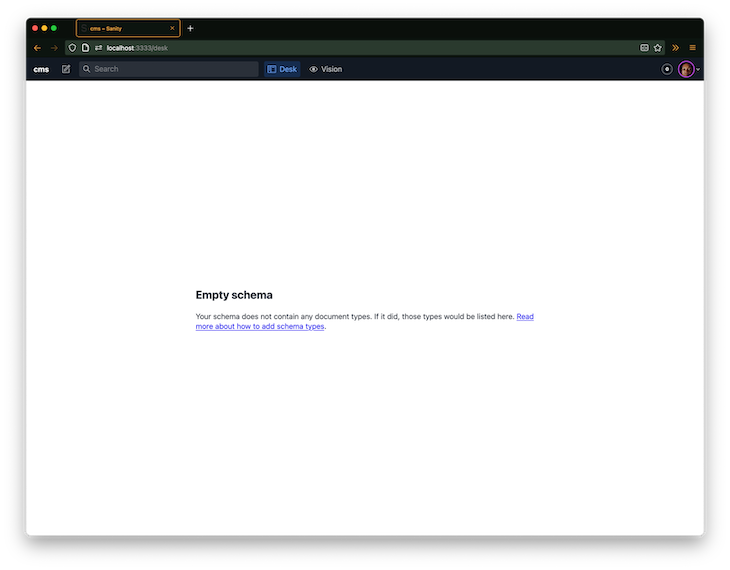
We currently have an empty schema and it must be updated.
Schemas are at the core of structured content modeling in Sanity.io and refer to the field types that a document is made up of, such as document, image, object, or reference. These types design the content on Sanity.io with metadata properties like name, type, and description.
We can follow along with this commit to add the required schemas.
The landing page needs two schemas, so we’ll create schemas homepage.js and siteheader.js in the schemas directory at the root of the Sanity.io project.
Update schemas/homepage.js with the following:
// sanity/schemas/homepage.js
export default {
  name: 'homepage',
  title: 'Homepage',
  type: 'document',
  fields: [
    {
      name: 'title',
      title: 'Homepage title',
      type: 'string',
      description: "What's the title of the homepage hero?",
    },
    {
      name: 'subtitle',
      title: 'Homepage subtitle',
      type: 'string',
      description: "What's the subtitle of the homepage hero?",
    },
    {
      name: 'image',
      title: 'Homepage image',
      type: 'image',
    },
    {
      name: 'cta',
      description: "What's URL for the homepage CTA?",
      title: 'CTA',
      type: 'slug',
      options: {
        maxLength: 200,
      },
      validation: (Rule) => [Rule.required().error('Field cannot be empty')],
    },
  ],
};
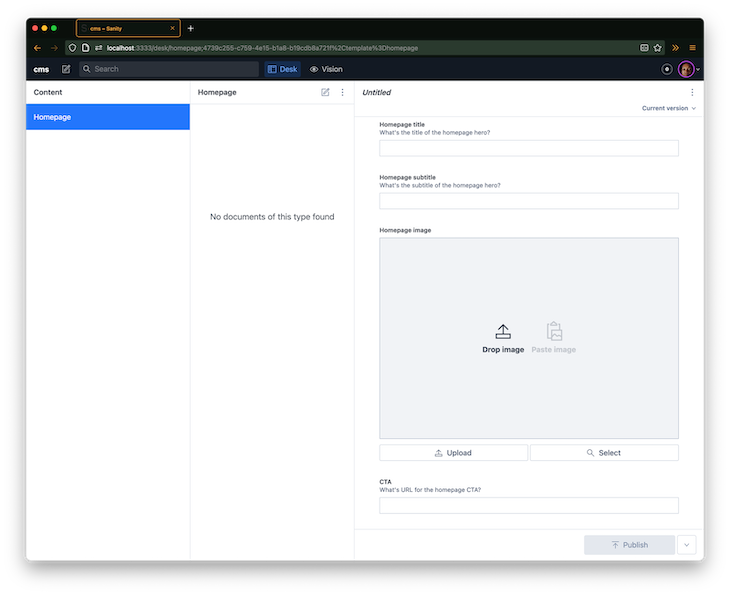
We’ve now created a document schema with the fields title, subtitle, image, and call-to-action (CTA). The CTA field also includes a validation function that ensures the field cannot be empty.
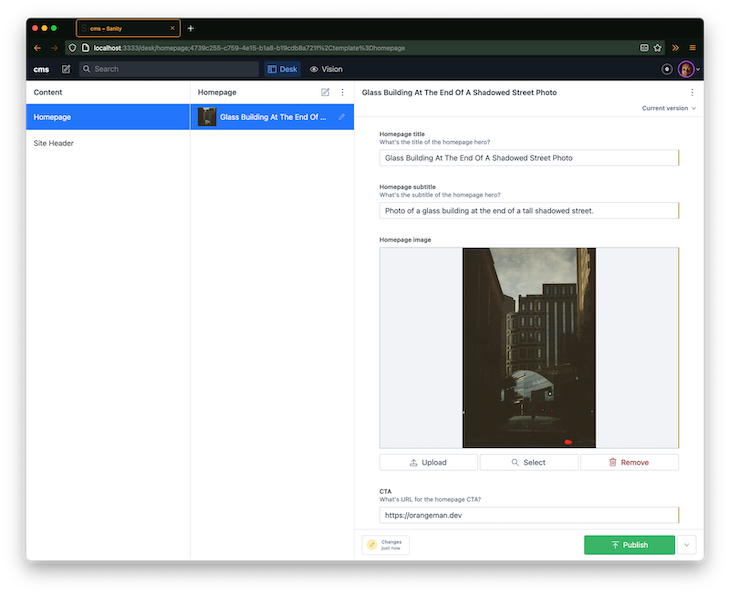
We can see the repeating pattern of name, title, and type to describe content. The type determines what kind of field will be generated in the Sanity Studio editor, as shown below:
Also, update schemas/siteheader.js:
// schemas/siteheader.js
export default {
  name: 'siteheader',
  title: 'Site Header',
  type: 'document',
  fields: [
    {
      name: 'title',
      title: 'Site header title',
      type: 'string',
    },
    {
      name: 'repoURL',
      title: 'Repo URL',
      type: 'slug',
    },
  ],
};
Next, import and add both the homepage and siteheader schemas to the list of schemas in schema.js:
// schemas/schema.js
import createSchema from 'part:@sanity/base/schema-creator';
import schemaTypes from 'all:part:@sanity/base/schema-type';

// Import both schemas
import homepage from './homepage';
import siteheader from './siteheader';

export default createSchema({
  // We name our schema
  name: 'default',
  types: schemaTypes.concat([
    /* Append to the list of schemas */
    homepage,
    siteheader,
  ]),
});
The Sanity.io project should update to reflect the schemas, at which point content can be created and published for both the homepage and siteheader schemas.
Now that we’ve created and published content on Sanity Studio, it’s time to consume the data in Next.js.
This is where we bridge the gap between headless content and the presentation layer, also known as the head and body, respectively.
By fetching the authored content exposed as data over an API from Sanity.io, we can use it to dynamically populate relevant sections on the landing page. We can follow along with this commit.
By connecting the Next.js app through the @sanity/client package, we can fetch the published data on Sanity.io. Let’s install @sanity/client in our Next.js app with the following command:
yarn add @sanity/client
With this package, we can interface with Sanity.io from Next.js. But first, we must feed it an object of configuration properties.
Inside the Next.js project, create a new lib folder with a new file sanity.js:
// /lib/sanity.js
import sanityClient from '@sanity/client';
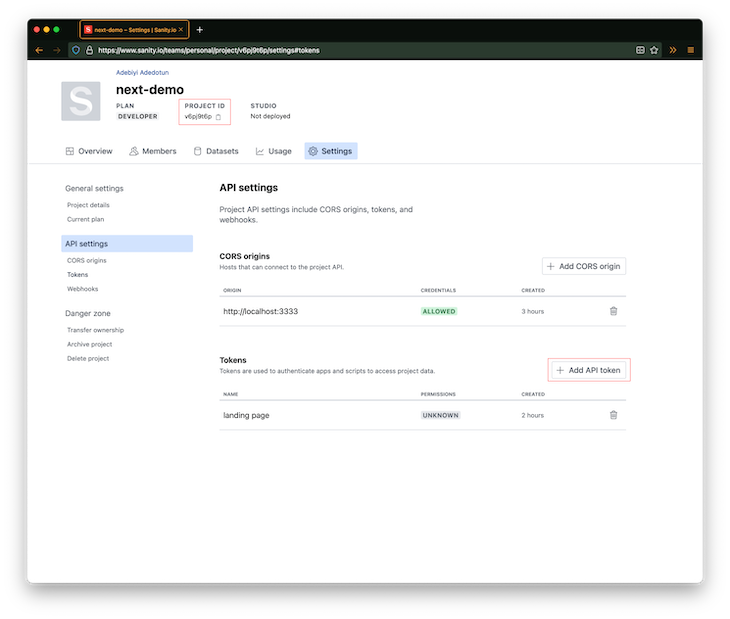
// See the image above on how to get your projectId and add a new API token
// I added one called "landing page"
const client = sanityClient({
projectId: 'your-project-id',
dataset: 'production',
token: 'api-token', // or leave blank to be anonymous user
useCdn: false, // `false` if you want to ensure fresh data
ignoreBrowserTokenWarning: true,
});
export default client;
These configuration values should be stored and accessed as environmental variables:
Now we must fetch data with @sanity/client through getStaticProps with Graph-Relational Object Queries (GROQ), Sanity’s open source query language. We can follow along with this commit.
To proceed, there are two updates we must make in pages/index.js.
First, import the client object returned by sanityClient in lib/sanity.js:
import client from '../lib/sanity';
Next, append the code below to pages/index.js:
// Create a query called siteHeaderQuery
const siteHeaderQuery = `*\[_type == "siteheader"\][0] {
  title,
  repoURL {
    current
  }
}`;

// Create a query called homepageQuery
const homepageQuery = `*\[_type == "homepage"\][0] {
  title,
  subtitle,
  "ctaUrl": cta {
    current
        },
  image {
    ...asset->
  }
}`;

export async function getStaticProps() {
  const homepageData = await client.fetch(homepageQuery);
  const siteHeaderData = await client.fetch(siteHeaderQuery);

  const data = { homepageData, siteHeaderData };

  return {
    props: {
      data,
    },
    revalidate: 1,
  };
}
The returned data from getStaticProps will be available as a prop on the Home component:
export default function Home({ data }) {
  const { siteHeaderData, homepageData } = data;

  // Check your browser console for output
  console.log({siteHeaderData, homepageData});

  // rest of component
}
If all goes well, we should be ready to dynamically update the landing page content in the Home component.
The landing page image was initially sourced as a static asset from the public folder:
<img className="homepage-img" src="/glass-building-at-the-end-of-a-shadowed-street.jpg" alt="" />
But now it’s been updated to fetch data from Sanity.io:
<img className="homepage-img" src={homepageData.image.url} alt={homepageData.subtitle} />
The topics and ideas shared in this article are fundamental to structured content management with Sanity.io and how it integrates with Next.js. The full repository was broken into separate commits throughout this post, but you can review the full final demo repository on GitHub.
Sanity.io also provides more features and functionalities than what was shown in this post, and the official documentation is a good place to start learning more.
Debugging Next applications can be difficult, especially when users experience issues that are difficult to reproduce. If you’re interested in monitoring and tracking state, automatically surfacing JavaScript errors, and tracking slow network requests and component load time, try LogRocket.
LogRocket captures console logs, errors, network requests, and pixel-perfect DOM recordings from user sessions and lets you replay them as users saw it, eliminating guesswork around why bugs happen — compatible with all frameworks.
LogRocket's Galileo AI watches sessions for you, instantly identifying and explaining user struggles with automated monitoring of your entire product experience.
The LogRocket Redux middleware package adds an extra layer of visibility into your user sessions. LogRocket logs all actions and state from your Redux stores.


Modernize how you debug your Next.js apps — start monitoring for free.

A guide for using JWT authentication to prevent basic security issues while understanding the shortcomings of JWTs.

Discover how to build, render, and automate product demo videos with Remotion, replacing traditional screen recordings with reusable React code.

Chrome’s Modern Web Guidance embeds modern web platform skills into AI coding agents, helping them choose native HTML, CSS, and browser APIs over legacy patterns.

Learn how to use Fallow to analyze AI-generated code, detect dead code, duplicate logic, and complexity issues, and integrate automated code quality checks into your AI-assisted development workflow.
Would you be interested in joining LogRocket's developer community?
Join LogRocket’s Content Advisory Board. You’ll help inform the type of content we create and get access to exclusive meetups, social accreditation, and swag.
Sign up now

