If you’ve been coding for a while now, you probably have heard of Docker or more fancy terms like containers. This article introduces you to the concept of containerization with Docker while guiding you to containerize a simple Django web application. At the end of this topic, you should be familiar with the following:
To follow along with this tutorial, it is recommended to have the following installed on your computer:
Traditionally, if you were to deploy a web application to a server hosting service provider like DigitalOcean or Linode, you would need to set up a virtual machine or a virtual computer where you would then transfer your written code either via git, FTP, or other means. This process is known as virtualization.
As time went on, a lot of developers began to see the downside of this process as it was more expensive (considering the time spent when making changes to accommodate a change in the operating system). Developers wanted a way to unify development and production environments which is where the idea of containerization came about.
A container, when put in simple terms houses a development environment, i.e your application along with only the dependencies it needs to run.
Containers enable you as a developer to package an application with its dependencies and move them from one computing environment to another without many breaking changes.
Because containerization is relatively more portable, scalable, and efficient, platforms like Docker are becoming a popular choice for developing applications day by day.
Docker is a toolbox developed to enable you to create, manage, and run applications using containers. It allows developers to easily pack, ship, and run any application as a portable, self-sufficient, and lightweight container, which can run almost anywhere.
To get started with setting up Docker on your computer, it’s recommended to follow the official documentation for your respective host OS. Windows users can make use of docker after installing Docker Desktop for windows. Linux and OSX users can install Docker for Linux and Docker for Mac respectively.
For this tutorial, I have set up a starter repository containing the source code of an in-development polling application written in Django. As we go further into this walkthrough, we will set up a Dockerfile to outline instructions for the container in which our application will be run and then a docker-compose.yml file to simplify our work-flow.
On a computer with git installed, navigate to a folder of your choice e.g /desktop, and clone the starter files from its GitHub repository by running:
git clone https://github.com/theafolayan/django-docker-starter.git
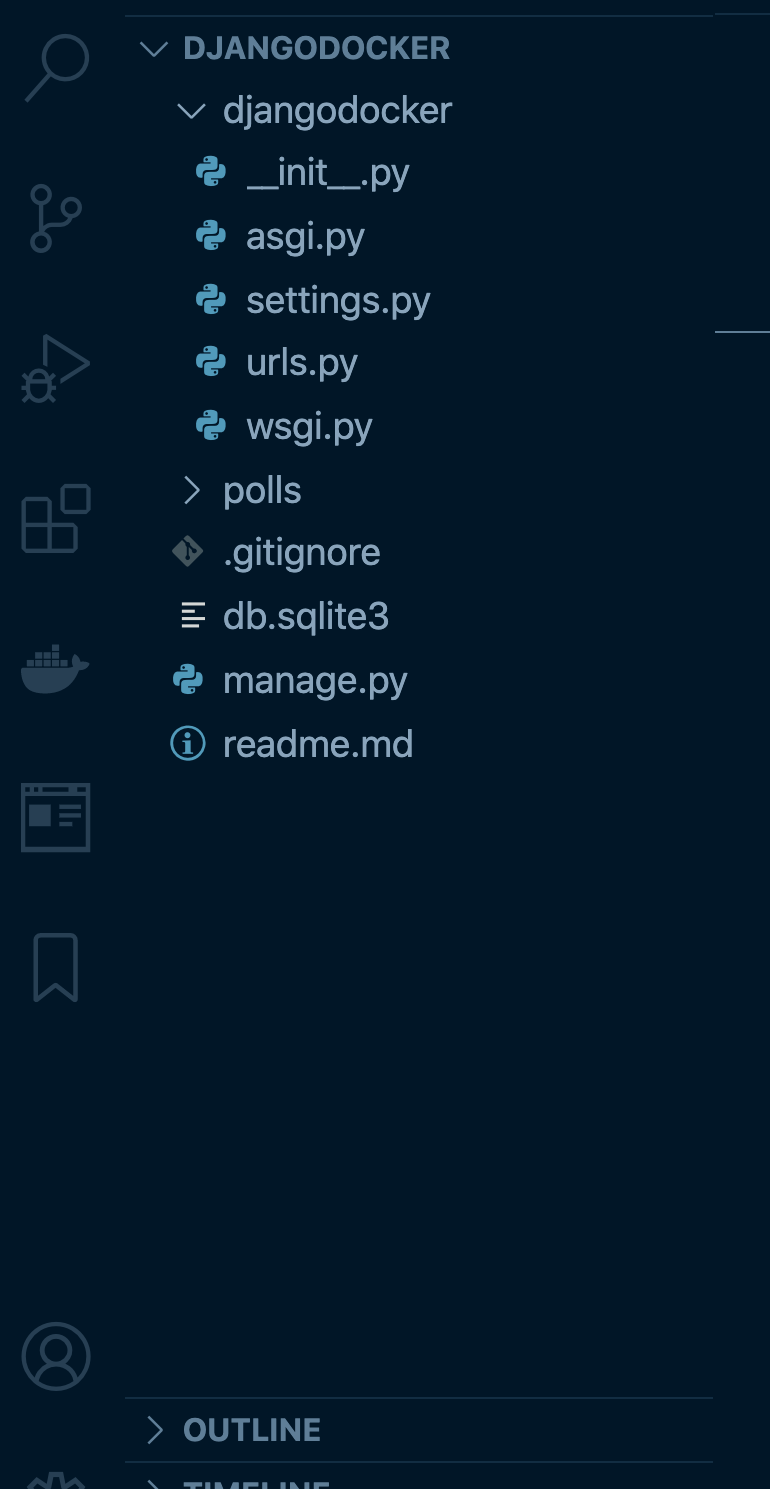
Once that is successful, navigate to the project’s root folder and open in VSCode by running:
cd django-docker-starter && code .
In this directory, create a case sensitive file named Dockerfile without any extensions. This Dockerfile is where your Docker container configurations are specified. It’s basically a file where you write a set of instructions for your container to run each time it’s booted i.e each time you run the docker build command.
Next, create a requirements.txt file where all dependencies needed for our application will be listed. This file will be used in the Dockerfile, later on, to note which dependencies it should install in our container.
In the requirements.txt file, add Django version 3.1.2 as a dependency like in the example below and hit save:
Django==3.1.2
The idea of writing a Dockerfile may seem a bit complex to you, but keep in mind that it is only a written recipe for crafting custom Docker images. A Dockerfile would naturally contain the following:
When reading or writing a Dockerfile, it’s handy to keep the following in mind:
# symbol. Such lines are removed before the Dockerfile instructions are executedOur Django app is going to sit on the official python Docker image.
In the Dockerfile, write the following instructions and hit save:
#Tells Docker to use the official python 3 image from dockerhub as a base image
FROM python:3
# Sets an environmental variable that ensures output from python is sent straight to the terminal without buffering it first
ENV PYTHONUNBUFFERED 1
# Sets the container's working directory to /app
WORKDIR /app
# Copies all files from our local project into the container
ADD ./app
# runs the pip install command for all packages listed in the requirements.txt file
RUN pip install -r requirements.txt
Docker Compose is a great development tool that lets you define and run applications that need multiple services running.
Docker Compose typically uses a docker-compose.yml file to configure services that your application will use and by running docker compose up , you are able to create and start these services from your configuration file. In most typical web applications, these services composed of a web server (such as Nginx) and a database (PostgreSQL, for example). In this example, our application makes use of an SQLite database so there’s no need to set up an external database service like Postgres.
In order to make use of the features that Docker Compose provides us, create a docker-compose.yml file in the same root folder as your Dockerfile and add the following code in it:
version: '3.8'
services:
   web:
       build: .
       command: python manage.py runserver localhost:8000
       ports:
           - 8000:8000
The content of the docker-compose.yml file is explained line by line below:
version: '3'
This tells Docker what version of docker-compose should be used to run our file. At the time of writing this article, the latest version available is “3.8”, generally, the syntax should remain virtually the same for the next couple of versions if you are reading this in a future time.
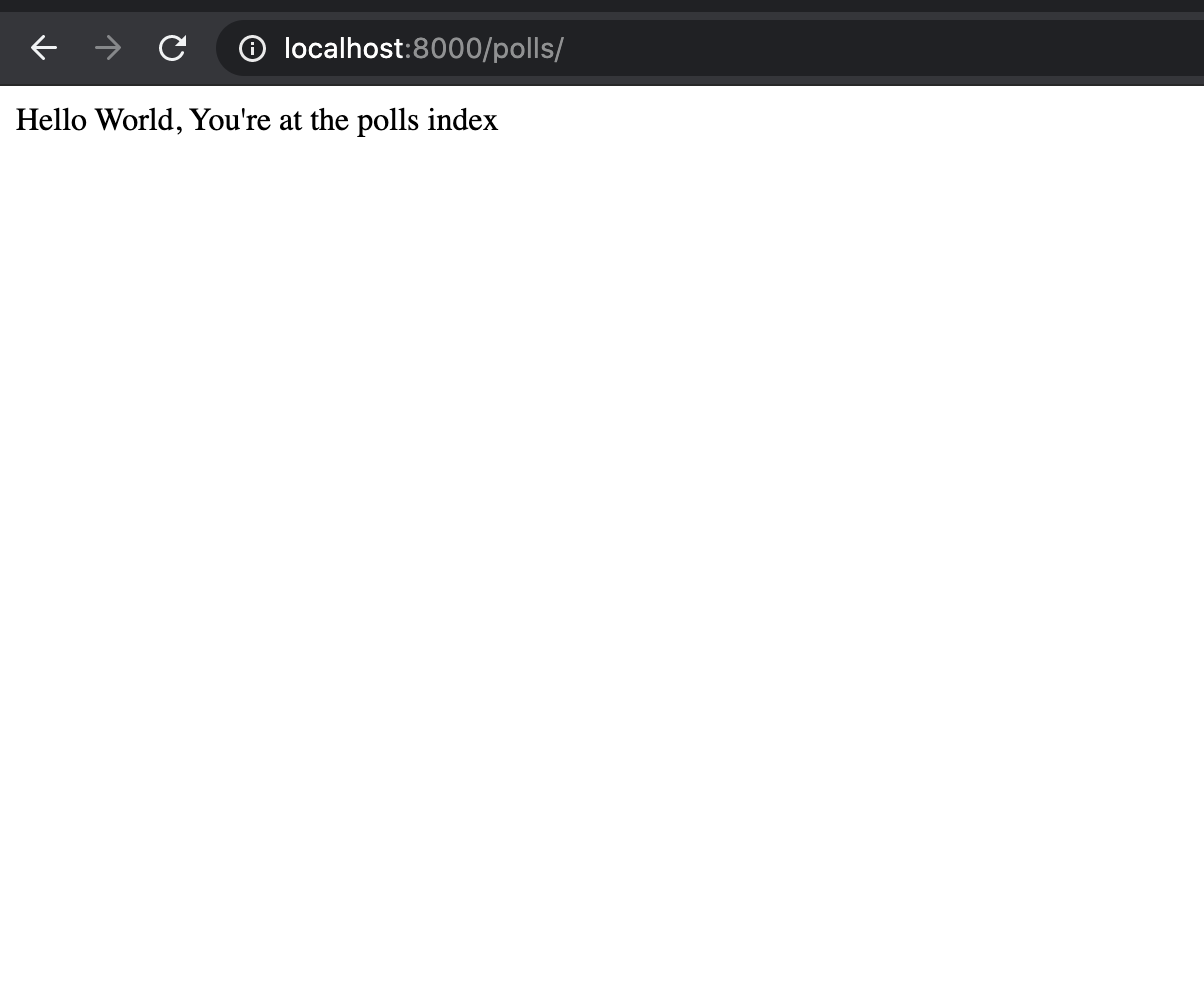
Once the docker-compose file has been set up, open up a terminal, and run the docker-compose up command to build and serve your application. Next, head over to localhost:8000 on your browser to see your containerized Django application in action.
If you want to shut down the container, open a new terminal and run docker-compose down.
So far, we have covered a lot in this walkthrough, we got started by getting familiar with virtualization, containerization, and other Docker related terms. Next, we learned what a Dockerfile is as well as how to create one in order to containerize a Django app. Finally, we set up docker-compose through a docker-compose.yml file to configure the services that our application would use.
While there’s no single right way to use Docker in a Django application, It’s good practice to make use of the official guidelines listed below in order to ensure your applications are as secure as possible. You can check out the repo containing the fully containerized app here on GitHub.
More resources:
Install LogRocket via npm or script tag. LogRocket.init() must be called client-side, not
server-side
$ npm i --save logrocket

// Code:

import LogRocket from 'logrocket';
LogRocket.init('app/id');
// Add to your HTML:

<script src="https://cdn.lr-ingest.com/LogRocket.min.js"></script>
<script>window.LogRocket && window.LogRocket.init('app/id');</script>
Hey there, want to help make our blog better?
Join LogRocket’s Content Advisory Board. You’ll help inform the type of content we create and get access to exclusive meetups, social accreditation, and swag.
Sign up now
Get to know RxJS features, benefits, and more to help you understand what it is, how it works, and why you should use it.

Explore how to effectively break down a monolithic application into microservices using feature flags and Flagsmith.

Native dialog and popover elements have their own well-defined roles in modern-day frontend web development. Dialog elements are known to […]

LlamaIndex provides tools for ingesting, processing, and implementing complex query workflows that combine data access with LLM prompting.


One Reply to "Containerizing a simple Django application with Docker and Docker Compose"
You need to update the git clone https://github.com/theafolayan/docker-django-starter.git