In this guide, we’ll explore some of SwiftUI’s key features and then apply these skills and techniques by building a demo Swift app.
SwiftUI is a framework that supports the modern approach of declaring user interfaces (and building apps) for any Apple platform — iOS, watchOS, and macOS — using the Swift programming language.
A declarative approach means that you can state what your user interface should do. SwiftUI gives you access to views, controls, and layout structures you can use to declare user interfaces.
Owned by Apple, SwiftUI is a cross-platform UI framework for iOS, macOS, tvOS, and watchOS. That means you only have to learn one language (Swift) and the framework to deploy your code on any Apple platform.
Below is what a “Hello World” program in SwiftUI looks like. This code sample is generated by Xcode when you create a SwiftUI app:
import SwiftUI      // using the SwiftUI framework and its functionality.

struct ContentView : View {
    var body : some View {
        Text("Hello, world!")
            .padding()
    }
}
At the core of an app’s user interface is the view. The view accounts for the part of the app that the user sees, such as images, text, animations, interactive elements, and graphics.
In SwiftUI, the View demands that you have a property. In the code snippet below, we have the body, which returns some View:
var body : some View
This is also what we have in the sample “Hello World” code above.
Controls in SwiftUI are responsible for user interaction with the app. Examples of these controls include clicking a button, text fields, responding to user gestures, etc.
Recall that SwiftUI is a framework that allows you to build user interfaces across Apple platforms. In the same way, SwiftUI comes with UI controls that let you create interactive elements for users.
For example, the UIButton control enables you to create a button that responds to user clicks/interactions. Here is the syntax:
@MainActor class UIButton : UIControl
SwiftUI provides support for laying out the views of your app’s user interface. We can lay out these views by using stacks, such as HStack, VStack, and/or ZStack, and lists.
In laying out the structure of an app using SwiftUI, there is a container, which is like a parent element in HTML. This container holds children, which we will refer to as stacks.
Let’s take a look at these stacks in layout structures.
HStack
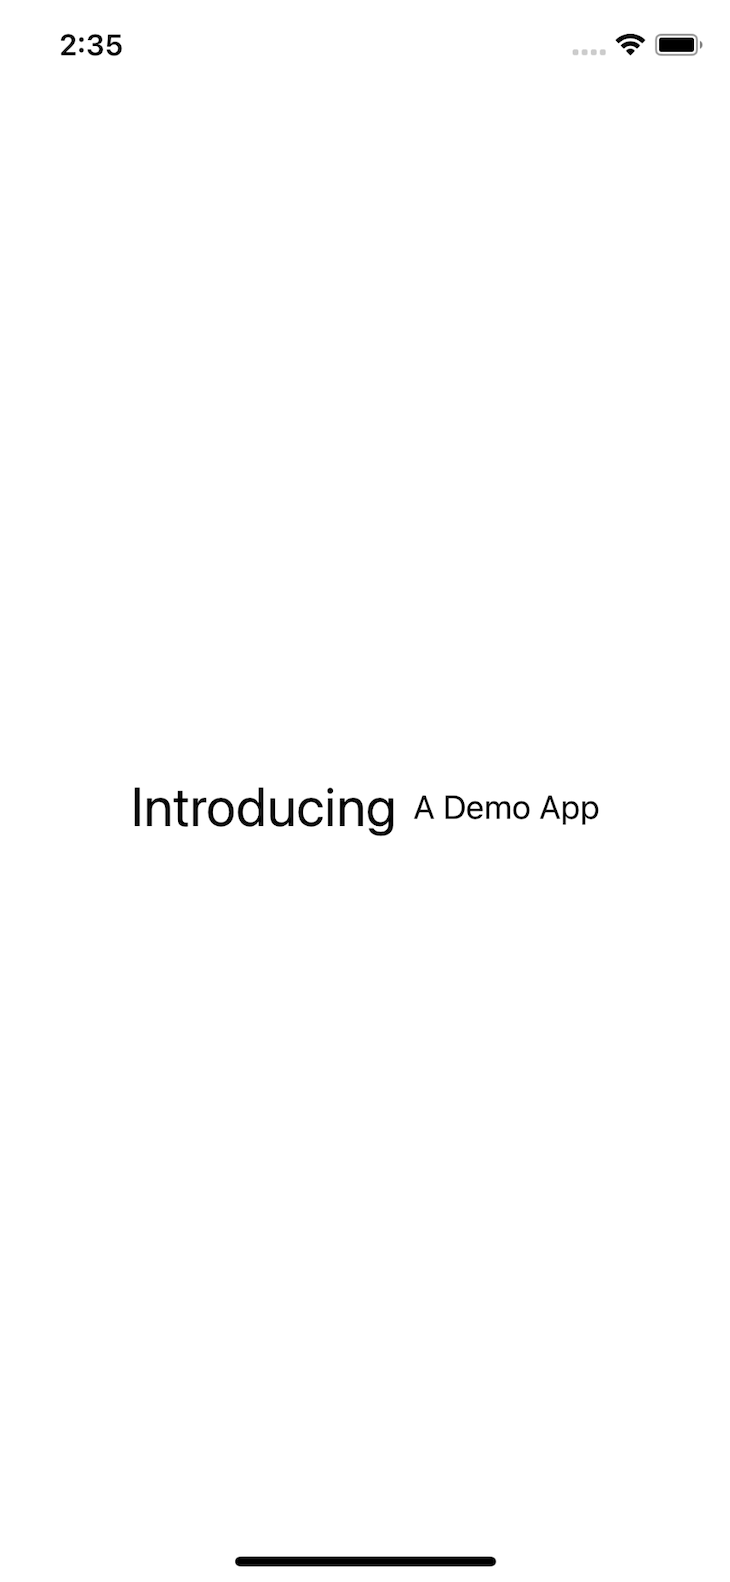
We can lay out a view to arrange its children for our app in a horizontal line using HStack. With HStack, views are displayed all at once.
Here’s an example of using the HStack to lay out texts horizontally:
import SwiftUI

struct ContentView : View {
    var body: some View {
        HStack {
            Text("Introducing")
                .font(.title)
            Text("A Demo App")
        }
    }
}
VStack
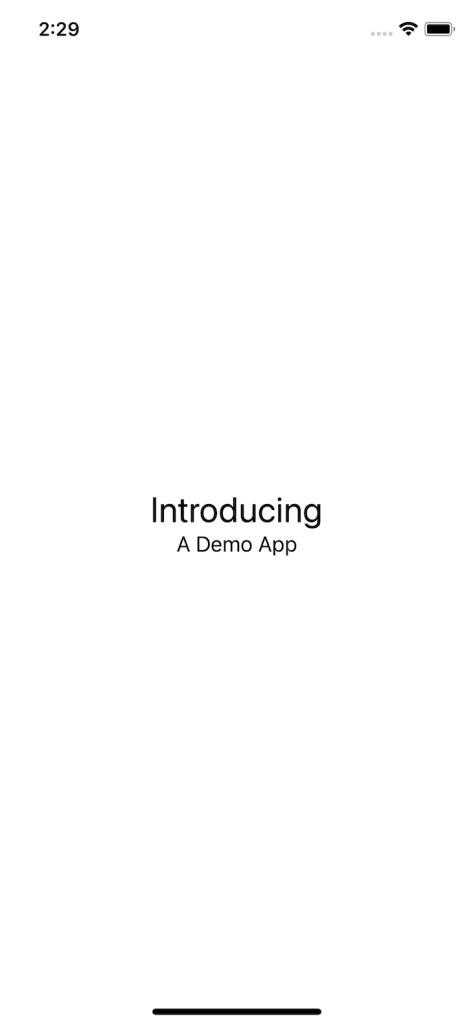
A VStack (vertical stack) is one of the most common layout containers in SwiftUI. VStack allows you stack views vertically.
Using VStack, we can lay out a view to arrange its children in a vertical line. Here’s an example of using VStack to layout texts vertically.
import SwiftUI

struct ContentView : View {
    var body: some View {
        VStack {
            Text("Introducing")
                .font(.title)
            Text("A Demo App")
        }
    }
}
ZStack
ZStack enables us to overlay the children on top of one another and align them in both the x and y axes. The ZStack sets the x and y axis of each child to default to a center alignment.
The syntax for ZStack is as follows:
@frozen struct ZStack<Content> where Content : View
With the ZStack, a child view is assigned a z-axis value higher than the child before it. So subsequent children will stack on top of the earlier ones.
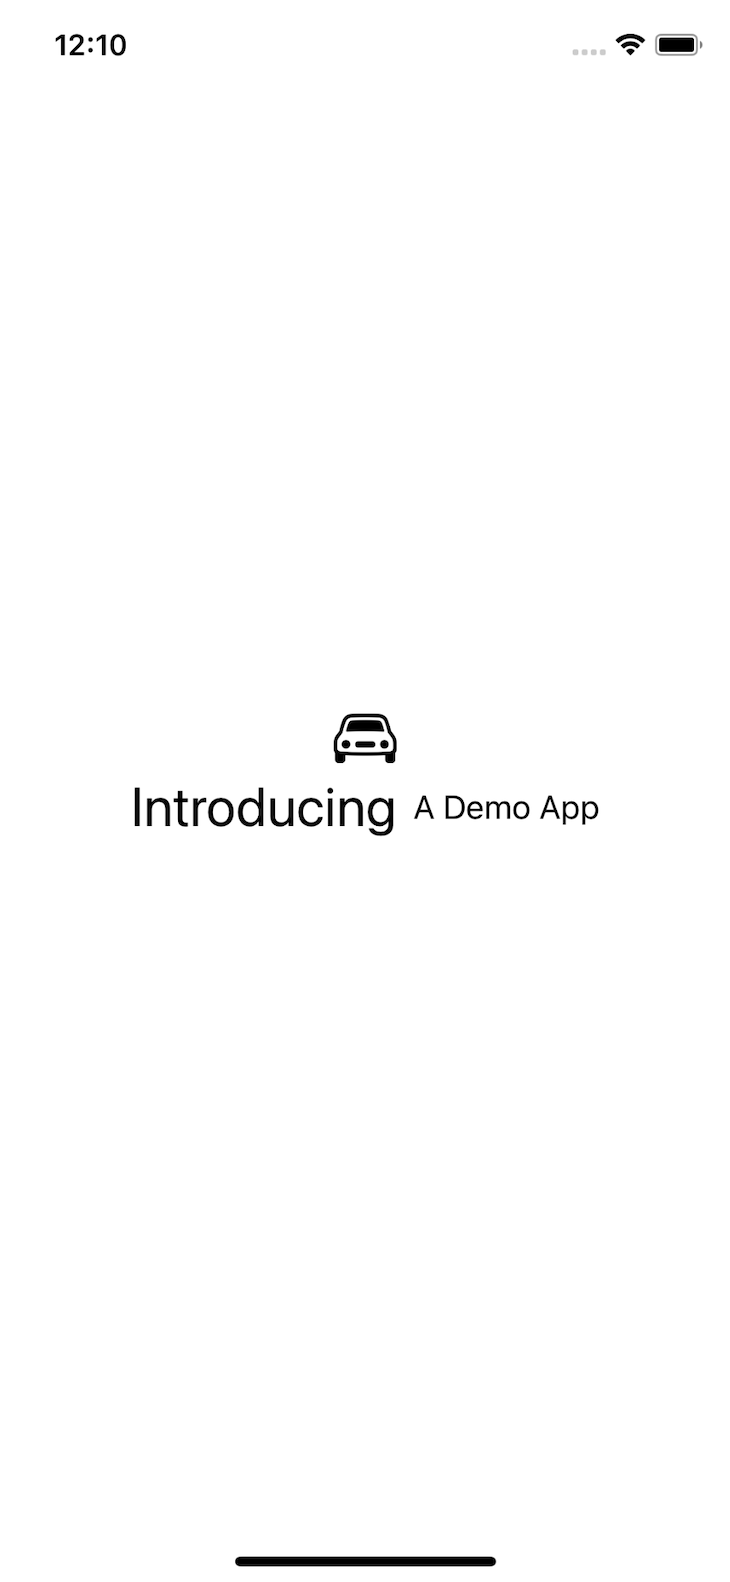
You can use the ZStack to play an item, such as text, over another item, such as an image or another text block.
In the example below, we use the ZStack to place an image of a car on top of the HStack, which contains some text. The alignment property is set to top to create room for readability. Otherwise, the image would overlap with the text.
struct ContentView : View {
    var body: some View {
        ZStack {
            Image(systemName: "car")
                .font(.title)
                .frame(width: 100, height: 100, alignment: .top)
            HStack {
                Text("Introducing")
                    .font(.title)
                Text("A Demo App")
            }

        }
    }
}
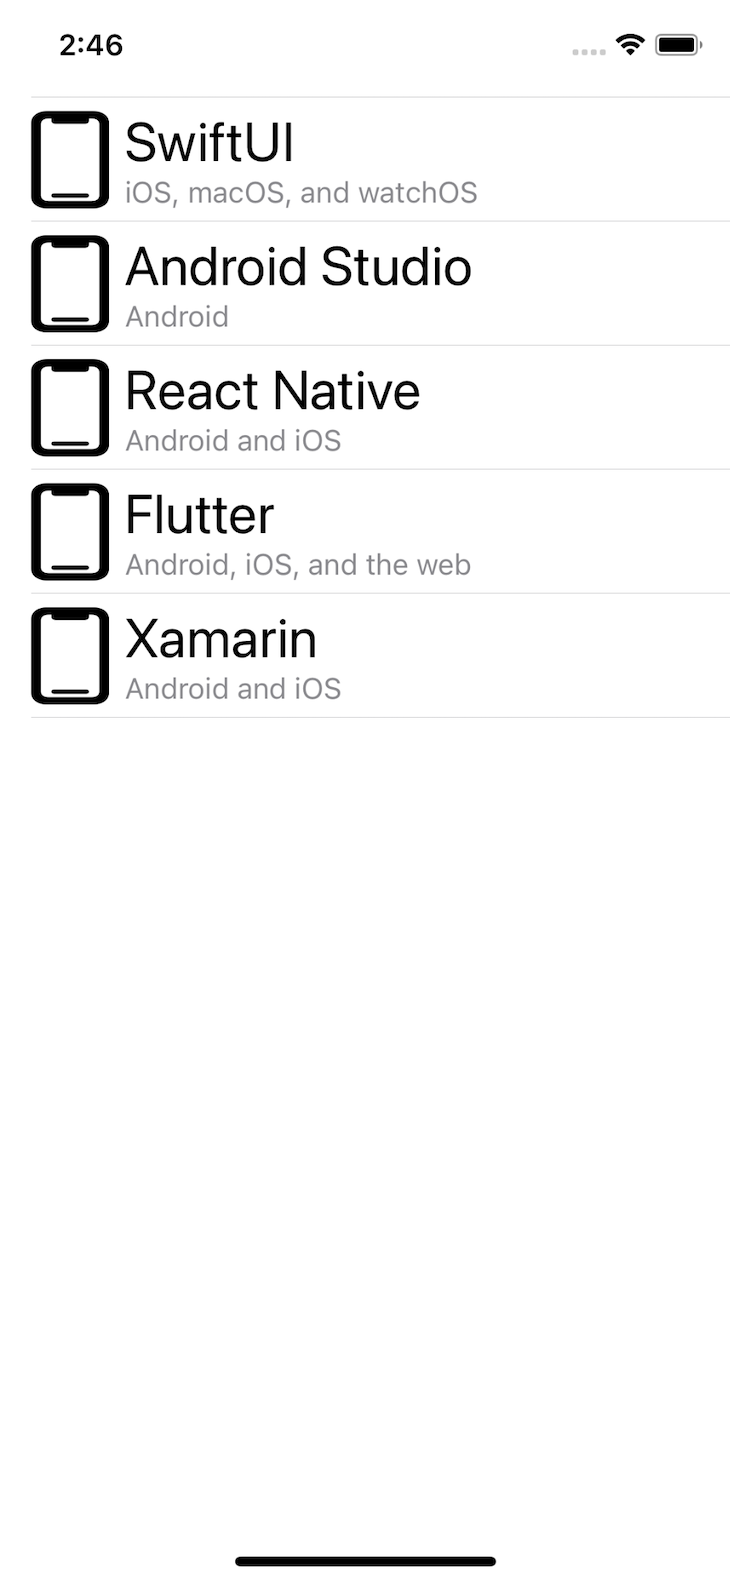
To demonstrate how the techniques described above level up to a streamlined, intuitive Swift application, we’ll use SwiftUI to build an app that displays a list of technologies and/or frameworks you can use to develop mobile apps. The code for this demo app will be written inside ContentView.swift.
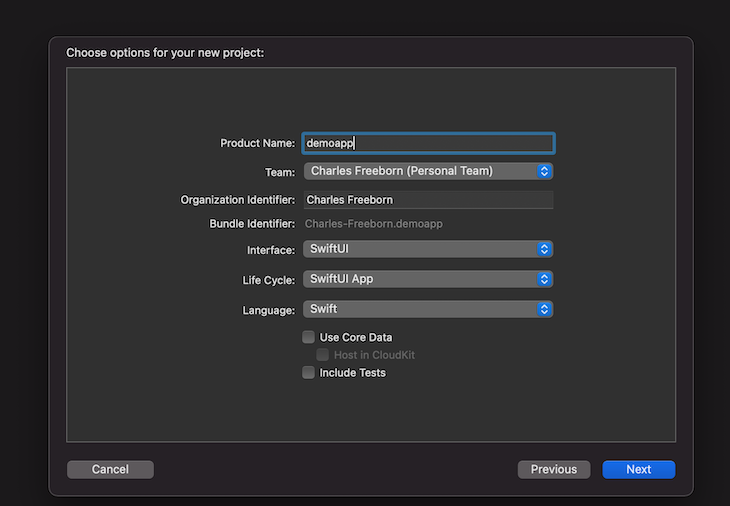
First, launch Xcode and click Create a new Xcode project.
Next, select App and click Next.
In the Product Name field, type “demoapp” and click Next. Then wait for Xcode to launch the starter project.
Locate ContentView.swift. As mentioned earlier, this is the file in which we will write our Swift code.
Now clear off the code and leave just this:
import SwiftUI

struct ContentView: View {
    var body: some View {
        List {
            AppView(title: "SwiftUI", details: "iOS, macOS, and watchOS")
            AppView(title: "Android Studio", details: "Android")
            AppView(title: "React Native", details: "Android and iOS")
            AppView(title: "Flutter", details: "Android, iOS, and the web")
            AppView(title: "Xamarin", details: "Android and iOS")
        }
    }
}

struct AppView: View {
    var title: String
    var details: String
    var body: some View {
        HStack {
            Image(systemName: "iphone")
                .resizable()
                .frame(width: 40, height: 50)
                .foregroundColor(.black)
            VStack(alignment: .leading){
                Text(title)
                    .font(.title)
                Text(details)
                    .font(.subheadline)
                    .foregroundColor(.secondary)
            }
        }
    }
}
From the navigator panel on Xcode, select an iPhone simulator and run the program by clicking the play symbol.
In this tutorial, we introduced you to SwiftUI, Apple’s UI framework for building across its various platforms. We also zoomed in on the core, fundamental concepts of SwiftUI, including the layout structure and general best practices for building a simple app using the framework.
To learn more about SwiftUI, see the official documentation.
Install LogRocket via npm or script tag. LogRocket.init() must be called client-side, not
server-side
$ npm i --save logrocket

// Code:

import LogRocket from 'logrocket';
LogRocket.init('app/id');
// Add to your HTML:

<script src="https://cdn.lr-ingest.com/LogRocket.min.js"></script>
<script>window.LogRocket && window.LogRocket.init('app/id');</script>
Would you be interested in joining LogRocket's developer community?
Join LogRocket’s Content Advisory Board. You’ll help inform the type of content we create and get access to exclusive meetups, social accreditation, and swag.
Sign up now
Not sure if low-code is right for your next project? This guide breaks down when to use it, when to avoid it, and how to make the right call.

Compare Firebase Studio, Lovable, and Replit for AI-powered app building. Find the best tool for your project needs.

Discover how to use Gemini CLI, Google’s new open-source AI agent that brings Gemini directly to your terminal.

This article explores several proven patterns for writing safer, cleaner, and more readable code in React and TypeScript.


