Both Bash and Zsh are important and powerful tools used to perform advanced activities that may ordinarily not be available with GUI tools. Bash is a lightweight, fast, and widely compatible command-line shell that prioritizes simplicity and portability, whereas Zsh is a more sophisticated shell that’s ideal for users that prefer customization and interactivity.
Bourne Again Shell, commonly known as Bash, is a command line interface and scripting language) used by Unix-based operating systems to interact with terminal commands.
Z Shell, also known as Zsh, is also a Unix-based command line interpreter used to interact with terminal commands.
Some of the common uses of Bash and Zsh are:
Let’s compare Bash vs. Zsh, discuss the differences, and explore how to use both.
| Feature | Bash | Zsh |
|---|---|---|
| Default on Linux | Yes | No, except for Kali Linux |
| Default on MacOS | No | Yes, since MacOS Catalina |
| Default on Windows | No, but with WSL and Git Bash, it can run on Windows hosts |
No. But is still installed as a secondary shell |
| POSIX compliance | Yes, 100% | No. But is still installed as a secondary shell |
| Auto-completion | Basic level | Advanced level |
| Support for plugins | Limited support | Advanced support using Oh My Zsh |
| Syntax highlighting | No, basic CLI | Yes |
| Scripting capabilities | Powerful | Offers more customization for an intuitive scripting experience |
| Customization | Very limited | Advanced customization |
| Speed | Very fast | Fast, but can slow down with loads of plugins |
| Popularity | Very popular because it has more default support |
Also popular, especially for power users |
To get the best experience, it is necessary to understand how the strengths of each align with your individual needs.
You should use Bash if:
You should use Zsh if:
Bash, renowned for its simplicity and versatility, was originally a part of the GNU project of 1989, which remodified it from the old Bourne Shell. Over the years, Bash has been the most widely used shell, adopted by most Linux systems and MacOS. However, starting with MacOS Catalina in 2019, Zsh replaced Bash as the default shell.
Bash’s POSIX compliance nature has made it possible for Bash scripts to be easily ported on virtually all Unix systems.
Bash is lightweight, enabling it to run efficiently on resource-low systems. With such a straightforward syntax, Bash is an excellent choice for many users who prioritize simplicity without compromising on features.
Though it can be used for a variety of things, Bash is ideally used for scripting and automation.
Bash is the default on most Linux distros and can also be used on MacOS and Windows via the Windows Subsystem for Linux(WSL).
Bash is found on nearly every Unix-like system, making it easier for users of these systems to start using it without going through the process of installation.
Bash can be used to run system admin functions like maintenance, and monitoring of system resources like RAM, CPU, and disk management. Additionally, it is used to manage system users, permissions, and privileges.
On Unix-based systems like Kali and MacOS, Bash can be used to create automation for routine tasks, build and compile software, or even write execution scripts for software.
The Bash shell can be used to configure, test, and manage system networks, and communicate with remote systems via SSH setup firewalls.
Automation is a very big part of the command line interface, and the Bash shell is useful in both writing and executing scripts used to create system automation. Processes like backups, generating reports, and processing data at intervals. Its access to system resources, advanced yet simple style of commands, and native integration into Unix systems make it an effective shell.
If you use a system where Zsh or CMD is the default shell but would like to use Bash, here is a quick guide to help you set it up:
You can use Bash on a Windows host using different methods as highlighted in the table above. The most straightforward way — especially for individuals having issues with using the Windows Subsystem for Linux due to virtualization — is by using Git Bash.
Git Bash is an app for Windows computers that allows Windows users to have a Git CLI experience.
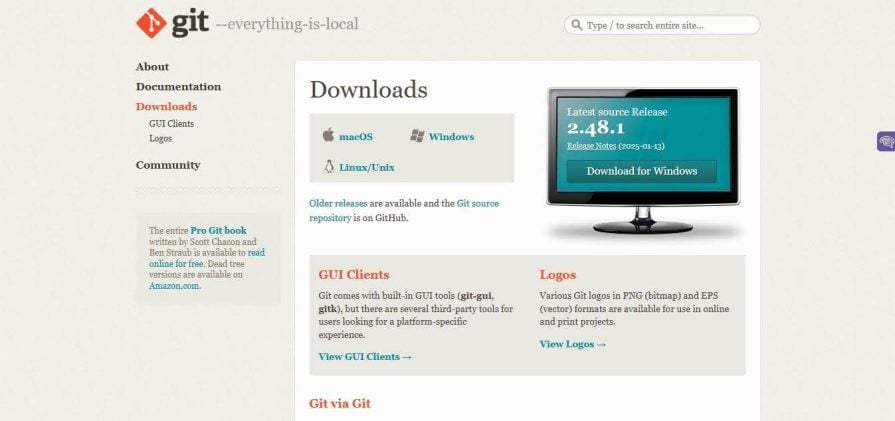
Go to the Git Bash download page, and download the latest version:
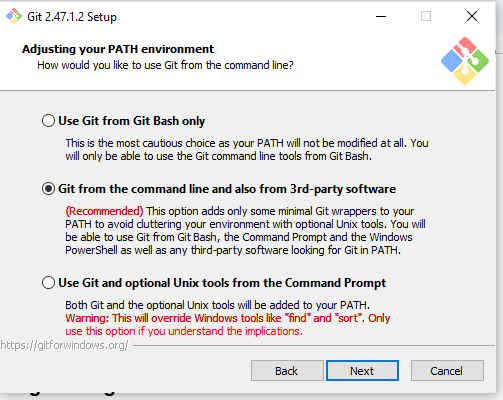
After downloading, install the application. During installation, stick to any installation checkbox that is recommended, except if you need a specific feature that can be configured during the installation process:
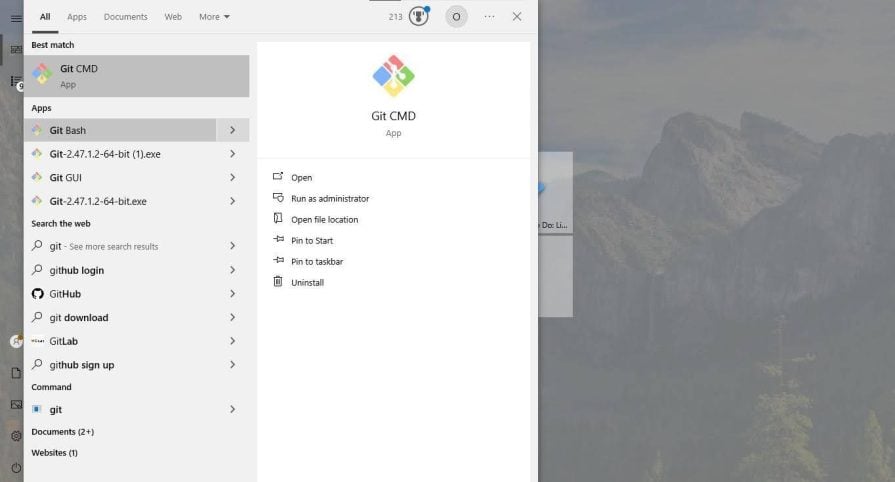
Once fully installed, from your search bar, search for Git and click on Git Bash as an administrator:
Once everything is settled, and your Bash opens, you should see this:
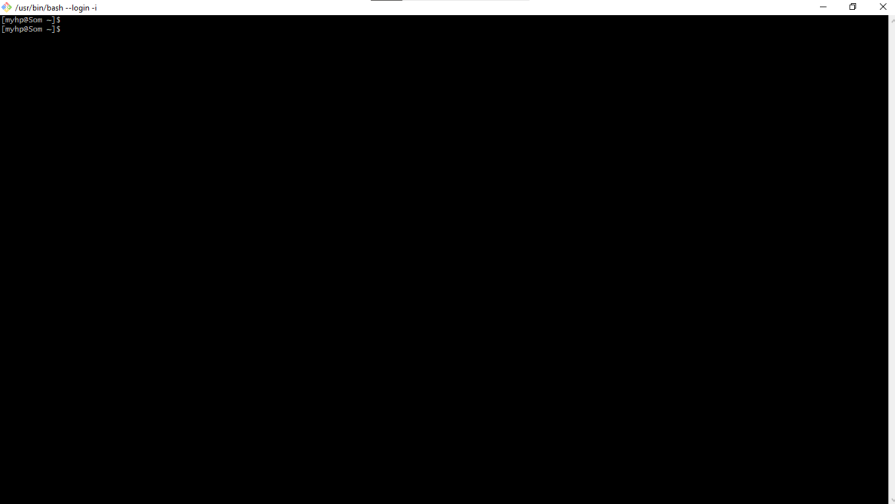
This is where you can utilize Bash functions as a Windows user.
If you are a Mac user, you should know that while Zsh replaced Bash, it only did so as the default shell. Thus, Bash still exists in MacBooks. Their coexistence is similar to how CMD and PowerShell are both existing in Windows hosts, with the user having the ability to choose their default shell.
To use Bash as the default on your Mac, you can type in Bash on your terminal. This will configure the terminal to recognize any commands typed afterwards as a Bash command, until that session is closed. Alternatively, you can turn it as your default shell by using the change shell command:
chsh -s /bin/bash
The chsh is the command for changing the shell, the -s command specifies the shell you are changing to, and the /bin/bash is your shell’s path.
It is worth noting that the Bash used on Mac is outdated. You may have to manually install the latest version to enjoy more up-to-date features. To do that, use the package manager of Mac by typing brew install bash.
| Command | Description |
|---|---|
pwd |
Show current directory |
cd [dir] |
Change directory |
ls |
List files |
cp \[src\] [dest] |
Copy file/directory |
mv \[src\] [dest] |
Move/rename file/directory |
rm [file] |
Remove file |
mkdir [dir] |
Create directory |
touch [file] |
Create an empty file |
cat [file] |
Show file content |
head [file] |
Show first lines of a file |
tail [file] |
Show last lines of a file |
grep \[pattern\] [file] |
Search pattern in file |
find [path] -name [pattern] |
Find files by name |
chmod \[permissions\] [file] |
Change file permissions |
ps |
Show running processes |
top |
Real-time process monitor |
kill [PID] |
Kill a process by ID |
df |
Show disk space usage |
free |
Show memory usage |
ping [host] |
Test network connectivity |
curl [URL] |
Transfer data from/to server |
tar -czf \[archive\] [dir] |
Create a compressed archive |
tar -xzf [archive] |
Extract a compressed archive |
echo $[var] |
Show environment variable value |
export [var]=[value] |
Set an environment variable |
history |
Show command history |
diff \[file1\] [file2] |
Compare files |
fdisk -l |
List disk partitions |
mount \[device\] [dir] |
Mount a device |
Zsh (Z Shell) is a Unix shell that is an improved and more sophisticated alternative to the default Bash shell. Developed in 1990, Zsh borrows features from the Korn Shell (ksh) and the C shell (csh) but adds more sophisticated features like improved tab completion, better scripting, and personalization. The flexibility and Bash-command compatibility of Zsh made it the go-to for most developers.
Apple replaced the default shell on macOS from Bash to Zsh in 2019 with macOS Catalina since Zsh possesses more contemporary features and better long-term support.
One of Zsh’s biggest strengths is that it comes with context-aware autocompletion built into its shell environment for commands, paths, and arguments.
Aside from its spelling correction, Zsh also corrects typos and suggests previously used text as you type, saving time and helping newbies write scripts more efficiently.
Though Bash comes with wildcard matches, the one of Zsh is more powerful and accurate. For example, ls **/*.txt would search for all txt files in the current working directory.
Zsh comes with better customization on the prompt, command, and shortcuts. Additionally, it supports Oh My Zsh, a framework that allows Zsh users to access thousands of plugins for extra customization, some of which include Git, Docker, and even Python.
Among its customization benefits, it also permits users to tweak their zshrc file to modify shell behaviour.
Its superior syntax highlighting makes it easier for Zsh users to distinguish between commands and parameters in the shell.
Developers who spend a lot of time in the terminal would benefit from its autosuggestions, fuzzy searching, and typo correction. Multiple plugins support streamlining their workflow and save time.
While Bash can originally perform these actions, Zsh also has the ability to perform server management and system administration using its commands. This helps ensure the MacOS Kali users with Zsh as their default shell can better manage foreground and background processes.
Its plugin support lets Zsh users manage cloud and DevOps services, especially for Terraform and AWS CLI users.
In general, users who require advanced functionalities and extra customization for an intuitive flow would love its rich plugin support, high theming, and intelligent completion. While users who want to stick to the conventional smart way of doing more with fewer configurations would benefit from Bash and its built-in features.
Zsh is the default on Mac. Thus, we won’t be discussing its installation for Mac users in this section. Rather, we would explore using Zsh on Windows and Linux systems that don’t have it as the default shell.
Zsh, just like Bash, can be run on Windows using similar methods. WSL and Cygwin.
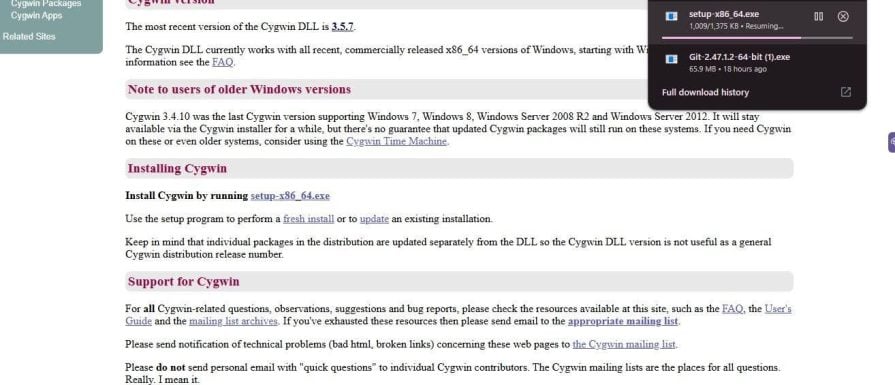
Download Cygwin from the official site by first downloading the .exe file. Click on the downloaded .exe file to get the full package:
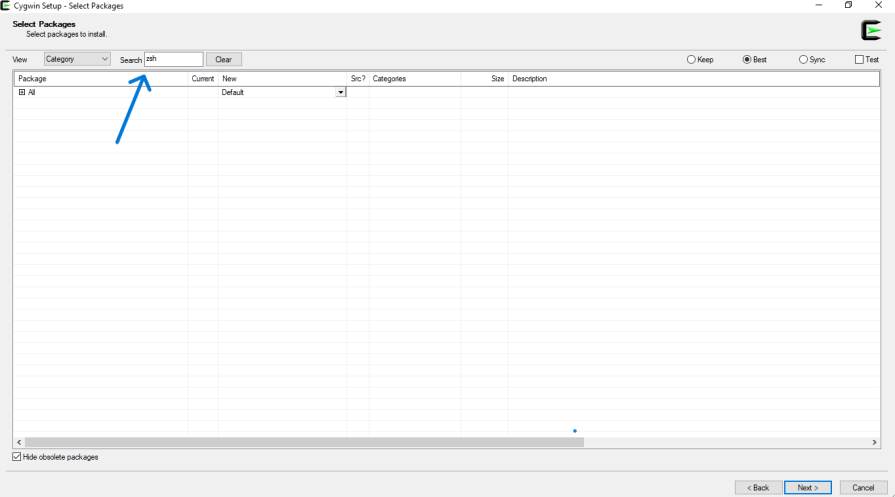
During installation, type in Zsh as the shell you want to get, and click Next:
If you prefer using WSL, install it via the command wsl - - install. Once installed, you can use
the sudo command to install Zsh. This also applies for Linux users:
sudo apt update && sudo apt install zsh -y
sudo is used for superuser access. The -y is used for smooth installation, as it automatically
answers YES for every question asked during installation. If you’d prefer to manually install and
inspect it, you can skip that param.
After installation, verify that your installed tool is installed with this command: zsh -- version.
Once your installation is completed, you can then proceed to make it your default shell using
chsh -s $(which zsh).
Oh My Zsh is an open-source Zsh framework used to add extra functionalities for Zsh, turbocharging the entire Zsh user experience. Oh My Zsh’s extra advanced features cause users who frequently use the terminal to gravitate towards Zsh.
To install Oh My Zsh from your Zsh terminal, you can either use curl, fetch,or wget.
Using curl:
sh -c "$(curl -fsSL https://raw.githubusercontent.com/ohmyzsh/ohmyzsh/master/tools/install.sh)"
Using fetch:
sh -c "$(fetch -o - https://raw.githubusercontent.com/ohmyzsh/ohmyzsh/master/tools/install.sh)"
Using wget:
sh -c "$(wget -O- https://raw.githubusercontent.com/ohmyzsh/ohmyzsh/master/tools/install.sh)"
If for some reason, you are unable to use the raw.githubusercontent.com, kindly replace the
entire command with https://install.ohmyz.sh/.
After Oh My Zsh has been installed, restart your terminal to effect the changes.
google oh-my-zshor web-search google oh-my-zh)Due to the number of plugins Zsh supports, it can run very slowly. Users who may require both speed and advanced customizations may be caught in a loop on which to choose.
Luckily for them, just as VS Code extensions can be disabled to make them lighter, the same can be said for Zsh (Oh My Zsh).
Disabling Zsh’s plugins can be quite tricky, but you have to understand that you should not delete the script itself — just the plugins. You can either do this via the command method or by manually deleting from the file.
The command method of disabling a plugin is: omz plug-in disable [plugin name]. i.e. omz plug-in disable git.
To confirm that your plugin is disabled, run omz plugin list.
The manual method of removing your plugin is via the zshrc file. Open the file via the command nano ~/.zhsrc Locate the plugin line and remove the plugin you want from this list, then exit the file.
Bash and Zsh are both important tools for scripting and working around different things in the interactive shell, but their distinctive differences make each shell more applicable for users with different needs.
Ultimately, those who love simplicity and just want to get their stuff done would choose Bash. Advanced users (or those whose work has turned the terminal their second home) might gravitate towards Zsh.
But then, there is no crime in having both running on the same system, right? That’s one thing Mac users enjoy out-of-the-box. But regardless of your system, you can still run any or both of these powerful shells with just some minimal workarounds, which have been explored here.

Debug RSC hydration mismatches in production with Next.js instrumentation, Suspense isolation, HTML diffing, and CI smoke tests.

Explore why npm dependencies are a major supply chain security risk and how to protect JavaScript apps from compromised packages and transitive threats.

Enabled React Compiler v1.0 on a production Next.js app. Here’s every warning, breakage, and silent opt-out I documented — and what actually worked.

We built the same app in TanStack Start RSC and Next.js RSC. TanStack shipped 40% less JS and built 4x faster — but Next.js is still the safer production bet.
Would you be interested in joining LogRocket's developer community?
Join LogRocket’s Content Advisory Board. You’ll help inform the type of content we create and get access to exclusive meetups, social accreditation, and swag.
Sign up now

