Editor’s note: This post was updated 13 October 2021 to removed the deprecated TweenMax method of animating and further update the tutorial. We also changed some language to reflect the current way of referencing GSAP.

Delving into the world of animations on the web can either be a great journey or a tiresome one. My goal is to make it a great journey, while also using the power of React Hooks to further entice your learning experience.
The Replay is a weekly newsletter for dev and engineering leaders.
Delivered once a week, it's your curated guide to the most important conversations around frontend dev, emerging AI tools, and the state of modern software.
This article should not be treated as a primer on JavaScript or React. I will explain each of the concepts we use, but you should have at least a little knowledge of both. You can check out the React docs if you need to get started.
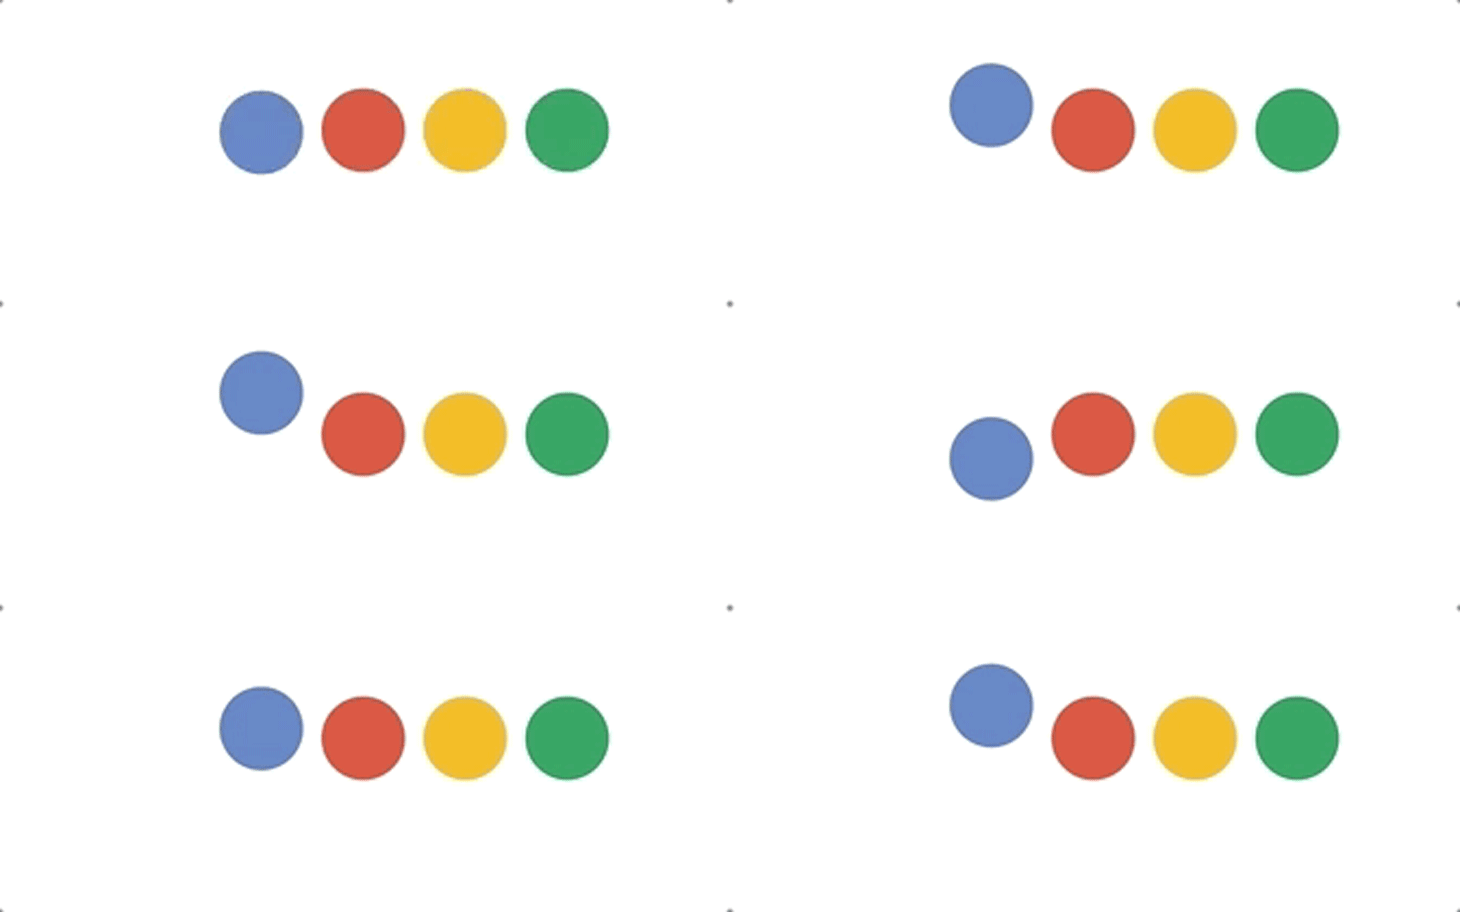
We are going to create two separate animations with an increasing level of difficulty. Our first animation will be a simple loader, similar to Google’s:

Our second will be animating the LogRocket logo to make it even better!

The GreenSock Animating Platform (GSAP) is a JavaScript library that allows us to create high-quality, high-performance animations on the web. It contains a toolset that developers can use to create superb animations quickly.
We can use GSAP to create SVG and CSS animations, and we can also use it to create immersive WebGL animations. We can also create Canvas animations using GreenSock. Most popular animation libraries like Three.js use GreenSock to animate their objects. Furthermore, GSAP can be used in other animation software like Adobe Animate and Easel JS.
Setting up is quick and easy: I have created a CodeSandbox that has the GreenSock npm module and React, so you can fork it and follow along.
Now, let’s start creating our Loader component.
The first thing we need for our loader is our graphic, which I have created above. The SVG is a basic one with a little markup.
<svg viewBox="0 0 150 33.2" width="180" height="150">
  <circle ref={circle} cx="16.1" cy="16.6" r="16.1" fill="#527abd" />
  <circle ref={circle} cx="55.2" cy="16.6" r="16.1" fill="#de4431" />
  <circle ref={circle} cx="94.3" cy="16.6" r="16.1" fill="#f4b61a" />
  <circle ref={circle} cx="133.4" cy="16.6" r="16.1" fill="#009e52" />
</svg>
Then, in our source code, we can create a Loader component, which is where the magic will happen. Inside the Loader component, we want to render our graphic.
import React from "react";
const Loader = () => {
  return (
    <svg viewBox="0 0 150 33.2" width="180" height="150">
      <circle cx="16.1" cy="16.6" r="16.1" fill="#527abd" />
      <circle cx="55.2" cy="16.6" r="16.1" fill="#de4431" />
      <circle cx="94.3" cy="16.6" r="16.1" fill="#f4b61a" />
      <circle cx="133.4" cy="16.6" r="16.1" fill="#009e52" />
    </svg>
  );
};
export default Loader;
You should now be seeing:

Fantastic! We now have our graphic in place, so let’s go animate it.
When animating, the first thing you need is a reference to the elements you plan on animating. To get a reference to our elements, we can use the useRef Hook. useRef returns a ref object that has a current property, which is what we’ll target with our animations.
Creating a useRef is straightforward:
const myElement = useRef(null)
So, for our case, we have four elements that we need to target. We will create four refs, like so:
const blue = useRef(null);
const red = useRef(null);
const yellow = useRef(null);
const green = useRef(null);
We then can add these refs to our SVG:
<svg viewBox="0 0 150 33.2" width="180" height="150">
  <circle ref={blue} cx="16.1" cy="16.6" r="16.1" fill="#527abd" />
  <circle ref={red} cx="55.2" cy="16.6" r="16.1" fill="#de4431" />
  <circle ref={yellow} cx="94.3" cy="16.6" r="16.1" fill="#f4b61a" />
  <circle ref={green} cx="133.4" cy="16.6" r="16.1" fill="#009e52" />
</svg>
Our component now looks like this:
// src/loader.jsx
import React, { useRef } from "react";

const Loader = () => {
  const blue = useRef(null);
  const red = useRef(null);
  const yellow = useRef(null);
  const green = useRef(null);

  return (
    <svg viewBox="0 0 150 33.2" width="180" height="150">
      <circle ref={blue} cx="16.1" cy="16.6" r="16.1" fill="#527abd" />
      <circle ref={red} cx="55.2" cy="16.6" r="16.1" fill="#de4431" />
      <circle ref={yellow} cx="94.3" cy="16.6" r="16.1" fill="#f4b61a" />
      <circle ref={green} cx="133.4" cy="16.6" r="16.1" fill="#009e52" />
    </svg>
  );
};

export default Loader;
With everything in place, we can start using GreenSock.
First, we import gsap.
import { gsap } from "gsap";
gsap is a fully-featured module from GreenSock that will aid us in creating our animations. It has many methods, and we will make use of a couple! GreenSock also offers us TweenLite, which is a less featured module but is more lightweight.
For our animation, we want it to take place when our component mounts. In the traditional class-based component, we would use componentDidMount, but for Hooks we will use useEffect, which behaves the same with some small differences. To get a true deep dive into Hooks, you should check out this great article.
So when our component mounts, we will use gsap’s fromTo method to animate our circles. The fromTo method is passed four arguments:
fromTo(element(s), duration, start, end)
Let’s focus on getting just the blue circle to move up and down. To do this we will target the y property of our animation.
So our code is as follows:
gsap.fromTo(blue.current, 5, { y: 18 }, { y: -18 });
We first target our element, then we set a duration of 5s. We start from y position 18 and finish on -18. This looks like the following:

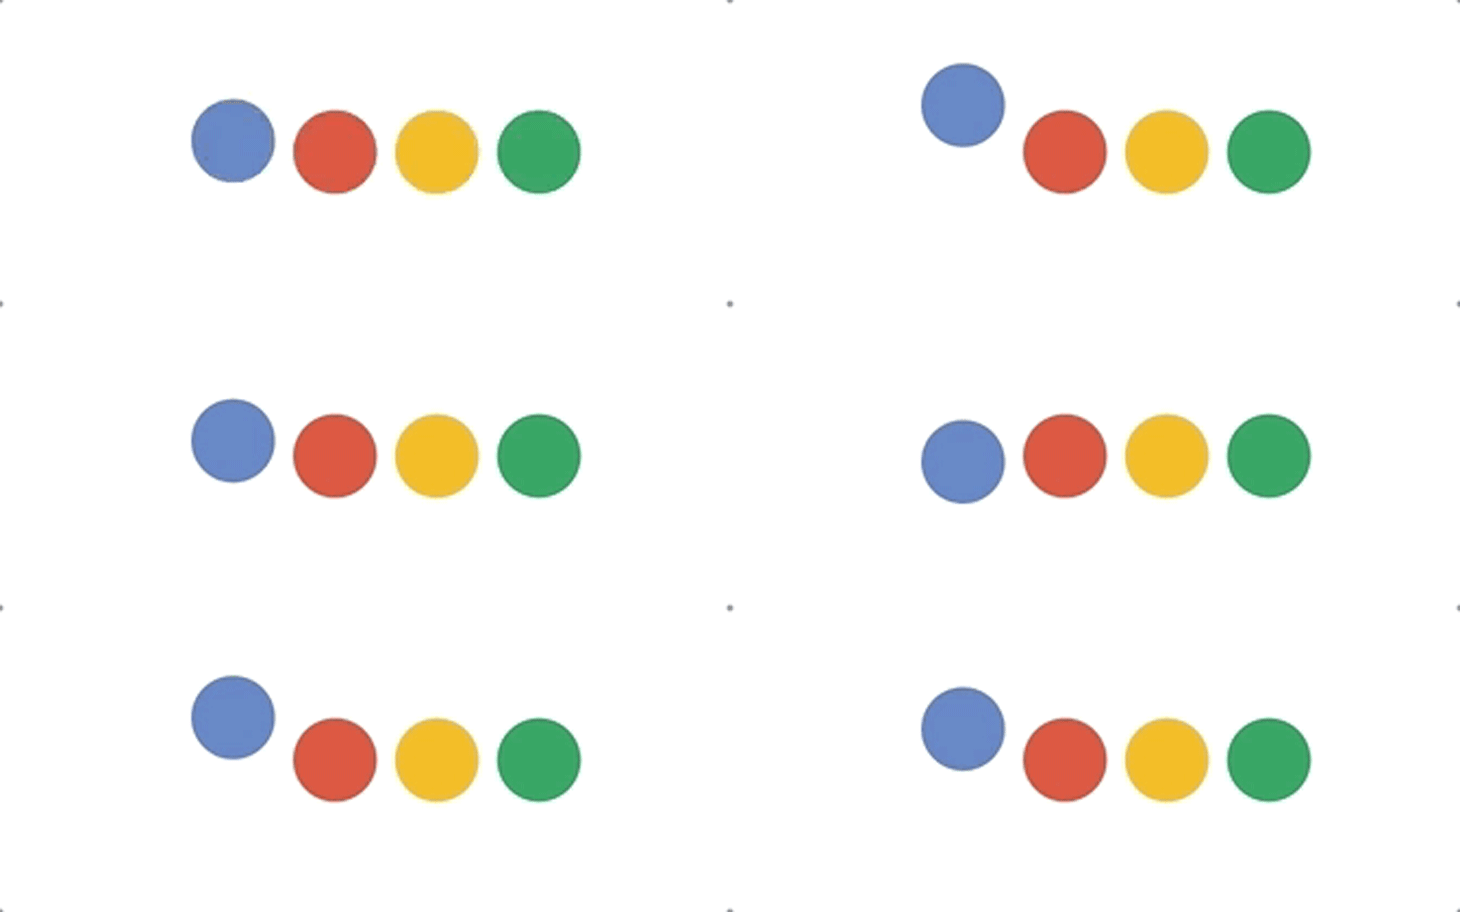
Ok, so we have made a little progress, but it still has some issues — it is far too slow, and we also need the animation to be infinite.
To achieve this, all we need to do is add the yoyo and repeat properties to our to object.
gsap.fromTo(blue.current, 0.5, { y: 18 }, { y: -18, yoyo: true, repeat: -1 });
yoyo means our animation will yo-yo between the start and finish positions. Setting repeat to -1 will make our animation infinite. We also set our duration to half a second so it will be much faster.
Now, with our new properties in place, we have:

As you can see from the completed animation at the top of this article, the yellow circle behaves the same as the blue circle. With this in mind, we can pass an array of elements (our blue and yellow refs) to our fromTo method.
gsap.fromTo(
  [blue.current, yellow.current],
  0.5,
  { y: 18 },
  { y: -18, yoyo: true, repeat: -1 }
);
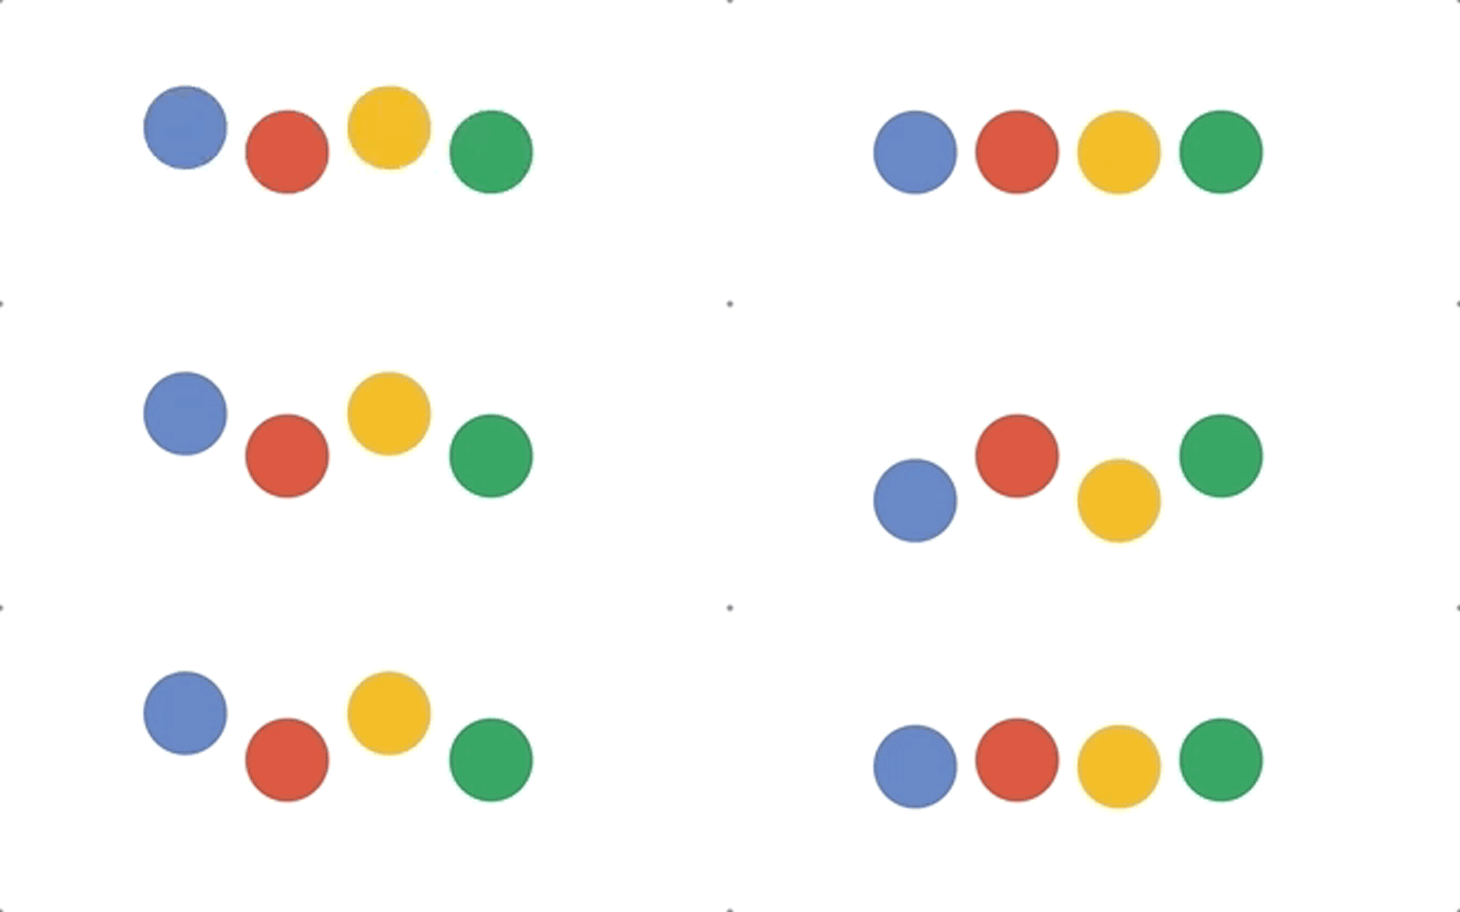
So now we have:

Success! I think you can now start seeing how powerful GreenSock is. To complete our animation, we just need to animate the red and green balls in the opposite way, like so:
gsap.fromTo(
  [red.current, green.current],
  0.5,
  { y: -18 },
  { y: 18, repeat: -1, yoyo: true }
);
This code is almost the exact same as our code above except this time, we start on y:-18 and finish on y:18.
Our final animation is now complete, and here’s how it should look:

You can find the complete code here.
One animation down, one to go!
I have created an SVG for the LogRocket icon, and it is a big one, so I have included it in the starter CodeSandbox, which you can check out here.
The final animation will look like this:

As you can see from above, there is more to this than our first animation, so let’s get cracking!
The first part we are going to focus on is the rocket, which animates upward from the bottom. We have a g element with the id of rocket. This is the element we are going to target with GreenSock.
TimelineMaxPreviously, we would have used gsap to do this, but now we will use TimelineMax because we want each of our elements to animate sequentially, not all at once.
We import TimelineMax like so:
import { TimelineMax } from "gsap";
We first need to create a Timeline, and we do this by creating an instance of the TimelineMax class:
const tl = new TimelineMax();
Similarly to TweenMax, our instance (tl) also has a fromTo method that we will use:
tl.fromTo("#rocket", 2, { y: 50 }, { y: 0 });
This is very similar to our first animation except here, instead of using a ref, we are just passing the ID — either way is fine.
Now our rocket should be coming up from the bottom like so:

The next part is to draw our letters. All of our letter paths are wrapped in a g tag with the id letters, so they are easy for us to target.
To get the drawing effect, we need to use a couple of attributes, which are stroke-dasharray and stroke-dashoffset. These are quite complicated, and to read in more detail, I recommend heading here.
stroke-dasharraystroke-dasharray is both an SVG and a CSS property used to render a line with a dashed pattern. It is used to specify the lengths of the dashes and gaps in a line. stroke-dasharray is used in SVG elements like circle and line.
Example:
<circle
  cx="50"
  cy="50"
  r="40"
  stroke="black"
  stroke-width="3"
  fill="transparent"
  stroke-dasharray="1, 3"
/>
This will stroke the shape of the circle with a dashed line. The first number is the length of the dash, and the second number is the length of the gap.
stroke-dashoffset?stroke-dashoffset is used to specify the distance into the dash pattern to start the dash. It is used in combination with stroke-dasharray to create a dashed line.
Example:
<circle
  cx="50"
  cy="50"
  r="40"
  stroke="black"
  stroke-width="3"
  fill="transparent"
  stroke-dasharray="1, 3"
  stroke-dashoffset="1"
/>
This will gives the stroke pattern a length of 1.
For our case, we use these properties to break our paths into little pieces so we can animate them back together, which is what gives us our drawing effect. My rule of thumb here is setting the value of the two attributes to be the same, and once our text disappears, we are good to go. 100 is the value we will go with.
In our styles.css file, we will set these two properties on our paths. As a side note, a stroke must be present on the path for this to work (this includes a path inheriting a stroke from a parent).
svg #letters path {
  stroke-dasharray: 100;
  stroke-dashoffset: 100;
}
So now you are seeing the following:

This is the same as what we had, but the letters are not as thick — that is because we have removed the stroke, but it still has a fill. The next step is setting the fill-opacity to 0.
svg #letters path {
  stroke-dasharray: 100;
  stroke-dashoffset: 100;
  fill-opacity: 0;
}
With this in place, our letters have disappeared, so now we focus on getting them back.
All we need to do is animate our strokeDashoffset back to 0. We will use our tl instance and the to method.
tl.to("#letters path", 3, {
  strokeDashoffset: 0
});
As you can see, we use our letters selector and then target each path within that group. With that in place, our letters should now start drawing:

The final piece of the puzzle is to animate our fill-opacity to 1. Once more, we use our tl instance and the to method.
tl.to("#letters path", 3, { "fill-opacity": 1 });
And that’s that! Our LogRocket animation is now complete — not too bad, eh?

You can see the power of TimelineMax here. Normally, to run animations sequentially, you would have to use delays, but TimelineMax takes care of this for us.
The complete CodeSandbox can be found below.
So that’s all, folks. This was definitely more of an introduction to GreenSock than it was to React Hooks, but I hope you learned something about both. The guys at GreenSock have put in a massive amount of work for their library, so be sure to go even further with it to create great animations.
Install LogRocket via npm or script tag. LogRocket.init() must be called client-side, not
server-side
$ npm i --save logrocket

// Code:

import LogRocket from 'logrocket';
LogRocket.init('app/id');
// Add to your HTML:

<script src="https://cdn.lr-ingest.com/LogRocket.min.js"></script>
<script>window.LogRocket && window.LogRocket.init('app/id');</script>

React Server Components and the Next.js App Router enable streaming and smaller client bundles, but only when used correctly. This article explores six common mistakes that block streaming, bloat hydration, and create stale UI in production.

Gil Fink (SparXis CEO) joins PodRocket to break down today’s most common web rendering patterns: SSR, CSR, static rednering, and islands/resumability.

@container scroll-state: Replace JS scroll listeners nowCSS @container scroll-state lets you build sticky headers, snapping carousels, and scroll indicators without JavaScript. Here’s how to replace scroll listeners with clean, declarative state queries.

Explore 10 Web APIs that replace common JavaScript libraries and reduce npm dependencies, bundle size, and performance overhead.
Would you be interested in joining LogRocket's developer community?
Join LogRocket’s Content Advisory Board. You’ll help inform the type of content we create and get access to exclusive meetups, social accreditation, and swag.
Sign up now
3 Replies to "Animations using React Hooks and GreenSock"
Hello, I love how you lay out everything step by step. Unfortunately, I’m not getting very far. I’m getting “circle is not defined” when I paste your code into your sandbox. Is there something else I need to import? TIA!
Hi, can you link me the Codesandbox? I can’t seem to reproduce that issue
Sorry for the delayed response – I didn’t see your message. For some reason, it’s working just fine now. I don’t know if I’ve installed something since I had the original problem or what! But at that time, I couldn’t get it to work in your sandbox, or in vscode on my laptop. It said, “circle is not defined.” But everything is good now – thanks!