There are so many benefits to having comments on your blog. It provides an opportunity to interact with your readers and receive feedback on your writing. It also improves SEO because of user-generated content.

While there are a lot of great paid commenting platforms out there, in this post we will be focusing on plugins that you can use for free.
In this article, we’ll cover how you can seamlessly and with little configuration, integrate comments into your Gatsby blog using any of the four plugins below:
Disqus is a popular third-party comment plugin that makes it easy to add, manage, and moderate comments on a blog with little configuration.
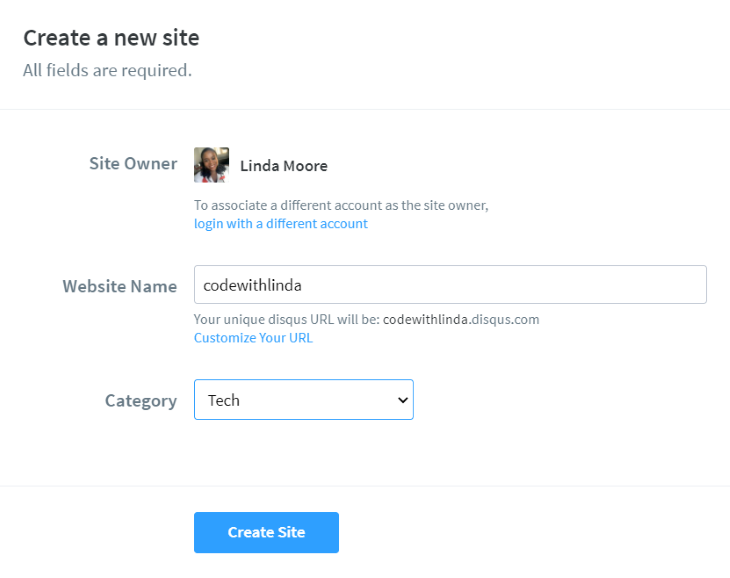
To get started with Disqus on Gatsby, you first need to register an account and click on ‘I want to install Disqus on my site’. On the next page, enter a website name and note it as we’ll be using it in a future step.
Next, install gatsby-plugin-disqus :
npm install gatsby-plugin-disqus --save
Or
yarn add gatsby-plugin-disqus
Then, add and configure the plugin in gatsby-config.js:
// gatsby-config.js
module.exports = {
  plugins: [
    {
      resolve: `gatsby-plugin-disqus`,
      options: {
        shortname: `codewithlinda`
      }
    },
  ]
}
The shortname option should correspond to the website name you provided in the previous step.
The next step is to add the Disqus comment component to your blog pages template file:
import Disqus from 'gatsby-plugin-disqus'

const PostTemplate = () => (
  <>
    /* Page Contents */
    <Disqus
      identifier={post.id}
      title={post.title}
      url={`${config.siteUrl}${location.pathname}`}
    />
  </>
)

export default PostTemplate
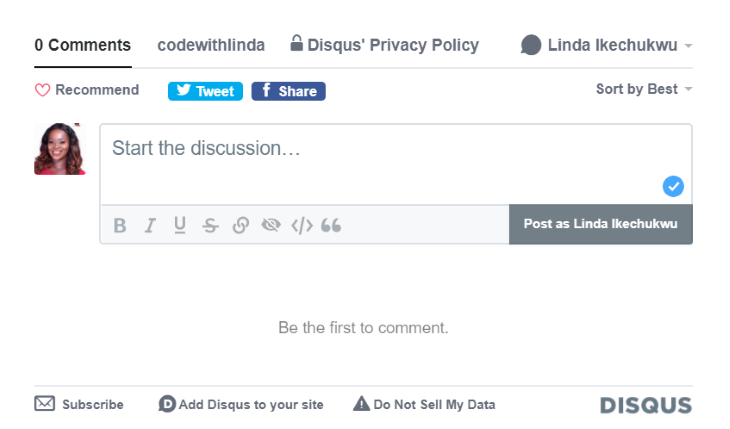
Depending on how your GraphQL queries are structured, provide an ID, title, and path URL. These help to correctly associate comment threads to corresponding blog posts. Deploy and navigate to your site URL, you should now have Disqus comments enabled.
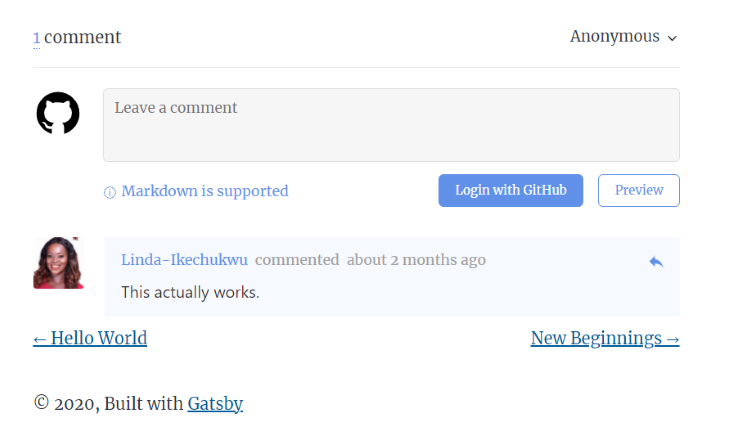
GitTalk is a comment component based on GitHub issues and Preact. User authentication is done via GitHub, so it’s ideal for tech blogs as most of your readers will already have a GitHub account.
To integrate GitTalk to a Gatsby blog, we’ll use the gatsby-plugin-gitalk.
First, install the plugin:
npm install --save gatsby-plugin-gitalk
Or
yarn add gatsby-plugin-gitalk
Then register a new GitHub Oauth application for your blog to enable authentication and authorization. Provide an application name which can be anything, a homepage URL which should be the URL of your blog, a description, and an authorization callback URL which should also be the URL of your blog.
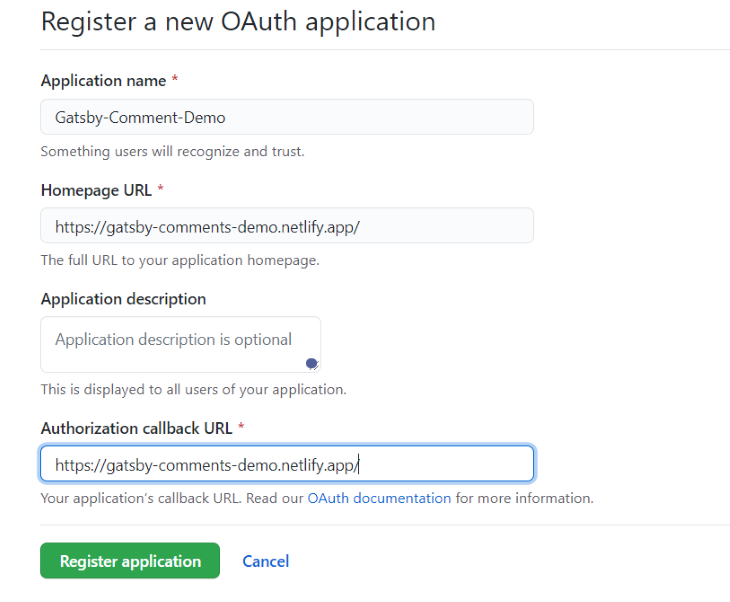
Click on ‘register application’ to generate a Client ID and Client Secret which we’ll be using in the next step.
Next, add and configure the plugin in gatsby-config.js:
plugins: [
    {
      resolve: `gatsby-plugin-gitalk`,
      options: {
        config: {
          clientID: 'f16d485a306b836cabd1',
          clientSecret: '6ee5e2a6c2a4992fc49aeab2740e6493bbc9cfae',
          repo: 'gatsby-demo-comments',
          owner: 'Linda-Ikechukwu',
          admin: ['Linda-Ikechukwu']
        }

      }
    },
  ]
In the config options, the clientID and clientSecret are values from the previous step. The repo is the name of your repo where you want comment issues to be submitted – preferably the repo that houses code for your blog. The owner config is your GitHub username, and the admin is an array of repo owners and collaborators. There are other optional config parameters that can be found here.
Finally, add the comment component to your blog posts template file:
//in template/blog-post.js
import Gitalk from 'gatsby-plugin-gitalk'
import '@suziwen/gitalk/dist/gitalk.css'

const PostTemplate = () => {
  let gitalkConfig = {
    id: post.slug || post.id,
    title:post.frontmatter.title,
  }
  return (
     <Gitalk options={gitalkConfig}/>
  )
}

export default PostTemplate
The CSS file contains styles for the plugin. You can modify the styles of the comment component by copying the content of node_modules/@suziwen/gitalk/dist/gitalk.css, modify it, and import it as a replacement. Depending on how your GraphQL query is structured, provide an ID and title for the comment component.
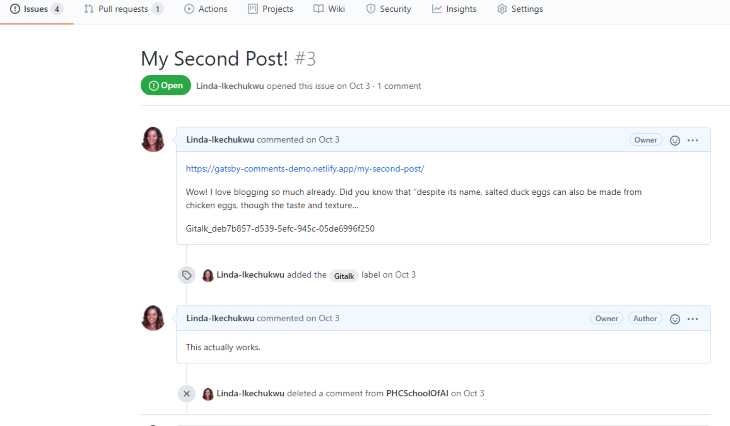
When the first comment for a particular article is submitted, GitTalk opens an issue with the provided title in the config as the title of the issue and attaches any comments made under that article to that issue. You can delete a comment from your page by deleting the comment on your GitHub issue.
To test, deploy, and visit your site URL, click on initialize comments and now you should have commenting enabled on your site.
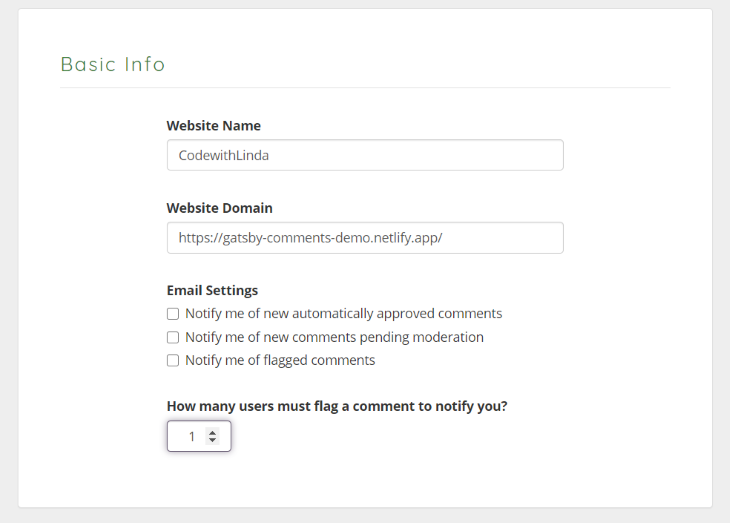
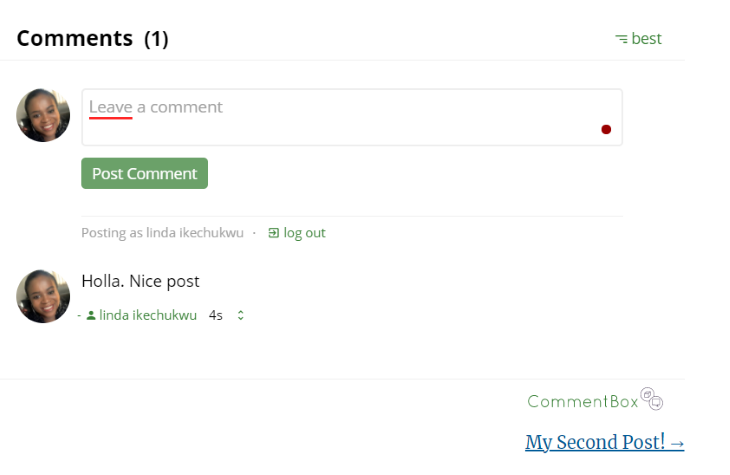
CommentBox is a privacy-focused third-party commenting solution with a free tier of 100 comments per month.
To get started with CommentBox, you need to create an account. Enter your website domain without https and www. After that a project ID will be generated for you. Take note of that as it will be used in a future step.
Next, install CommentBox via npm:
npm install commentbox.io --save
Then, add the comment component to your blog pages template file:
import commentBox from 'commentbox.io';
const BlogPostTemplate = ()=>{
  useEffect(() =>{
    commentBox('5632596591509504-proj')
  },[])

  return(
     <div className="commentbox" />
  )

}
The argument supplied to the commentBox function should be your project ID generated from the previous step. By default, comments are automatically approved but you can also choose to manually approve them from your dashboard.
If you wish to change the theme of the comment plugin, supply an object with the following parameters to the commentBox function:
commentBox('5632596591509504-proj', {
   backgroundColor: null,  // default transparent
   textColor: null,  // default black
    subtextColor: null,  // default grey
})
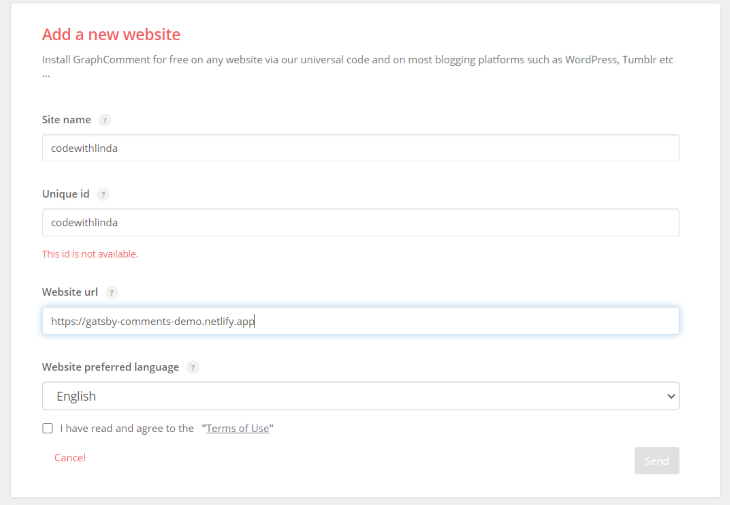
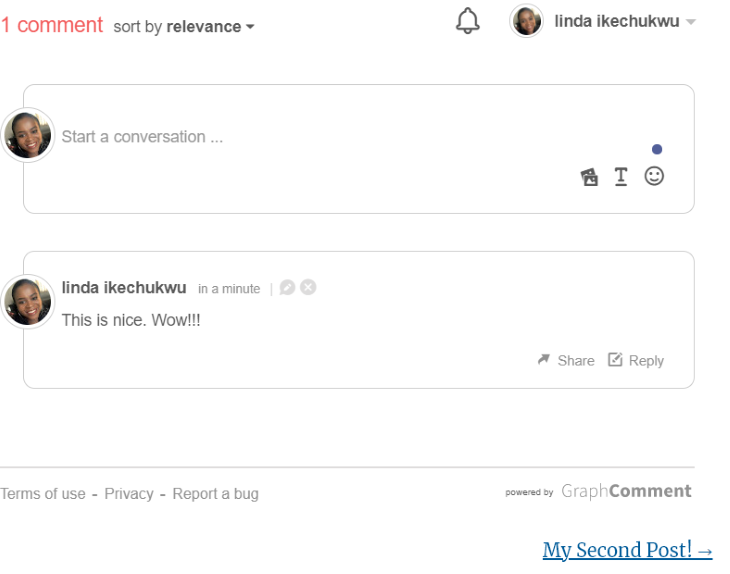
GraphComments is more than just a commenting platform. It’s a community system embedded right into your blog.
To get started, first, sign up and add a new site on your dashboard. Note your unique ID as it will be used in a future step.
After that, you’ll be redirected to your dashboard. Click on My sites > your site name > setup to find your setup script.
You can add the script to your blog posts template file using either react-inline-script or useEffect:
import Script from "react-inline-script"

<div id="graphcomment"></div>
      <Script>
        {`
          window.gc_params = {
              graphcomment_id: 'codewithlinda',
              fixed_header_height: 0,
          };

          (function() {
            var gc = document.createElement('script'); gc.type = 'text/javascript'; gc.async = true;
            gc.src = 'https://graphcomment.com/js/integration.js?' + Math.round(Math.random() * 1e8);
            (document.getElementsByTagName('head')[0] || document.getElementsByTagName('body')[0]).appendChild(gc);
          })();
        `}
      </Script>
Or
useEffect(() => {
    window.gc_params = {
      graphcomment_id: 'codewithlinda',
      fixed_header_height: 0,
   };

  (function() {
    var gc = document.createElement('script'); gc.type = 'text/javascript'; gc.async = true;
    gc.src = 'https://graphcomment.com/js/integration.js?' + Math.round(Math.random() * 1e8);
    (document.getElementsByTagName('head')[0] || document.getElementsByTagName('body')[0]).appendChild(gc);
  })();
 }, [])
Make sure the graphcomment_id value matches the one you gave in the previous step. That’s it. GraphComments should now be embedded on your blog pages.
In this article, I discussed and walked you through how to set up comments for a Gatsby blog, using any of the four plugins, Disqus, CommentBox, GitTalk, and GraphComments.
If you love being in control and want to manage everything about your blog, code, articles, and comments inclusive from one GitHub account, then go with GitTalk. If you don’t mind third-party tools (they’ll likely own your comment content) and want to stick with something that most web users are used to and will probably already have an account on, use Disqus. If you don’t want to be bothered with the performance drawbacks with Disqus then GraphComments and CommentBox both have neat interfaces with cool free tier offerings.
In the end, the choice of which commenting plugin to use totally depends on you. While the four plugins mentioned above are all great, there are other options available. Explore, find what works for you, and use it.
So, which commenting plugin do you prefer? Feel free to drop a comment.
Install LogRocket via npm or script tag. LogRocket.init() must be called client-side, not
server-side
$ npm i --save logrocket

// Code:

import LogRocket from 'logrocket';
LogRocket.init('app/id');
// Add to your HTML:

<script src="https://cdn.lr-ingest.com/LogRocket.min.js"></script>
<script>window.LogRocket && window.LogRocket.init('app/id');</script>

Learn how to use Fallow to analyze AI-generated code, detect dead code, duplicate logic, and complexity issues, and integrate automated code quality checks into your AI-assisted development workflow.

Learn how to protect full-stack projects from NPM supply chain attacks with a practical security checklist.

Explore 15 essential MCP servers for web developers to enhance AI workflows with tools, data, and automation.

Learn how contrast-color() automatically picks accessible text colors using native CSS, without JavaScript.
Hey there, want to help make our blog better?
Join LogRocket’s Content Advisory Board. You’ll help inform the type of content we create and get access to exclusive meetups, social accreditation, and swag.
Sign up now

