Node.js provides us with a module to assist with file compression. In this article, we will build an application where users can upload a file they want to compress, and then download the compressed version of the file using the Node.js Zlib module.
To follow along with this tutorial, you’ll need the following:
The Replay is a weekly newsletter for dev and engineering leaders.
Delivered once a week, it's your curated guide to the most important conversations around frontend dev, emerging AI tools, and the state of modern software.
We will start by building our backend, which is the backbone of our application. On your desktop, create a folder for the application and set up a new Node.js project by running npm init -y .
cd desktop && mkdir compressor && cd compressor
mkdir server && cd server
npm init -y
We now need to install the necessary packages for our application:
express : This will help set up our server and also our compress routenodemon : Nodemon will restart our server whenever we make changes to our applicationmulter: A middleware which is used in uploading filescors: Helps add headers to the proxied requestTo install all of this, run this command inside the server directory that we created:
npm i --save express nodemon multer cors
When this is finished installing, create an index.js file inside the server directory. This is where we will be writing our backend codes.
Open up the folder using VS code. Before we start, let’s create a .gitignore file and add node_modules to it. This will prevent the node_modules folder from been added to git.
Lets continue by creating a simple Express.js server and then configuring our packages:
var express = require('express');
var multer = require('multer');
var zlib = require('zlib');
var cors = require('cors');
let fs = require('fs');
let path = require('path');
var app = express();
app.use(cors());

//multer
var storage = multer.memoryStorage();
var upload = multer({
  storage: storage,
});

app.listen(3000, () => {
  console.log('App is runnuing on port 3000');
});
We start by requiring our installed packages like Express, Multer, and Cors. Then, we create an instance of Express and store it in a variable. We use the Express instance to configure our cors as middleware.
We also require some Node.js core modules like zlib, which we will be using for the actual compression. We then use the instance of Express to create a server which will listen to port 3000.
Multer gives us the ability to get the actual file buffer by using the Multer memoryStorage() method. This will return the file buffers, which is what we will be using as our zlib module accepts only strings or buffers.
Next up, we will create a route which will take in a file and then return the compressed file.
Zlib has a whole lot of methods for compression, but for this article, we will be using the gzip method.
app.post("/compress", upload.single("file"), async (req, res) => {
  try {
    const destination = `compressed/${req.file.originalname}.gz`;
    let fileBuffer = req.file.buffer;
    await zlib.gzip(fileBuffer, (err, response) => {
      if (err) {
        console.log(err);
      }
      fs.writeFile(path.join(__dirname, destination), response, (err, data) => {
        if (err) {
          console.log(err);
        }
        res.download(path.join(__dirname, destination));
      });
    });
  } catch (err) {
    console.log(err);
    res.json(err);
  }
});
We define the /compress route, which is a POST request, and then pass the Multer middleware in the route. Our Multer middleware will return the file buffer, which we store in the fileBuffer variable.
For testing purposes, let’s create a compressed directory where we will store our compressed file.
We will use the Multer middleware to get the name of the file we want to compress so that we can save it in our compressed directory.
const destination = `compressed/${req.file.originalname}.gz`;
We use the Zlib method gzip to compress our file, which takes in the fileBuffer as the first parameter and then a callback function as the second parameter. The callback function consists of any possible error and the compressed response.
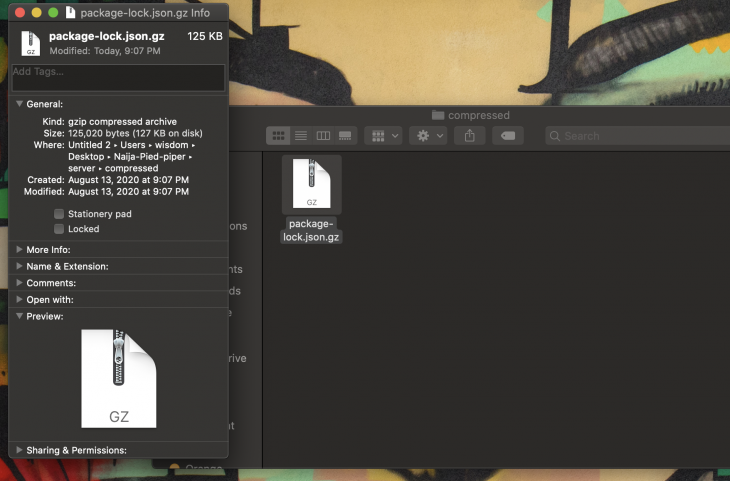
After getting the Zlib response, we create a file and store the response inside the compressed directory. This file will have a .gz file extension name, as this is used to identify the Zlib compression.
We can now test our application on POSTMAN before commencing the frontend. I will be compressing a package.lock.json file. Its size is 488kb.
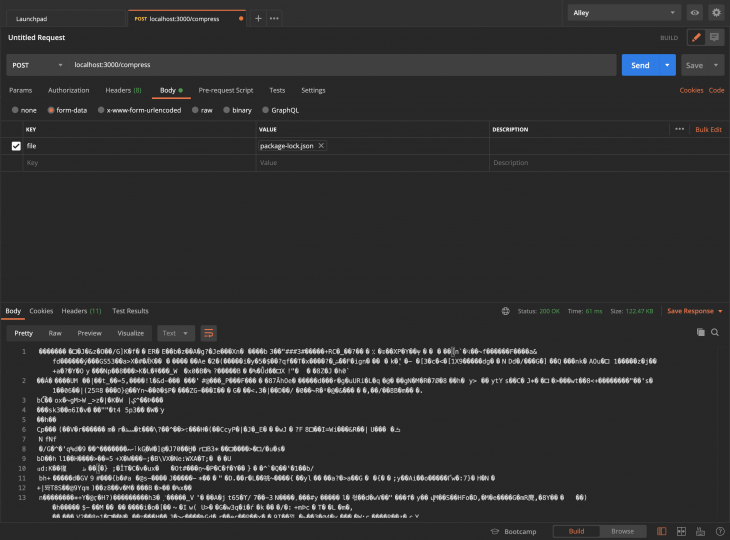
Compressing the file gives us 127kb.
Now that our backend is ready, we can set up our user interface for the application.
Let’s create a client directory inside the compressor root directory. Inside the client directory, create two files: index.html and main.js.
We will start by defining our user interface for our application.
We will scaffold an HTML 5 boilerplate and then add the Vue.js script, the Bootstrap CSS CDN, and the Axios script in our template head. Then, we’ll add our main.js file at the end of the body tag.
<!DOCTYPE html>
<html lang="en">
<head>
    <meta charset="UTF-8">
    <meta name="viewport" content="width=device-width, initial-scale=1.0">
    <title>Vue Compressor</title>
    <link rel="stylesheet" href="https://stackpath.bootstrapcdn.com/bootstrap/4.5.2/css/bootstrap.min.css"
        integrity="sha384-JcKb8q3iqJ61gNV9KGb8thSsNjpSL0n8PARn9HuZOnIxN0hoP+VmmDGMN5t9UJ0Z" crossorigin="anonymous">
    <script src="https://cdn.jsdelivr.net/npm/vue"></script>
    <script src="https://cdn.jsdelivr.net/npm/axios/dist/axios.min.js"></script>
</head>
<body>
<div id="app">
    <h1>Compressor</h1>
</div>
    <script src=" main.js"></script>
</body>
</html>
For this application, users will be adding their files with drag and drop. Let’s define a simple user interface for our application.
Modify your template to this:
<!DOCTYPE html>
<html lang="en">
<head>
    <meta charset="UTF-8">
    <meta name="viewport" content="width=device-width, initial-scale=1.0">
    <title>Vue Compressor</title>
    <link rel="stylesheet" href="https://stackpath.bootstrapcdn.com/bootstrap/4.5.2/css/bootstrap.min.css"
        integrity="sha384-JcKb8q3iqJ61gNV9KGb8thSsNjpSL0n8PARn9HuZOnIxN0hoP+VmmDGMN5t9UJ0Z" crossorigin="anonymous">
    <script src="https://cdn.jsdelivr.net/npm/vue"></script>
    <script src="https://cdn.jsdelivr.net/npm/axios/dist/axios.min.js"></script>
    <style>
        body {
            background: darkgrey !important;
        }
        .wrapper {
            width: 350px;
            height: 350px;
            border: 2px dotted gray
        }
        .wrapper h4 {
            text-align: center;
            font-family: sans-serif;
        }
    </style>
</head>
<body>
<div id="app">
    <div class="container">
        <div class="row">
            <div class="col-md-12">
                <div class="wrapper mt-5 p-3">
                    <h4>Drag and Drop here</h4>
                    <ul class="list-group mt-5">
                        <li class="list-group-item">FileName -> File Size <button
                                class="btn btn-sm btn-danger">X</button></li>
                    </ul>
                </div>
                <button class="btn btn-primary my-4">  <span class="spinner-border spinner-border-sm" role="status" v-if="loading" aria-hidden="true"></span>

Compress</button>
            </div>
        </div>
    </div>
</div>
    <script src=" main.js"></script>
</body>
</html>
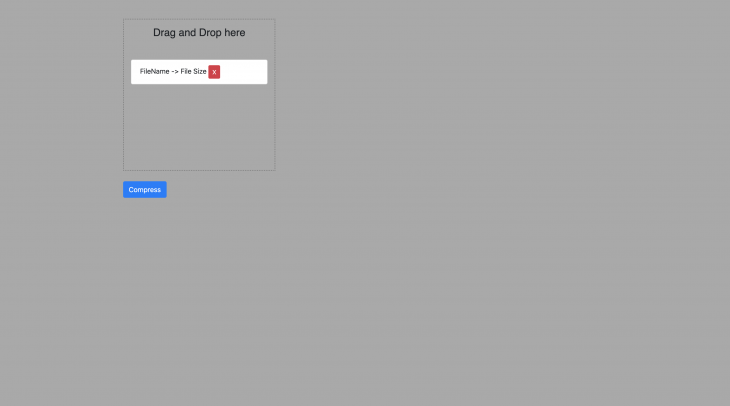
You can run your application using any live-server of your choice to preview your application:
We will start by defining our Vue.js instance in our main.js file. Then, we’ll create a state to hold our files:
var app = new Vue({
el: '#app',
data: {
files: [],
loading:false
},
methods: {
addFile(e) {
},
removeFile(file) {
},
compressFile() {
}
}
})
To implement drag and drop in Vue.js, we need to add a @drop event that will select our files and also a v-cloak attribute that is used in hiding {{tags}} before app load.
<div class="wrapper mt-5 p-3" v-cloak @drop.prevent="addFile" @dragover.prevent>
            <h4>Drag and Drop here</h4>
        </div>
The @drop event listens to the addFile method, which we have to define:
addFile(e) {
      let files = e.dataTransfer.files;
      [...files].forEach(file => {
        this.files.push(file);
        console.log(this.files)
      });
    }
With this method, any file dropped in the box will be logged on our console. However, we want to display the file inside our box, so to do that we have to modify the <li> element to this:
<li v-for="(file,id) in files" :key="id" class="list-group-item">
                                {{ file.name }}-{{ file.size }} kb<button class="btn btn-sm btn-danger">X</button>
                            </li>
With this, any time we drop a file in the box, the file name and size will be displayed.
We can add an extra feature to remove a file from the box by adding a click event to the X button: @click="removeFile(file)".
We then define the removeFile method:
removeFile(file) {
      this.files = this.files.filter(f => {
        return f != file;
      });
    },
Let define our compress function, which will compress our selected file. This is where Axios comes in. We will be making a request to our /compress route, which we defined in our backend:
compressFile() {
      this.loading = true;
      let formdata = new FormData();
      formdata.append('file', this.files[0])
      axios.post('http://localhost:3000/compress', formdata, {
        responseType: 'blob'
      }).then(response => {
        let fileURL = window.URL.createObjectURL(new Blob([(response.data)]))
        let fileLink = document.createElement('a');
        fileLink.href = fileURL;
        fileLink.setAttribute('download', `${this.files[0].name}.gz`);
        document.body.appendChild(fileLink);
        fileLink.click();
        this.loading = false;
      }).catch(err => {
        this.loading = false;
        console.log(err)
      })
    }
We use FormData for uploading the file. After uploading the file, our backend compresses the file and returns the compressed file to us.
We use the URL.createObjectURL to create a DOMstring containing a URL representing the object given. Then, we download the given data we recieved from our backend.
We now need to add a click event to our compress button to listen to the method that we created:
<button class="btn btn-primary my-4" @click="compressFile"> <span
                            class="spinner-border spinner-border-sm" role="status" v-if="loading"
                            aria-hidden="true"></span>
                        Compress </button>
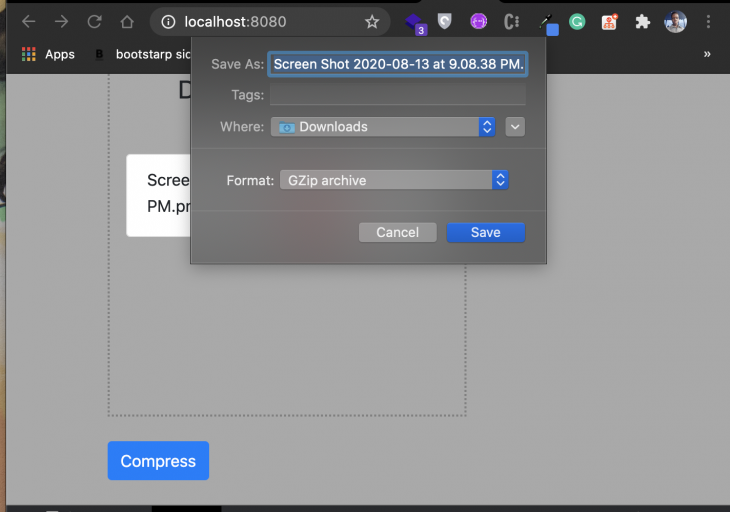
Clicking on our compress button will trigger a download of the file:
And that’s it!
We just built a simple compression application. One last thing we would love to add is a simple method that will format the size of our file in kilobytes by creating a Vue.js filter:
filters: {
    kb(val) {
      return Math.floor(val / 1024);
    }
  },
Then, we’ll pass a pipe to the size of the file like this:
{{ file.size | kb }} kb
This will format the size of our file to something more readable.
Node.js has made file compression easy. It can further be used for compressing of HTTP requests and responses to increase the application performance. To get more Zlib features, you can check out the Node.js documentation on Zlib.
To get source code, click here.
Debugging Vue.js applications can be difficult, especially when users experience issues that are difficult to reproduce. If you’re interested in monitoring and tracking Vue mutations and actions for all of your users in production, try LogRocket.

LogRocket lets you replay user sessions, eliminating guesswork by showing exactly what users experienced. It captures console logs, errors, network requests, and pixel-perfect DOM recordings — compatible with all frameworks.
With Galileo AI, you can instantly identify and explain user struggles with automated monitoring of your entire product experience.
Modernize how you debug your Vue apps — start monitoring for free.

AI-generated tests can speed up React testing, but they also create hidden risks. Here’s what broke in a real app.re

Why the future of DX might come from the web platform itself, not more tools or frameworks.

A hands-on test of Claude Code Review across real PRs, breaking down what it flagged, what slipped through, and how the pipeline actually performs in practice.

CSS art once made frontend feel playful and accessible. Here’s why it faded as the web became more practical and prestige-driven.
Hey there, want to help make our blog better?
Join LogRocket’s Content Advisory Board. You’ll help inform the type of content we create and get access to exclusive meetups, social accreditation, and swag.
Sign up now

