If you’ve ever worked with web design clients, you know how the early stages can drag. Just want to send a quick layout update — but suddenly you’re knee-deep in reshuffling sections, tweaking hierarchy, and wondering if “Contact Us” should come before or after the testimonials. But what if you could speed that up without sacrificing structure or quality?
That’s what Relume AI does for you.
Relume is an AI-powered tool built for designers who want to ditch the blank canvas and get wireframes done — fast. Whether you’re starting from scratch or reacting to client feedback, Relume helps you go from idea to structured layout in minutes.
In this guide, I’ll walk you through how to use Relume to:
— all with just a few simple prompts.
If you’d like a video walkthrough for this tutorial, check it out here:
Before we go into the ins and outs of Relume, it’s helpful to understand who this tool is really for and who it might not be ideal for.
You might think, Why wouldn’t anyone want to wireframe “faster”? Fair question. But personally, I avoid Relume AI or AI wireframing in general when I already have a clear layout based on solid research. Why? At that point, I don’t want an AI to suggest structure; I just want to execute on the insights I’ve already gathered.
Relume AI is for you if:
Relume AI isn’t for you if:
Let’s compare the old-school and AI-powered approaches to wireframing.
Traditional wireframing means opening up Figma (or Sketch), building everything block by block, and having full creative freedom — but it’s time-consuming and often slow to iterate.
AI wireframing flips that. Instead of building everything block by block, you describe your project in plain language, and the AI generates a wireframe structure based on your input(prompt), kinda like a text-to-wireframe. Think of it like giving instructions to a design assistant who can instantly return a ready-made layout. Where tools like Relume AI and even Uizard excel.
Here’s a comparison to help you understand the differences:
| Feature | Traditional wireframing | AI wireframing (e.g., Relume) |
| Speed | Slower, manual process | Fast, generated in seconds |
| Creativity | High, full creative freedom | Moderate, based on your input |
| Best for | Custom layouts and exploration | Quick starts and layout suggestions |
| Tools used | Figma, Sketch, pen + paper | AI platforms like Relume, Uizard |
| Learning curve | Moderate | Low, easy to start |
| Revisions | Manual adjustments | Regenerate or edit prompt |
Now that you understand what Relume AI is and how AI wireframing works, let’s walk through how to actually build a wireframe using Relume AI:
Head to relume.io and sign up using your email or Google. Once you’re in, you’ll hit the pricing page where you can pick a plan:

Relume offers both free and premium pricing plans.
The free plan is a fantastic starting point, giving you access to the core features you need to generate and experiment with AI-powered wireframes. However, it does have some limitations, like the number of pages you can export and the number of projects you can save.
On the other hand, the premium plan unlocks more advanced features, including exporting multiple pages, managing larger projects, and offering additional customization options. It’s ideal for professional designers handling client work or complex projects:
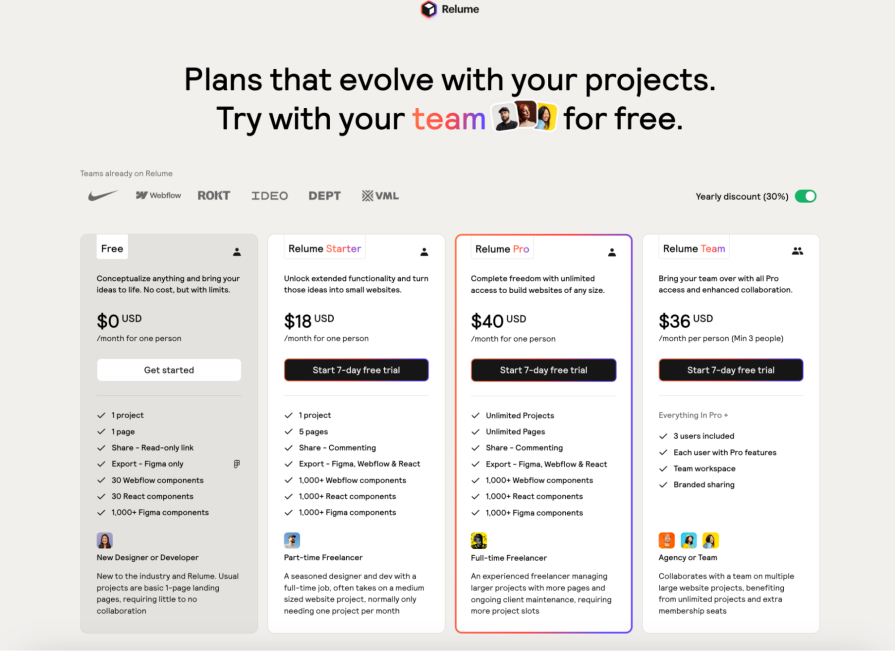
For this tutorial, we’ll use the free plan, allowing everyone to follow along and get started without any cost. Once you get the hang of it and need more robust features, you can always upgrade to a premium plan to unlock the full potential of Relume.
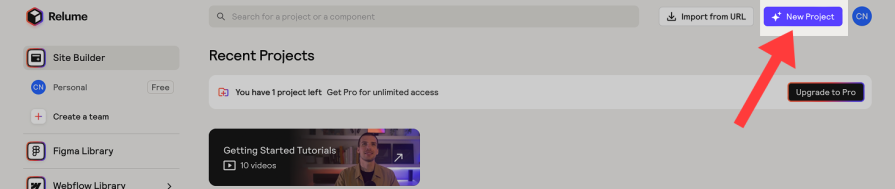
Once your account is set up and you’ve chosen your plan, the next step is to create a new project. You can do this by clicking the “New Project” button in the top right corner:
Give it a name, I’m naming mine “Main Project”, then jump into the AI Sitemap Generator:

In the Sitemap Generator, there are 4 things to note:
Once you have filled in the required information and clicked “Generate sitemap,” Relume AI will do all the work, and you should have a sitemap like this:
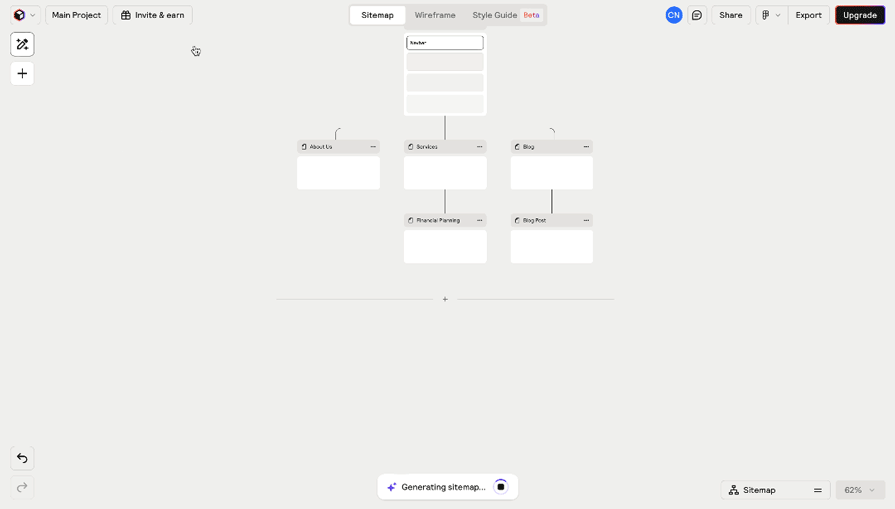
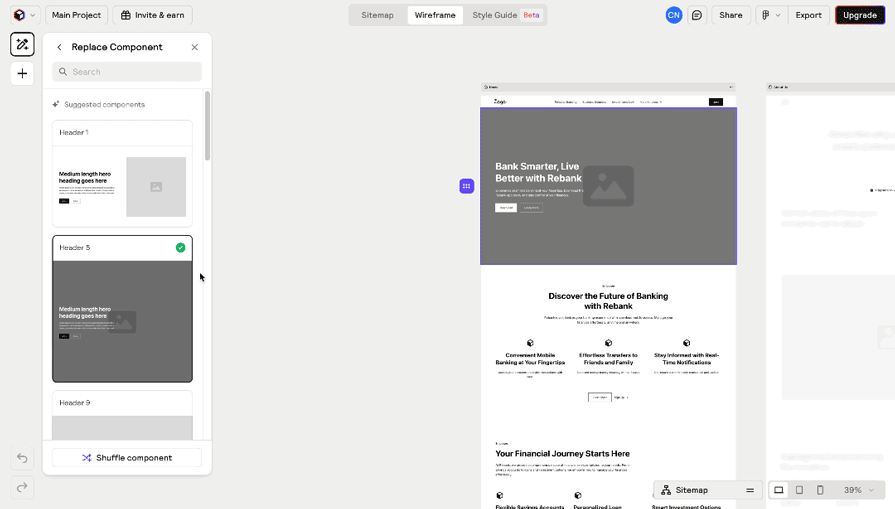
Relume instantly builds wireframes based on your sitemap. These layouts come with headers, testimonials, CTAs, and more — already sectioned for each page. From here, you can:
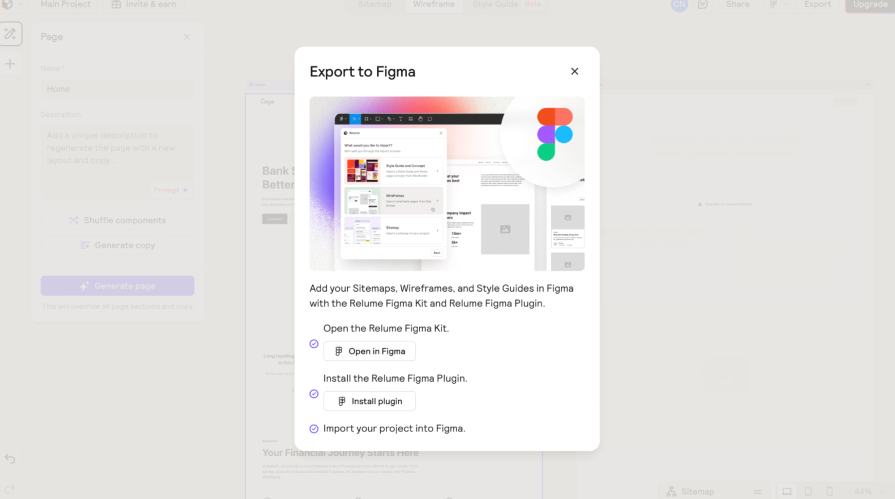
After customizing your wireframe, Relume allows you to export the entire layout directly into Figma. This is perfect if you want to add styling, apply a design system, or hand it off to a client or developer.
To export your wireframe, make sure you have the wireframes selected and at the top right corner, tap on the “Export” option. You will be prompted to take three actions to complete the export.
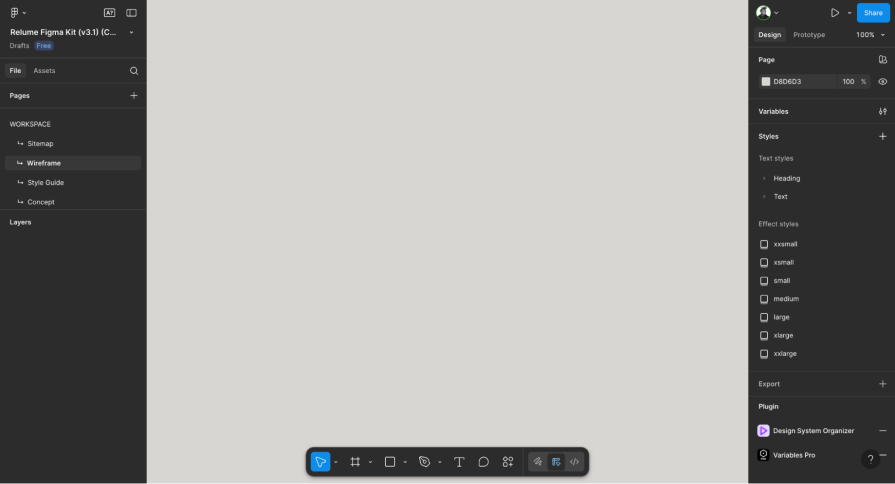
Step 1: Open the Relume Figma Kit
Go to Figma and search for the Relume Figma Kit in the Figma community, then open it and go to the wireframe section in the left panel:
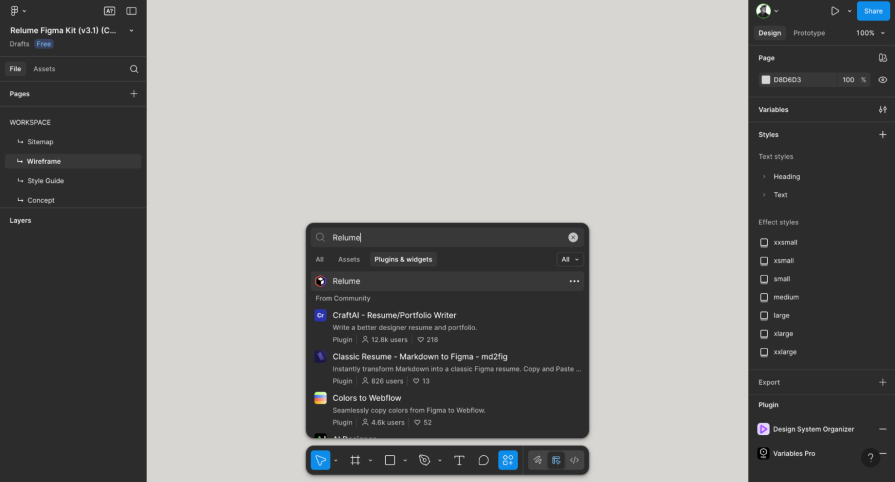
Step 2: Install the Relume Figma plugin
To do this, Press “Command + K” on Mac or “Control + K” on Windows, which will take you to the Actions tab, then select the “Plugins and widget” tab and search for “Relume” and click on the Relume with the Icon to install the plugin:
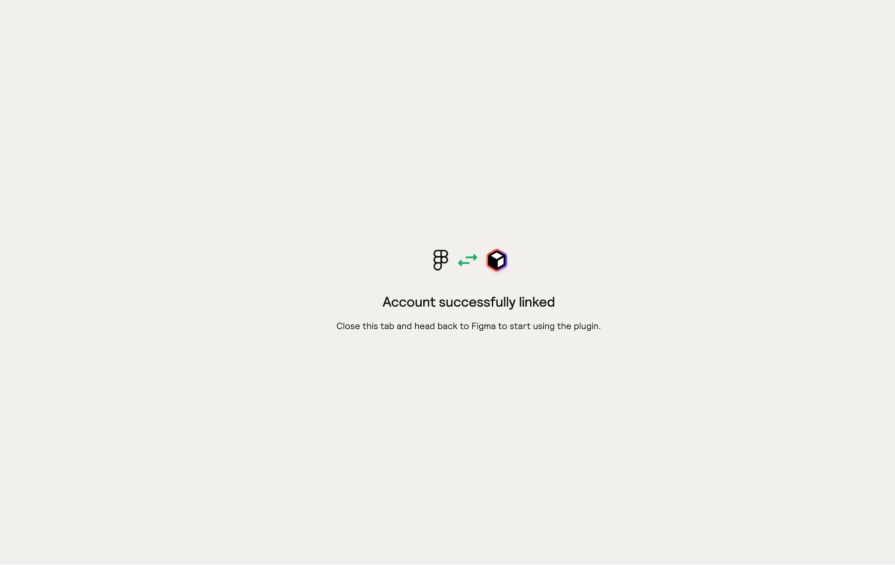
You will then be prompted to log in to your Relume account in Figma, do that, and it will successfully link your account:
Step 3: Import your project into Figma
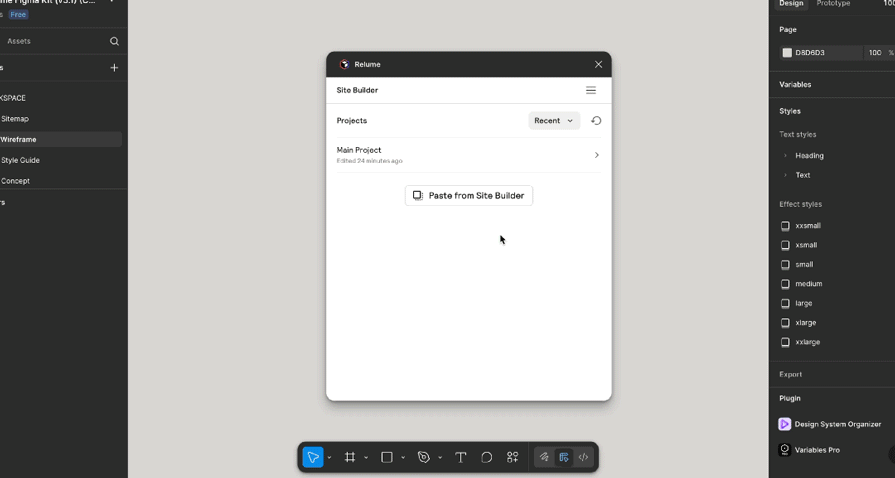
After linking your Relume account to Figma, you will see the new pop-up with your recently worked on project. In this case, it’s my project, which I saved as “Main Project”. Select it and progress to import your wireframe successfully:
And that’s how you create a wireframe in Relume AI and export it to Figma.
To get the most out of AI wireframing, it’s not just about using the tool — it’s about how you use it. Here are tips to help you get better results:
I genuinely think AI in the design industry is a game-changer, and a tool like Relume AI proves it. The speed, structure, and ease it brings to wireframing are impressive. That said, knowing when to use AI is important. I don’t just say, “Oh, AI!” and throw all my work at it. If you do that, your work will start to look generic. Even with the best prompts, AI has its limits, and understanding this helps you use it wisely.
For Relume AI, the wireframes are actually pretty solid. I love the way the layouts are structured from the hero to the CTAs, all the way to the footer. There’s also a lot of flexibility. You can rearrange sections, tweak copy, and adjust layouts to match your vision. And that’s key — AI gives you a draft, not a final product.
Personally, I use Relume as a surface-level starting point, especially when I’m stuck or need to move fast. But when I already have a well-researched structure in mind, I avoid AI wireframing. Why? Because I want the layout to reflect intent, not just common patterns.
So… are the results good?
Yes, they’re solid.
But are they the final output?
No, for the sake of creativity and functionality.
Based on my experience with the tool, these are the pros and cons I experienced with the Relume AI:
Pros:
Cons:
AI wireframing is next level. It might not be for everyone, but it definitely changes the game — and a tool like Relume AI proves it. For me, it’s just like adding another favorite tool to my stack — right up there with Figma, Notion, FigJam, and the rest.
But like any tool, it’s not one-size-fits-all. Just as some designers prefer Figma while others might swear by Sketch, the value of Relume depends on your workflow and mindset:
But the bottom line? It’s a strong addition — if you know when and how to use it.

LogRocket's Galileo AI watches sessions and understands user feedback for you, automating the most time-intensive parts of your job and giving you more time to focus on great design.
See how design choices, interactions, and issues affect your users — get a demo of LogRocket today.
Learn how context-aware mode prioritization and seamless transitions improve multimodal UX and reduce mode confusion.

Research is becoming more democratized, product cycles are accelerating, and AI is transforming synthesis and ResearchOps. Here are the three trends shaping UX research in 2026.

Voice support is not the same as multimodal UX. Here’s how to design systems with true mode continuity and context-aware interactions.
AI tools can generate beautiful UI concepts in minutes, but most teams struggle to integrate those outputs into real design systems. This guide explores why AI drifts toward generic patterns and how to build governed workflows that keep speed without sacrificing brand consistency.


