Animations play an important role in how we interact with apps and websites. They can be used to enhance the user experience by making it more smooth and interactive, or simply by adding some visual flair. In this article, we’ll look at and compare the most popular Vue.js libraries for achieving these goals.
We’ll go over the following libraries, covering their installation processes, implementation, and some scenarios in which they might be useful:
First in line is vue-kinesis, a powerful animation library that provides a series of components allowing us to add interactive animation to our Vue application. This library naturally reacts to cursor changes and invokes animation based on mouse events, but interestingly, in addition to this, vue-kinesis also lets us activate animations with changes in audio frequency.
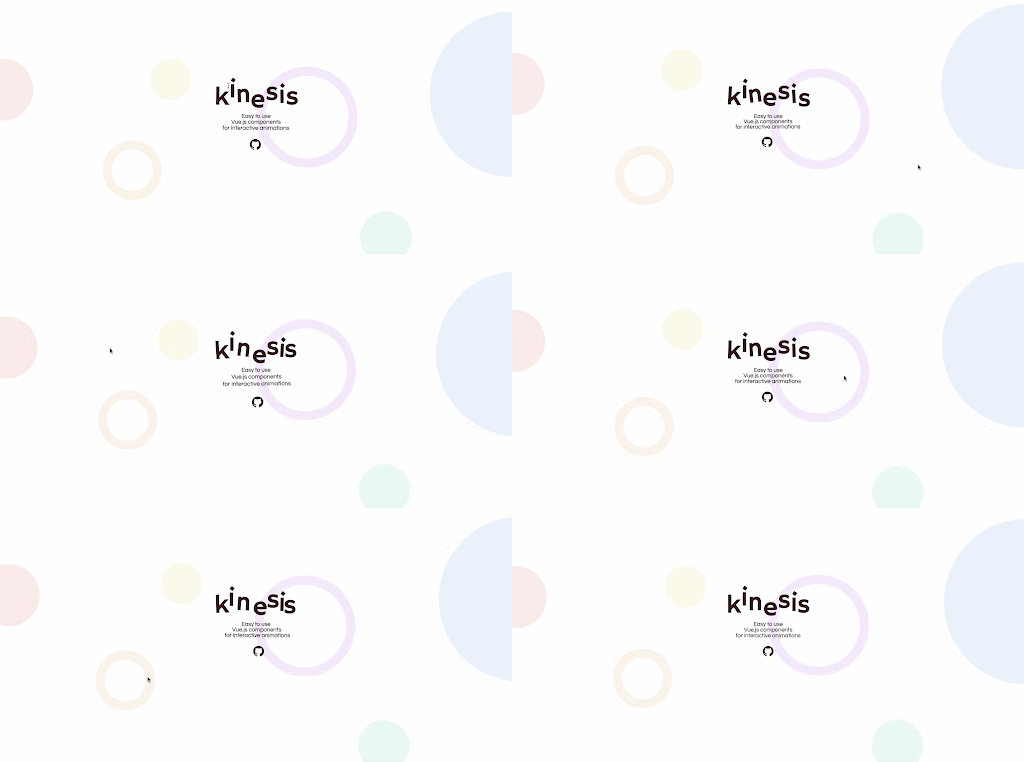
Together with its components, it has a wide range of custom attributes with which we can control animation flows programmatically, allowing us to easily achieve the desired effect.
vue-kinesis is available for both Vue 2 and Vue 3, as well as the vue-browser CDN. To include this library in a Vue 3 project, you must first install the package:
npm install vue-kinesis@next
And then import it in your entry file like below:
import { createApp } from "vue";
import App from "./App.vue";
import VueKinesis from "vue-kinesis";

const app = createApp(App);
app.use(VueKinesis);

app.mount("#app");
You can also install the Vue 2 version:
npm install vue-kinesis
And then choose to import the entire library so that it is available anywhere in your project:
// src/main.js
import Vue from 'vue'
import VueKinesis from 'vue-kinesis'

Vue.use(VueKinesis);
Or only import a specific component:
import { KinesisContainer } from 'vue-kinesis'
This library includes three components, each with its own attributes to control the flow of interaction:
moving (mouse interaction) and scrolling are supported. However, the move event is not supported on mobile devicesPulling off the code sample from its doc page:
<template>
  <div id="app">
    <kinesis-container>
      Here, you can put
      <kinesis-element :strength="10"> whatever </kinesis-element>
      <kinesis-element :strength="20"> content! </kinesis-element>
    </kinesis-container>
  </div>
</template>

<script>
import { KinesisContainer, KinesisElement } from "vue-kinesis";
export default {
  name: "App",
  components: {
    KinesisContainer,
    KinesisElement,
  },
};
</script>
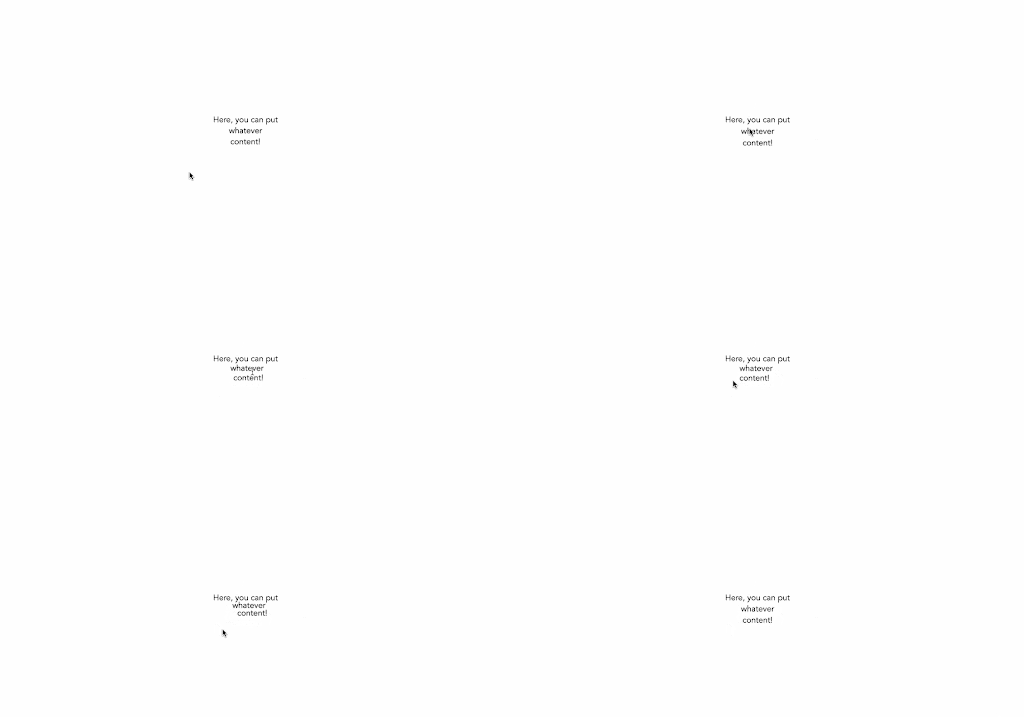
We have the following output:
Also for the audio sample, we have:
<template>
  <div id="app">
    <div class="main">
      <div style="padding: 40px">
        <button class="play-button" @click="togglePlaying">
          {{ isPlaying ? "Stop" : "Play" }}
        </button>
      </div>
      <div style="padding: 40px">
        <kinesis-container :audio="audioFile" :playAudio="isPlaying">
          <kinesis-audio :audioIndex="50" type="scale">
            <kinesis-element :strength="10" type="depth">
              <div class="circle"></div>
            </kinesis-element>
          </kinesis-audio>
        </kinesis-container>
      </div>
    </div>
  </div>
</template>

<script>
import { KinesisContainer, KinesisElement, KinesisAudio } from "vue-kinesis";
export default {
  name: "App",
  components: {
    KinesisContainer,
    KinesisElement,
    KinesisAudio,
  },
  data() {
    return {
      audioFile: require("./aud.mp3"),
      isPlaying: false,
    };
  },
  methods: {
    togglePlaying() {
      this.isPlaying = !this.isPlaying;
    },
  },
};
</script>
If we run this sample, we should see the following output:
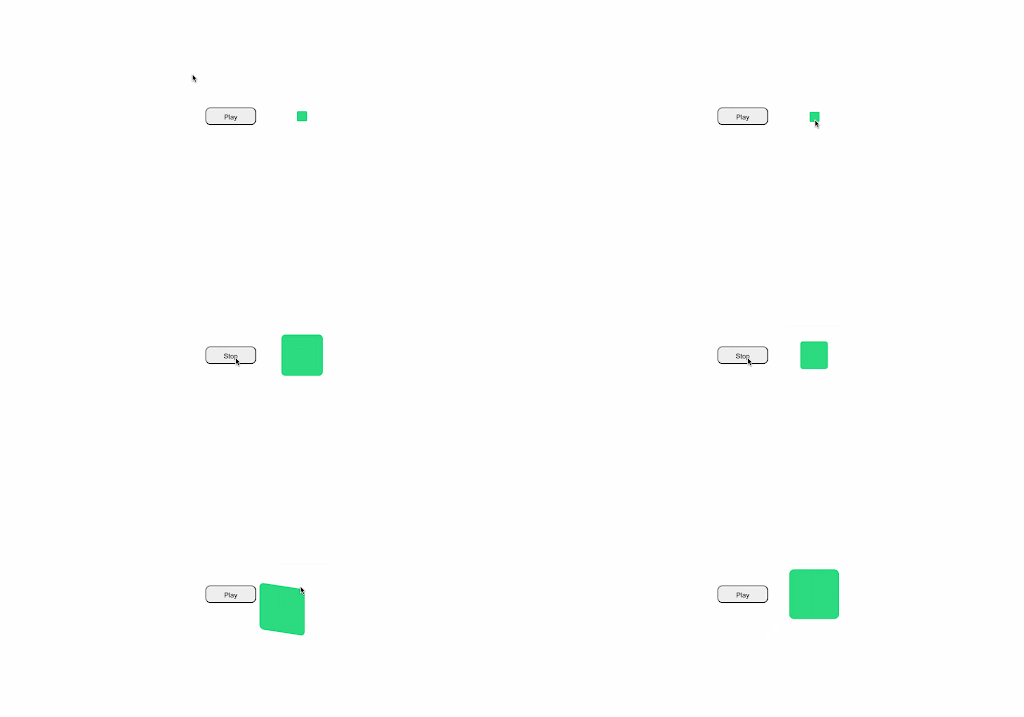
In this example, we defined a path to an audio file and attached it to the kinesis-container, and because the kinesis-audio component is triggered by this, we placed a squared div inside it so that whenever we click the button that toggles playing, our squared div reacts.
There are a lot more options that we can add to the vue-kinesis components, some of which can be found on their example page here.
And as previously stated, this library reacts to cursor changes, scroll events, or frequency from an audio file by adding a kinesis (undirected movement) animation to the elements wrapped within it. So, it is most useful for creating animations in these horizons. A notable example, however, would be a simple music application where some other elements react to the audio that’s currently playing.
vue-prix is another awesome vue animation library that can easily add parallax scrolling effects to images. In a parallax effect, both the foreground image and its background element are moving, but the background moves much more slowly, creating the illusion of depth.
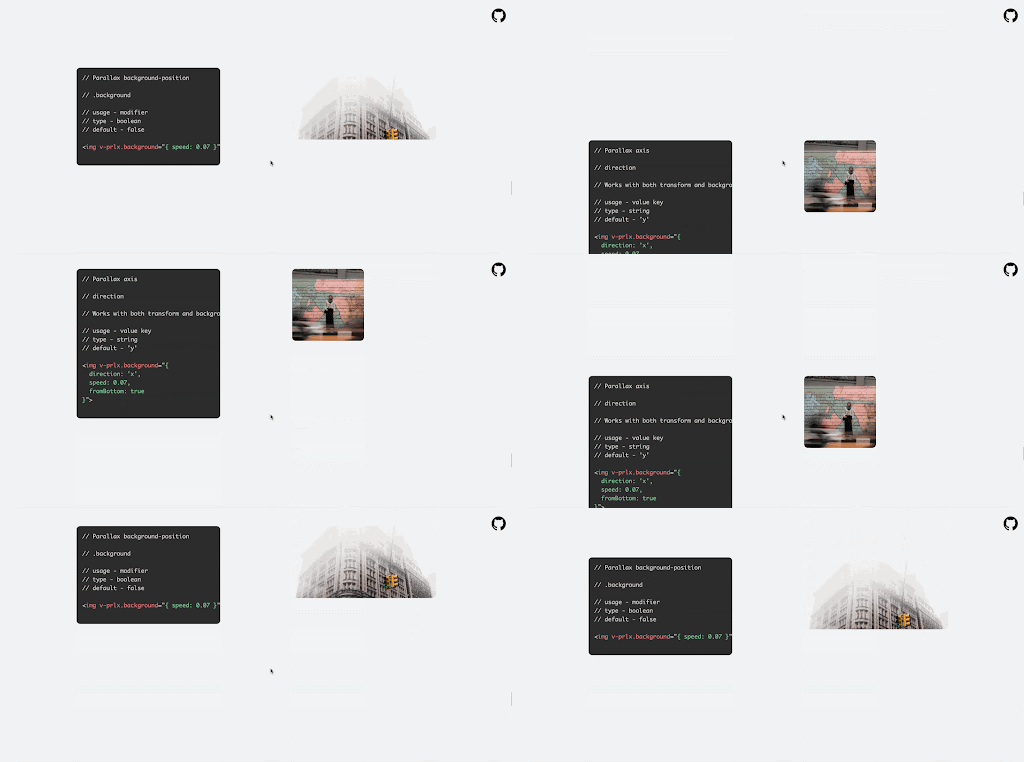
We can install vue-prix with the command below:
npm i vue-prlx
And then initialize it in our entry file:
// src/main.js

import Vue from 'vue'

import VuePrlx from 'vue-prlx'
Vue.use(VuePrlx);
Alternatively, it is available as a universal module that can also be included via its CDN, as shown below:
<script src="https://cdn.jsdelivr.net/npm/vue/dist/vue.min.js"></script>
<script src="https://cdn.jsdelivr.net/npm/vue-prlx/dist/v-prlx.min.js"></script>

<script>
Vue.use(VuePrlx.VuePrlxPlugin);
</script>
To get started, simply add a new v-prlx attribute to image tags, and the parallax effect will be initiated immediately:
<img src="path/to/img" v-prlx>
On mobile devices, the parallax effect is disabled by default. However, you can easily enable it by appending .mobile: to the v-prlx prop:
<img src="path/to/img" v-prlx.mobile>
Also, by supplying an additional object, we can set the parallax speed, reverse its direction, and many more:
<img
  src="path/to/img"
  v-prlx="{ reverse: true, speed: 0.2, fromBottom: true }"
/>
In web applications, parallax effects are typically added to featured (side) images, as shown in the screenshot at the beginning of this section. Nevertheless, the type of interaction you want to achieve in your project will heavily influence its application areas.
For further exploration and examples, you can check out their documentation here.
This is another lightweight Vue library that allows us to add simulated, interactive 3D effects to images in a Vue app. And, unlike some of the other animation libraries we’ve discussed, this one is SSR-compatible, which means it works with server-side rendering.
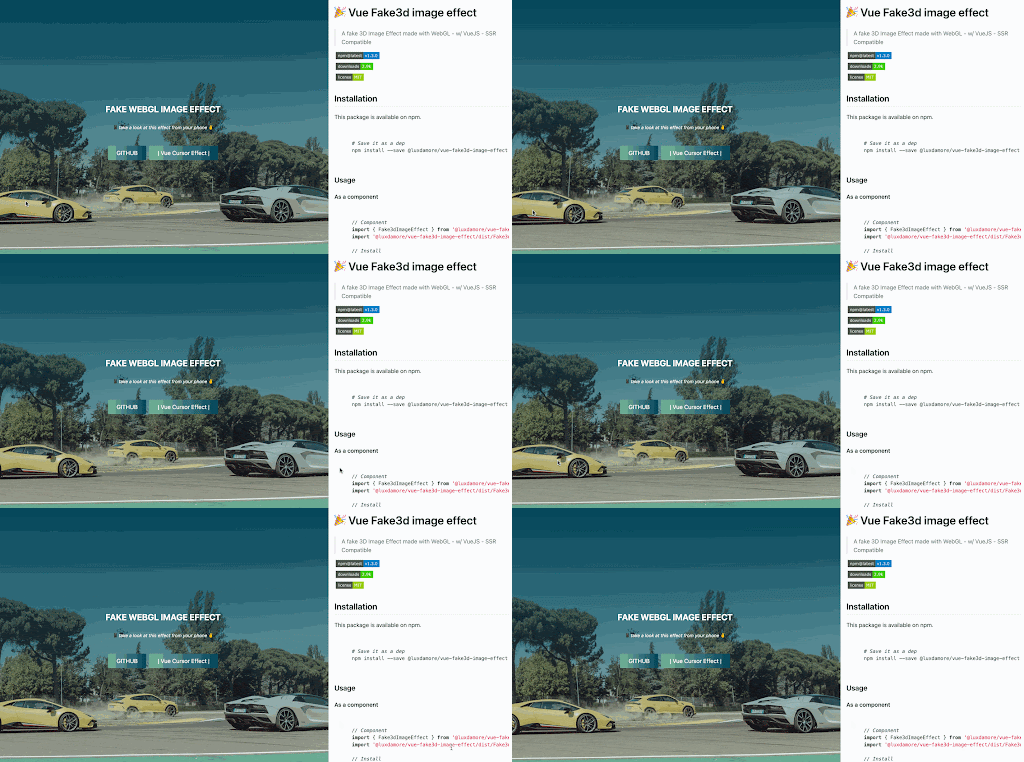
We can add this library to a Vue application with the command below:
npm install @luxdamore/vue-fake3d-image-effect
To begin adding the 3D effect to our image files, we’ll need to import the Fake3dImageEffect component as well as the library CSS file:
import { Fake3dImageEffect } from "@luxdamore/vue-fake3d-image-effect";
import "@luxdamore/vue-fake3d-image-effect/dist/Fake3dImageEffect.css";

export default {
  components: {
    "fake3d-image-effect": Fake3dImageEffect,
  },
};
Optionally, if you’d like to make it a global plugin that can be accessed from anywhere in your application, we can do so with the code below:
// src/main.js
import Fake3dImageEffect from "@luxdamore/vue-fake3d-image-effect";
import "@luxdamore/vue-fake3d-image-effect/dist/Fake3dImageEffect.css";

Vue.use(Fake3dImageEffect);
To see it in action, consider the following example, in which we’ve wrapped the Fake3dImageEffect component within some other text content:
<template>
  <div id="app">
    <fake3d-image-effect
      fill-height-content
      tag="div"
      :image="require('./path/to/aquarium.jpeg')"
    >
      <div class="container">
        <h1>Boy at <u>Aquarium</u></h1>
        <p class="m-5">
          Lorem ipsum dolor sit amet consectetur adipisicing elit.
          delectus!
        </p>
        <p>Photo by Biljana Martinić on Unsplash</p>
      </div>
    </fake3d-image-effect>
    <img alt="Vue logo" src="./assets/logo.png" />
  </div>
</template>

<script>
import { Fake3dImageEffect } from "@luxdamore/vue-fake3d-image-effect";
import "@luxdamore/vue-fake3d-image-effect/dist/Fake3dImageEffect.css";

export default {
  name: "App",
  components: { Fake3dImageEffect },
};
</script>
And when we run this example, we get the following results:
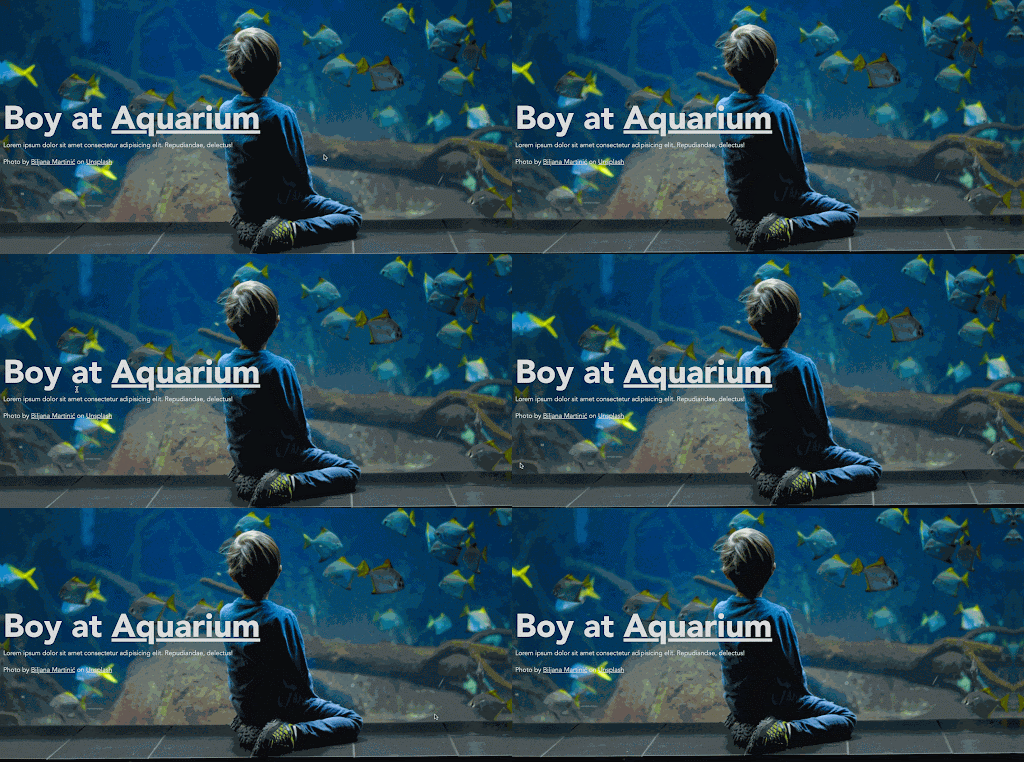
As you may have noticed in this example, the fake3dimage component also supports some other props, such as the fill-height-content prop, which sets the element height to 100vh (full height), and the tag attribute, which allows us to select a preferred semantic element to wrap other children elements with.
You can also view their documentation here for a complete list of supported props.
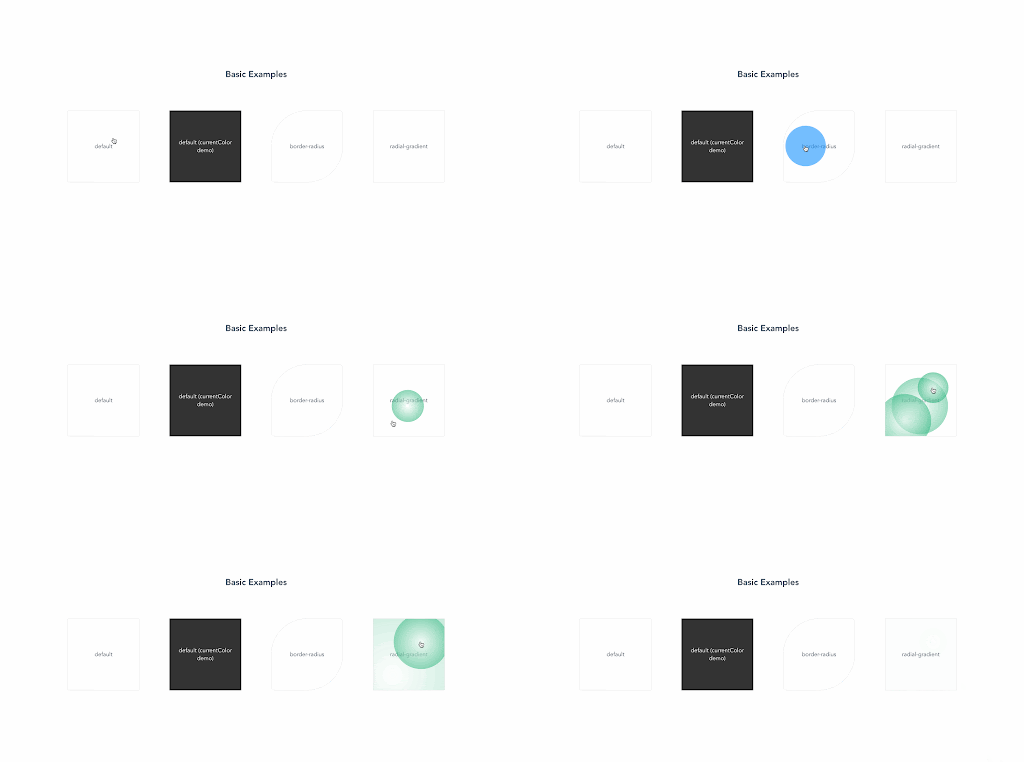
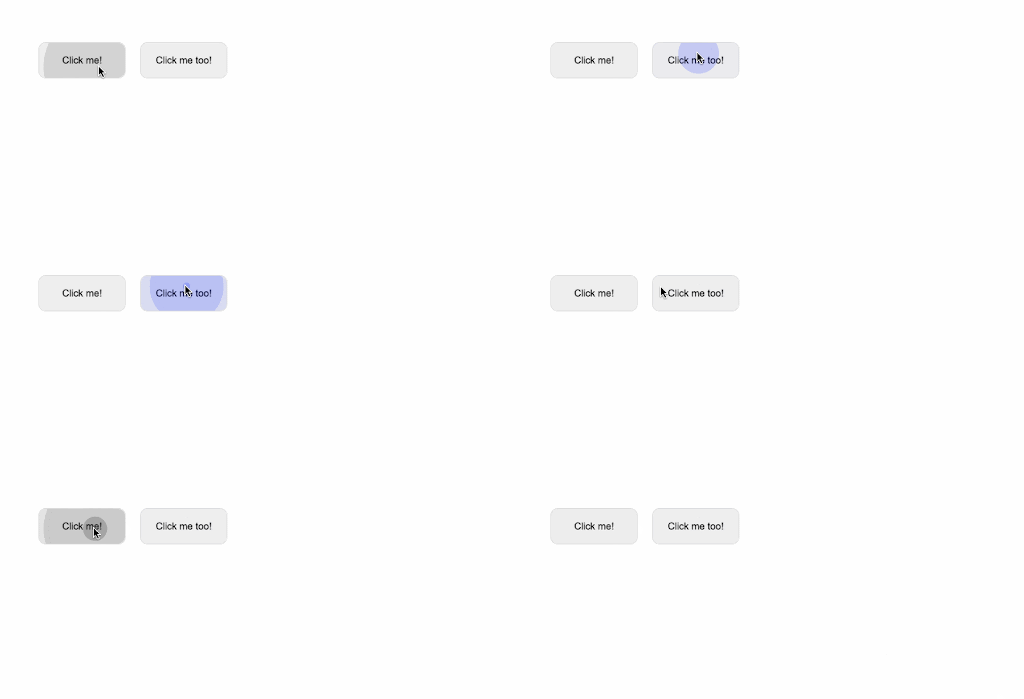
This library allows us to add beautiful ripple effects to markup elements when they are clicked by simply adding a new v-wave property, similar to how the ripple effect works in material design.
This library has an interesting feature in that it works well with statically positioned elements and can automatically guess the color of the wave based on the parent element. However, as deemed appropriate, you can also set a preferred color.
We can easily install v-wave with:
npm i v-wave
Or include its CDN:
<script src="https://unpkg.com/v-wave"></script>
And once the installation is completed, we can load it in a Vue 3 project like so:
import {createApp} from 'vue'
import VWave from 'v-wave'
import App from './App.vue'

createApp(App)
  .use(VWave)
  .mount('#app')
For Vue 2, we also have:
import Vue from 'vue'
import VWave from 'v-wave'

Vue.use(VWave)
To begin using this library, simply add the v-wave property to any element to which you want to add the ripple effect:
<button v-wave>Click me!</button>
<button v-wave="{ color: 'blue' }">Click me too!</button>
As a result, when we run this example, we get the following results:
We can further customize the ripple effects by changing its initial opacity, duration, easing, and many other parameters:
<div
  v-wave="{
  color: 'rebeccapurple',
  initialOpacity: 0.5,
  duration: 2,
  easing: 'ease-in',
}"
>
  Click me!
</div>
Which will give us:

Here’s also a link to the v-wave documentation for further information.
This library includes directives for animating elements as they scroll into view. Unlike the previous libraries, however, this one does not directly provide helper classes or components that allow us to add animation to our application. It instead provides directives that allow us to call animations when a section of our application is scrolled into view.
We can simply install this library with the command below:
npm install vue-animate-onscroll
And, once the installation is completed, we are able to import it into our Vue entry file like this:
import Vue from 'vue'
import VueAnimateOnScroll from 'vue-animate-onscroll'

Vue.use(VueAnimateOnScroll)
Once imported as a Vue plugin, we can animate an element on scroll by adding the v-animate-onscroll property to the element, along with our animation names:
<div v-animate-onscroll="'rotate">Rotate me once upon scroll</div>
However, as previously stated, we will still need to define a CSS animation name rotate before the animation will be triggered. A more relevant example is shown below:
<template>
  <div id="app">
    <div class="flex-center">
      <div>
        <h1>Awesome application</h1>
        <p>
          Lorem ipsum dolor sit amet consectetur adipisicing elit. Perspiciatis,
          eum.
        </p>
      </div>
    </div>
    <div class="main">
      <img src="path/to/img" v-animate-onscroll="'swing'" />
    </div>
  </div>
</template>

<style>
/* create swing animation */
@keyframes swing {
  10% {
    transform: rotate(10deg);
  }

  40% {
    transform: rotate(-10deg);
  }

  60% {
    transform: rotate(5deg);
  }

  80% {
    transform: rotate(-5deg);
  }
}
</style>
And running this code, we have the following output:
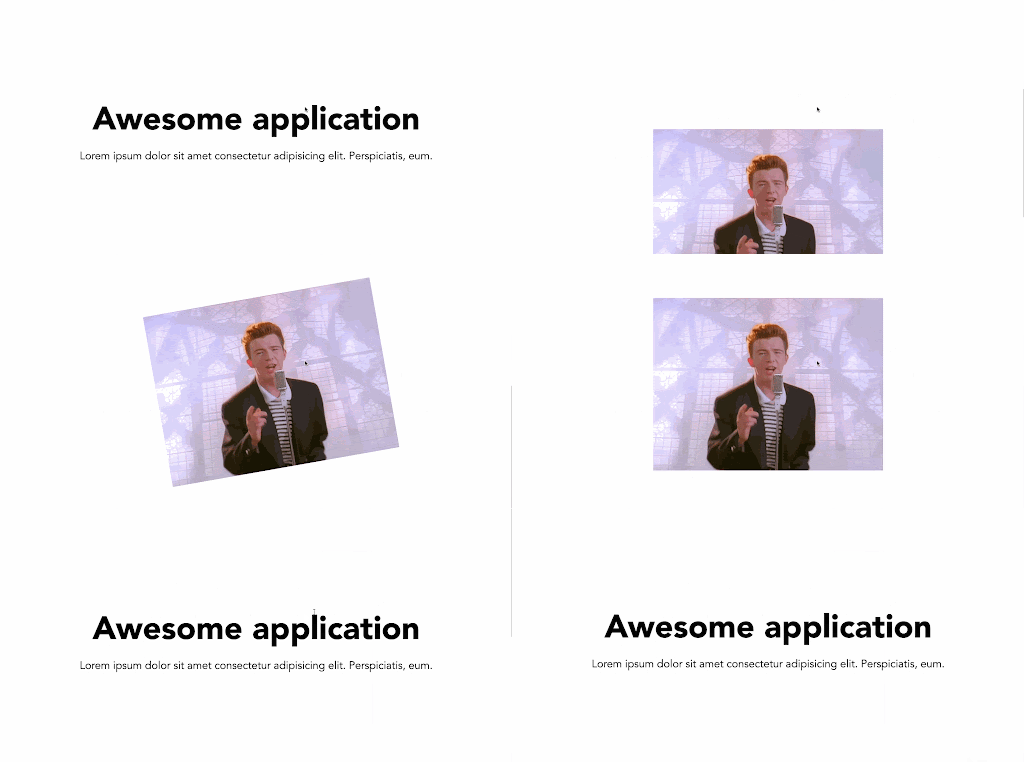
It’s also worth mentioning that, by default, when an element is scrolled into view, its corresponding animation is only triggered once. However, we can use v-animate-onscroll.repeat instead of the latter, so that anytime the element is scrolled into view, the animation is triggered:
<img src="path/to/img" v-animate-onscroll.repeat="'swing'" />
Furthermore, you can customize the scroll directions (up or down) you want to trigger the animations:
<div v-animate-onscroll="{up: 'animationName'}">Animate me once on scroll up</div>
<div v-animate-onscroll="{down: 'animationName'}">Animate me on upon scroll down</div>

<!-- Different animations for up and down directions -->
<div v-animate-onscroll="{down: 'animationName', up: 'anotherAnimationName'}">Animate me on scroll</div>
Creating a CSS animation from scratch might be time-consuming. For this reason, it is a common approach to use this library interchangeably with other animation libraries such as the popular Animate.css. The integration is straightforward; you’ll only need to install the preferred CSS library or include its CDN in your markup, and then you are able to replace your animation names with the ones in this library.
Each animation library is different and has a different approach to making things easier. There are also numerous animation libraries to choose from. However, in this article, we’ve had an overview of the essential features of the top ones, as well as how to implement them.
With this piece, hopefully you will be able to choose from the wide variety of animation libraries available and find one that perfectly complements your Vue.js application — whatever your needs may be.
Debugging Vue.js applications can be difficult, especially when users experience issues that are difficult to reproduce. If you’re interested in monitoring and tracking Vue mutations and actions for all of your users in production, try LogRocket.

LogRocket lets you replay user sessions, eliminating guesswork by showing exactly what users experienced. It captures console logs, errors, network requests, and pixel-perfect DOM recordings — compatible with all frameworks.
With Galileo AI, you can instantly identify and explain user struggles with automated monitoring of your entire product experience.
Modernize how you debug your Vue apps — start monitoring for free.
Hey there, want to help make our blog better?
Join LogRocket’s Content Advisory Board. You’ll help inform the type of content we create and get access to exclusive meetups, social accreditation, and swag.
Sign up now
A breakdown of the wrapper and container CSS classes, how they’re used in real-world code, and when it makes sense to use one over the other.

This guide walks you through creating a web UI for an AI agent that browses, clicks, and extracts info from websites powered by Stagehand and Gemini.

This guide explores how to use Anthropic’s Claude 4 models, including Opus 4 and Sonnet 4, to build AI-powered applications.

Which AI frontend dev tool reigns supreme in July 2025? Check out our power rankings and use our interactive comparison tool to find out.
One Reply to "Top 5 Vue animation libraries compared"
its vue-prlx not vue-prix, also will be cool if you included links to their GitHub or official websites, thanks