
Vue 3 has an exciting new feature called Teleport. During the early stages of Vue 3, this feature was called Portals but the Vue team eventually decided to call it Teleport. Teleport makes it possible for developers to move elements from one place to another in a Vue application.

If you’re wondering why this is necessary, then you’re asking the right question. When you’re working with components like modals, notifications, etc. you will notice that their position in the DOM is important. If you use a modal inside a deeply nested element, for instance, the CSS properties on the parent will affect the styles on the modal.
This behavior is troubling because components like modals can be invoked from different parts of the application, and we want to keep the modals position and styles consistent. That is what Teleport does for us. It makes it possible for us to specify exactly where in the DOM we want to render the modal or any other piece of HTML. All without worrying about managing global state or creating a fresh new component for the modal.
The Replay is a weekly newsletter for dev and engineering leaders.
Delivered once a week, it's your curated guide to the most important conversations around frontend dev, emerging AI tools, and the state of modern software.
The <teleport> tag takes a to attribute that specifies where in the DOM you want to teleport an element to. This destination must be somewhere outside the component tree to avoid any kind of interference with other application’s UI components. For this reason, the Vue team recommends putting it below the body tag in the index.html file of your public directory.
This tutorial is not an introduction to Vue 3. We are focusing on the Teleport feature of Vue 3 so we will not be covering Vue 3 basics.
First, you need to install the latest version of Vue CLI v4.5 with the command below:
yarn global add @vue/cli@next
#OR
npm install -g @vue/cli@next
The process for creating Vue applications hasn’t changed. If you have the Vue CLI installed, run the command below to create a new Vue project called vueteleport :
vue create vueteleport
Follow the terminal prompts and select the Vue 3 preset to complete the setup process. To create the modal for this demo, let’s update the src/public/index.html file with the snippet below:
<!-- src/public/index.html -->
  <body>
    <noscript>
      <strong>We're sorry but <%= htmlWebpackPlugin.options.title %> doesn't work
        properly without JavaScript enabled. Please enable it to
        continue.
      </strong>
    </noscript>
    <div id="app"></div>
    <div id="my-modal" style="border: green 3px solid"></div>
  </body>
What we’ve done here is define a div with an ID of my-modal. It is rendered directly below the app container that holds all our project files. You can see we updated the my-modal div element to give it some colored borders.
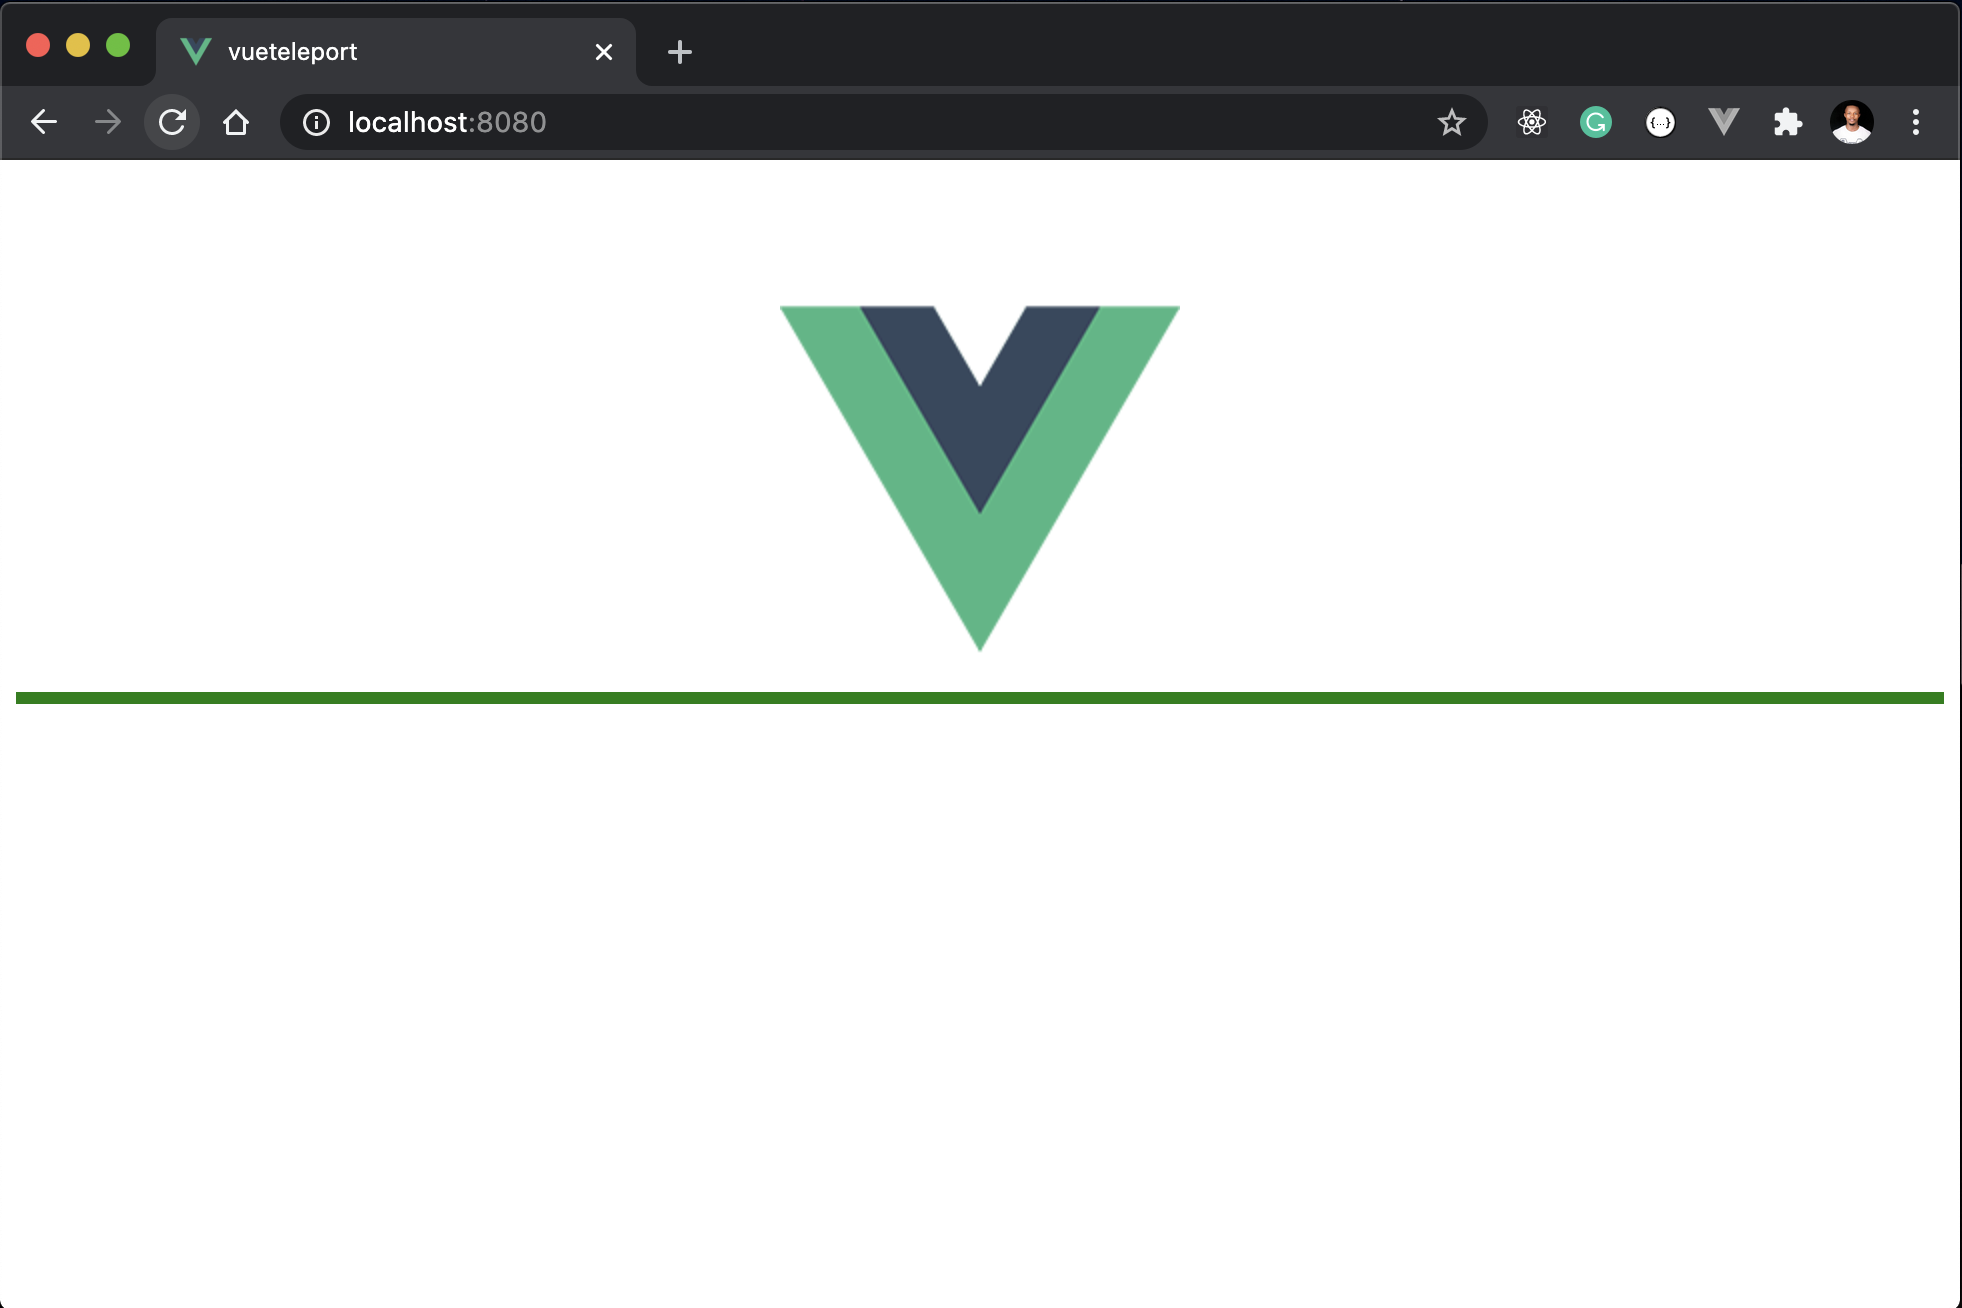
The green horizontal line indicates the position of the my-modal div element. Within our Vue components, we can teleport elements into the my-modal div element using the ID CSS selector i.e my-modal. To demonstrate how to teleport content into the target we just specified, let’s open the HelloWorld.vue file and create a simple modal:
<!-- src/components/HelloWorld.vue -->
<template>
<div class="hello">
<h1>{{ msg }}</h1>
<button @click="showModal = true">Open Modal</button>
<div v-if="showModal" id="myModal">
<div class="modal-content">
<span @click="showModal = false">×</span>
<h3>This is the title</h3>
<p>This is the awesome content</p>
</div>
</div>
</div>
</template>
<script>
export default {
name: "HelloWorld",
data() {
return {
showModal: false,
};
},
};
</script>
If you run the app at this point, you will see the button to open the modal on the browser like so:
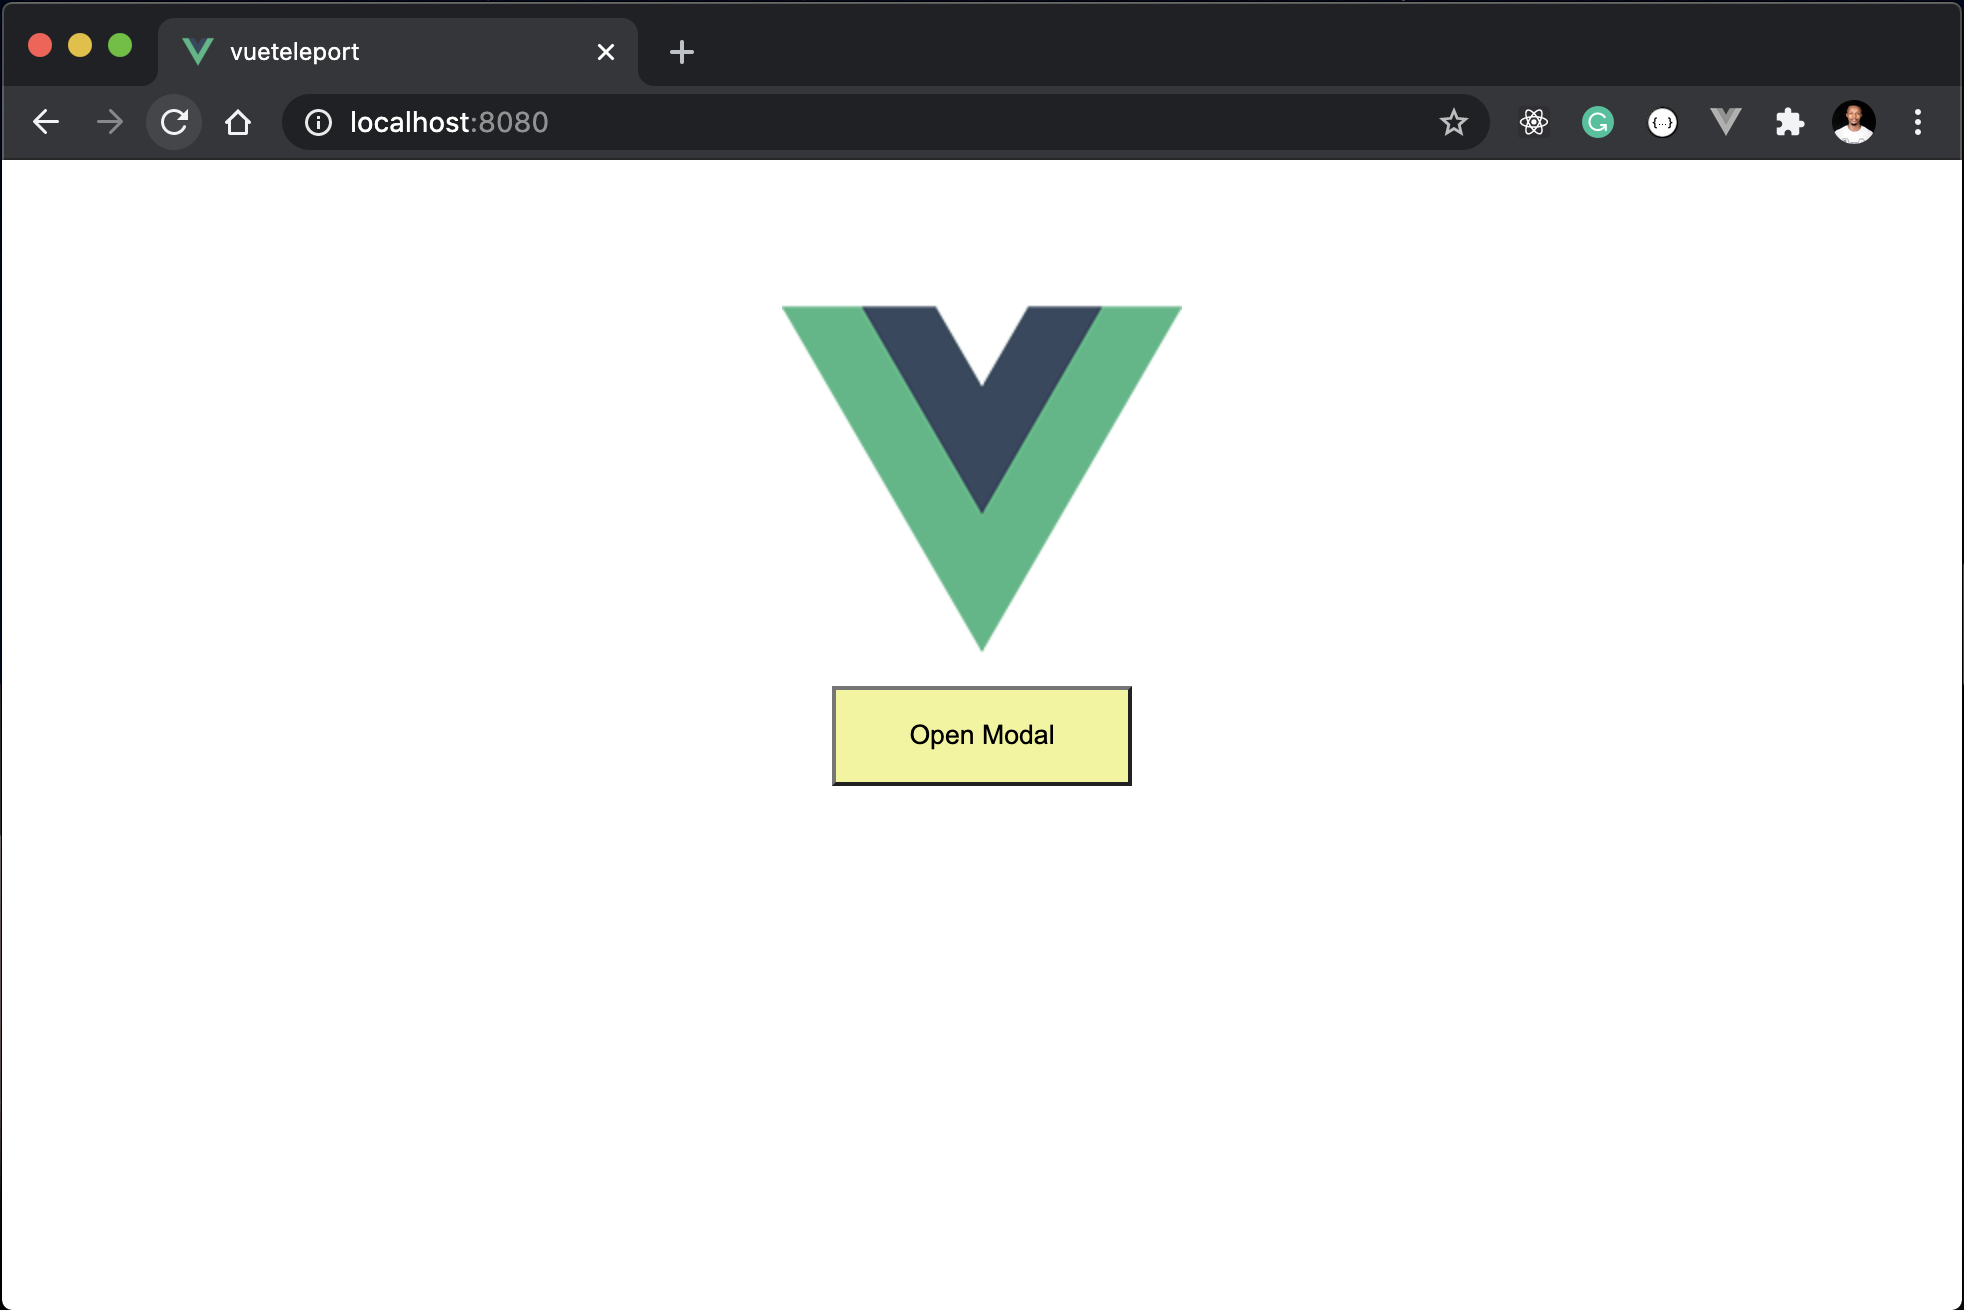
However, if we inspect the Open Modal button on the browser, you’ll notice that the button is deeply nested into the app container. It goes two levels deep from the container element with an ID of app into the div element with an ID of helloworld:
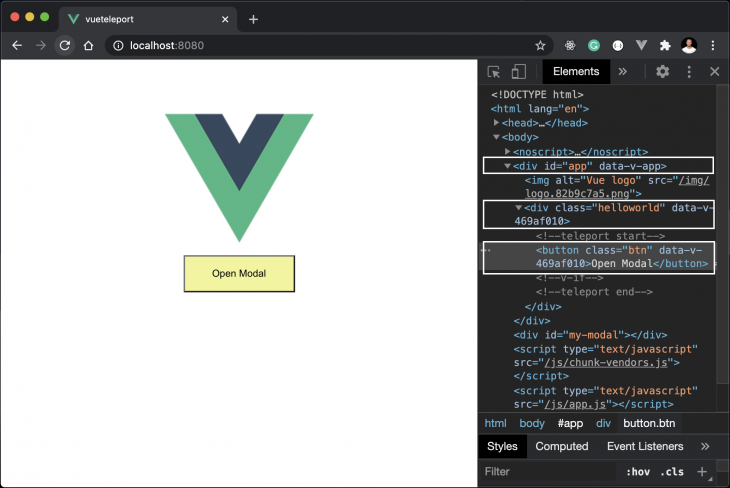
Recall that earlier, we provisioned a my-modal div element in the index.html file where we’ll teleport content to. To teleport this modal into it, we wrap the modal we created above inside Vue’s <teleport> tag and pass a to attribute to it. This attribute points to the target i.e an identifier that represents where we are teleporting to. In this case, we will identify the div element using the CSS ID selector we assigned to it which is my-modal:
<!-- src/components/HelloWorld.vue -->
<template>
<div class="hello">
<h1>{{ msg }}</h1>
<teleport to="#my-modal">
<button @click="showModal = true" >Open Modal</button>
<div v-if="showModal" id="myModal">
<div class="modal-content">
<span @click="showModal = false">×</span>
<h3>This is the title</h3>
<p>This is the awesome content</p>
</div>
</div>
</teleport>
</div>
</template>
What we’ve done is wrap the modal inside Vue’s <teleport> and pass a to attribute that points to the location we are teleporting the modal to. In this, case, we are teleporting to the my-modal div element we provided in the index.html file.
Checking back at the browser, we should see that the deep nesting we experienced in the previous step is no longer there and that the modal has been teleported to the root of this application.
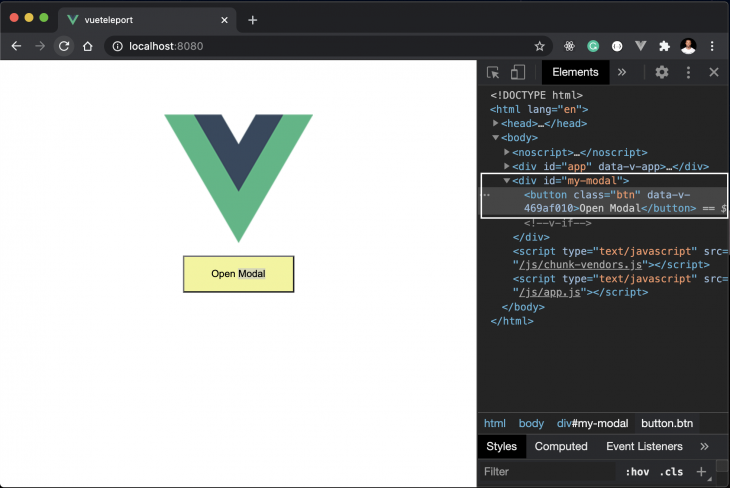
Here, we’ve built a completely decoupled modal component that we can call from anywhere in this application by using the Teleport feature. Here’s the modal in action.
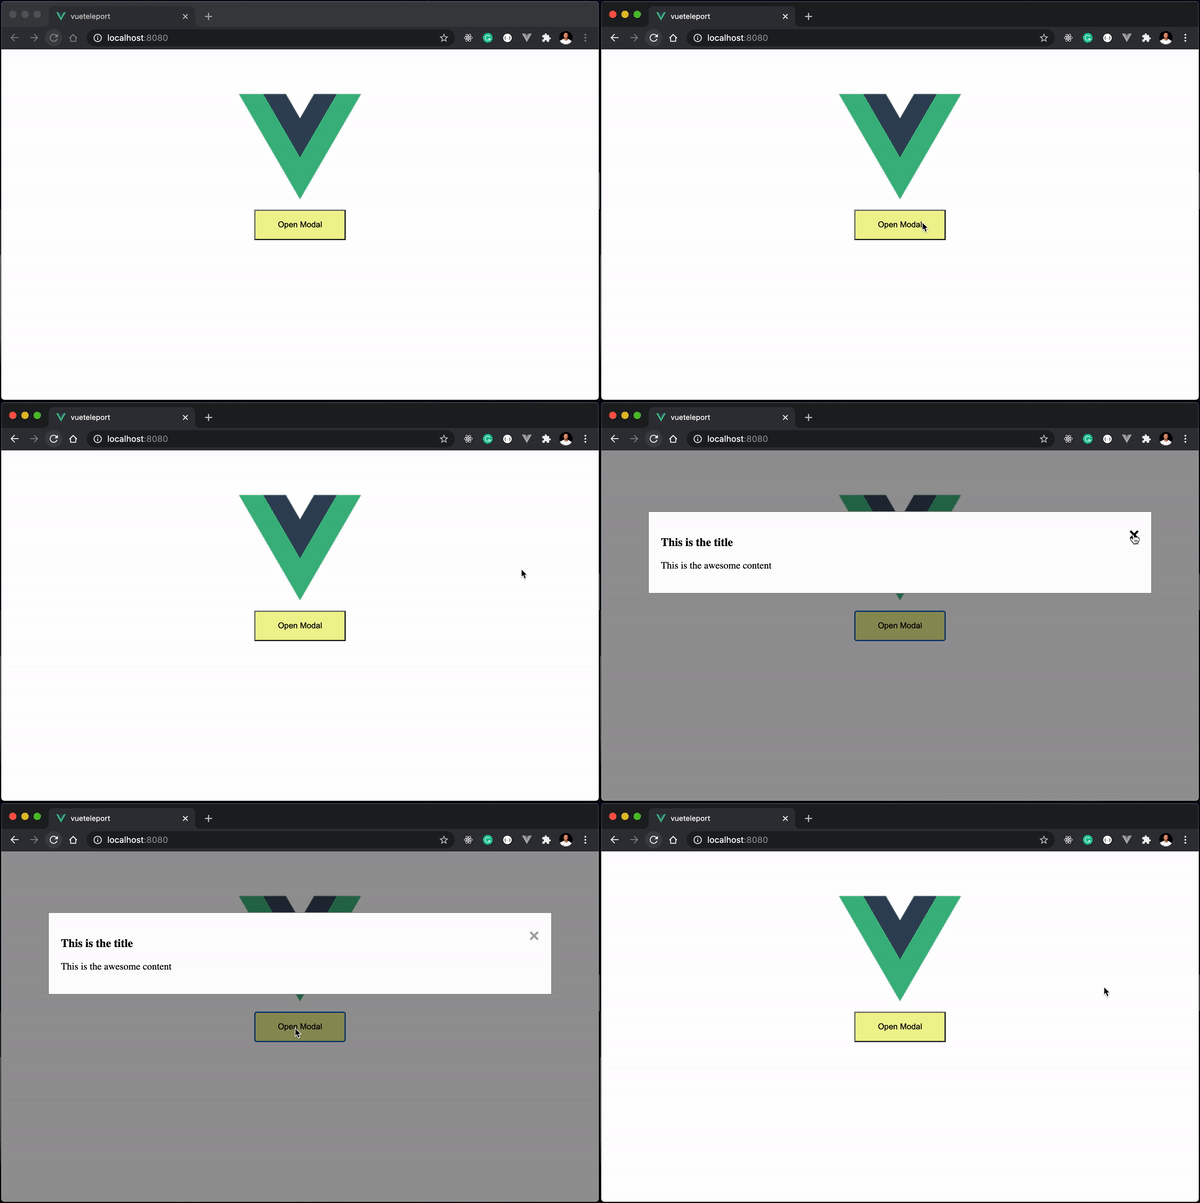
That’s not all about Teleport. You can perform more actions like teleporting elements into the same root from multiple sources. This means that you can teleport multiple elements into the same my-modal element by specifying it’s value for the to attribute of all other elements we want to teleport.
Another important feature of teleport is that it doesn’t inherit CSS from the parent. This makes it completely independent of the parent component and can be scoped within any specified context.
In the example above, we teleported the modal from the HelloWorld component and rendered it in the application’s root index.html file. What if we have an element in a different location within our app that we want to teleport to the same target? Yes, it is possible to do that. Let’s create a new src/components/Words.vue file and update it with the snippet below:
<!-- src/components/Words.vue -->
<template>
  <h1 class="center">Hi, I am a text from the Words component</h1>
</template>
<script>
export default {
  name: "Words",
};
</script>
<style >
.center {
  text-align: center;
  border: 3px solid green;
}
</style>
Simple enough, this component displays a text, wrapped in a div element with a green border. If we render this component alone in the browser, we get this output:
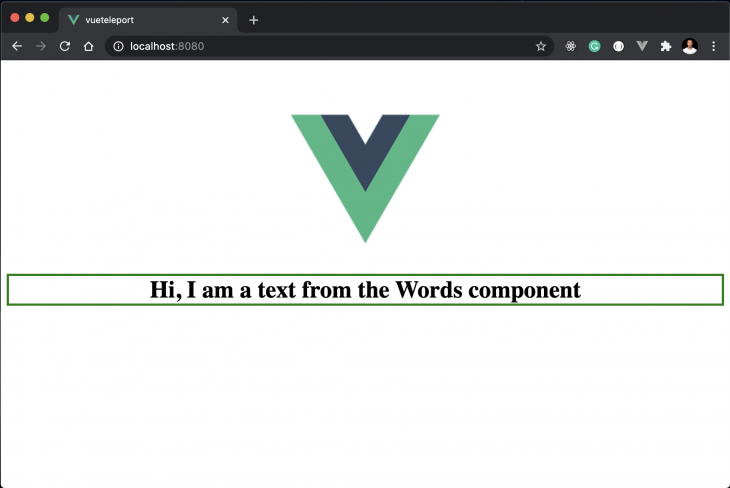
Now what we want to do is teleport this piece of content to our existing my-modal target and have it show up with the modal on the same root. To do this, we’ll update our App.vue with the snippet below:
<!-- src/App.vue -->
<template>
  <img alt="Vue logo" src="./assets/logo.png" />
  <HelloWorld msg="Vue 3 Teleport Demo" />
  <teleport to="#my-modal">
    <Words />
  </teleport>
</template>

<script>
import HelloWorld from "./components/HelloWorld.vue";
import Words from "./components/Words.vue";
export default {
  name: "App",
  components: {
    HelloWorld,
    Words,
  },
};
</script>
</style>
What we’ve done here is bring the Words component into the App view and teleport it to the my-modal target we specified earlier for the modal. Now if we inspect the Words component on the browser, we should see that it has been teleported to the same target as the modal.
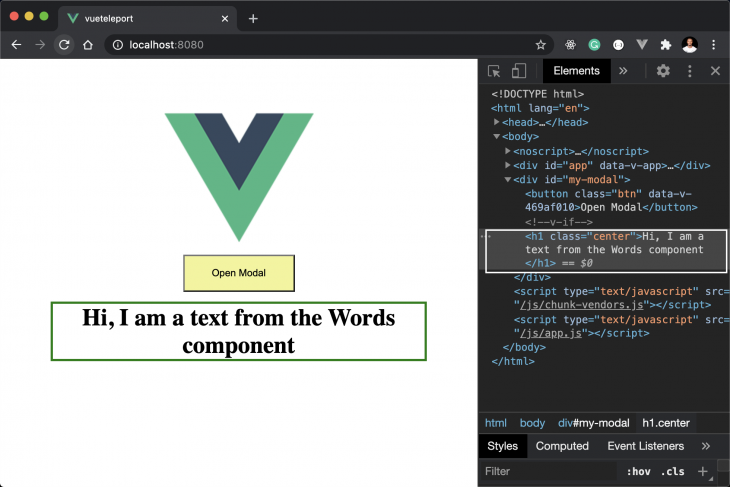
And this is how the teleport feature makes it possible for you to mount multiple contents on the same target in Vue. With Vue teleport, you can control layout elements within any component in your application. By extension, you could update the content of your application’s header or footer from any component in your application using Teleport. This particular use case is to be used cautiously as it could introduce complexities to your application.
to — This is a required prop that specifies a target element where every content within <teleport> will be rendered. The value of the to prop has to be a valid query selector that identifies an existing CSS class,id or an HTMLElement:<!-- ok --> <teleport to="#some-id" /> <teleport to=".some-class" /> <teleport to="[data-teleport]" /> <!-- Wrong --> <teleport to="h1" /> <teleport to="some-string" />
disabled — Like the name suggests, this prop is a boolean that is used to disable the teleports functionality. When set to true, the content of <teleport> will be rendered at the location where it was specified. So, it will not be “teleported” to any external target or location. Using our earlier example, if we wanted to disable the teleport for our modal we would add the disabled prop to it like so:<!-- src/components/HelloWorld.vue -->
<teleport to="#my-modal" :disabled="true">
<button @click="showModal = true" >Open Modal</button>
<div v-if="showModal" id="myModal">
<div class="modal-content">
<span @click="showModal = false">×</span>
<h3>This is the title</h3>
<p>This is the awesome content</p>
</div>
</div>
</teleport>
It is worthy to note that you can teleport contents directly to the body and not just to a specified CSS selector. Here’s an example:
<!-- src/components/HelloWorld.vue -->
<teleport to="#body">
<button @click="showModal = true">Open Modal</button>
<div v-if="showModal" id="myModal">
<div class="modal-content">
<span @click="showModal = false">×</span>
<h3>This is the title</h3>
<p>This is the awesome content</p>
</div>
</div>
</teleport>
In this tutorial, we have gone over the new Vue 3 Teleport feature. We’ve introduced the basic concepts of this feature and also demonstrated an example use case with a modal. To better understand the Teleport API, we explained the props that teleport accepts and how we can use them to modify the functionalities of this feature. To learn more about Vue Teleport, feel free to check out the official documentation here.
Debugging Vue.js applications can be difficult, especially when users experience issues that are difficult to reproduce. If you’re interested in monitoring and tracking Vue mutations and actions for all of your users in production, try LogRocket.

LogRocket lets you replay user sessions, eliminating guesswork by showing exactly what users experienced. It captures console logs, errors, network requests, and pixel-perfect DOM recordings — compatible with all frameworks.
With Galileo AI, you can instantly identify and explain user struggles with automated monitoring of your entire product experience.
Modernize how you debug your Vue apps — start monitoring for free.

Russ Miles, a software development expert and educator, joins the show to unpack why “developer productivity” platforms so often disappoint.

Discover what’s new in The Replay, LogRocket’s newsletter for dev and engineering leaders, in the February 18th issue.

Learn how to recreate Claude Skills–style workflows in GitHub Copilot using custom instruction files and smarter context management.

Claude Code is deceptively capable. Point it at a codebase, describe what you need, and it’ll autonomously navigate files, write […]
Would you be interested in joining LogRocket's developer community?
Join LogRocket’s Content Advisory Board. You’ll help inform the type of content we create and get access to exclusive meetups, social accreditation, and swag.
Sign up now