As of version 2.20, the Remix team announced beta support for Vite. Fast forward to version 2.7, and Remix declared that their Vite integration was stable. This integration gives developers access to Vite’s modern, fast build system out-of-the-box in combination with Remix’s robust routing and data loading capabilities.

In this article, you will learn how to use Vite with Remix. We’ll explore some of the exciting Vite v2.20 and 2.7 features you can leverage while using Remix, then set up a demo project to help us see the benefits of this integration in action.
Remix‘s emphasis on performance, efficient data loading, UX, and other modern web fundamentals make it a popular tool among frontend developers. The recent integration with Vite is particularly relevant given the following DX enhancements announced in the v2.20 Remix release:
Here is a simple demonstration of HMR in action. Notice how instantly Vite updated the project:
You can also check out this video of the Remix team showcasing HMR and HDR in detail.
Additionally, in the v2.7 release, the Remix development team announced an array of relevant features, including:
Ultimately, the integration between Remix and Vite makes for a great solution when building interactive, dynamic web apps with an excellent UX.
In this article, you will learn how to build a basic Remix app via a Vite server. Furthermore, you will also learn a few basic Remix concepts and briefly learn how to configure your environment.
To initialize a blank Remix project with Vite, run this bash command:
# tells Vite to build a Remix repo
npx create-remix@latest
# then install all dependencies:
npm install
When that’s done, tell Vite to run the Remix server:
npm run dev
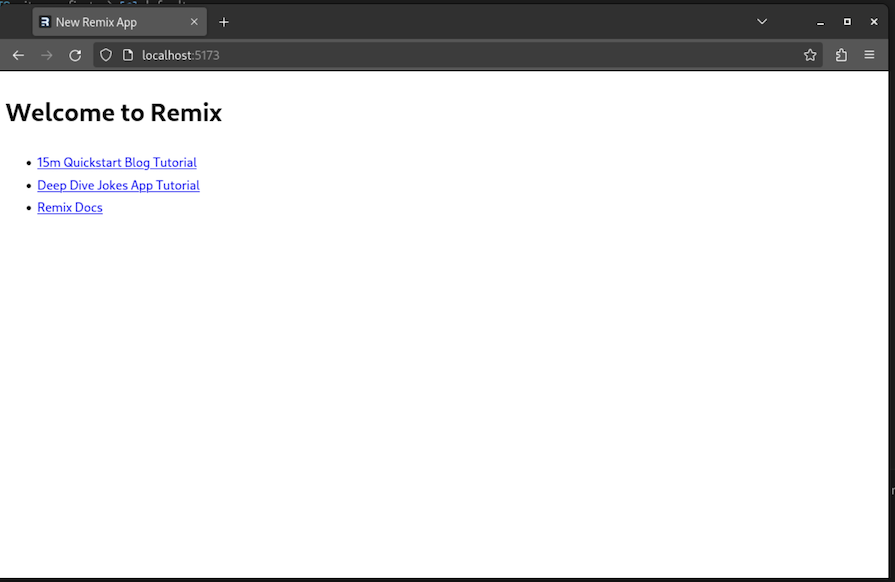
You should see something like the following in your browser:
Now that we have successfully built our project, let’s explore the Remix-Vite integration more closely to better understand its benefits.
Since we are using Vite in our Remix app, we can configure our environment to suit our needs. Let’s explore concepts like templates, env variables, and more, along with some of the beta features you can opt into when using Remix and Vite together.
We’re building our demo project using a minimal Remix-Vite server. However, there might be cases where you want to use certain templates to avoid writing boilerplate code. To solve this issue, we can use the --template flag:
#Build project using a minimal server:
npx create-remix@latest

# Tell Remix that we will use Express as our backend:
npx create-remix@latest --template remix-run/remix/templates/express

#Want to deploy to Cloudflare? No problem! :
npx create-remix@latest --template remix-run/remix/templates/cloudflare

# Use this template to deploy a serverless function using Cloudflare Workers:
npx create-remix@latest --template remix-run/remix/templates/cloudflare-workers
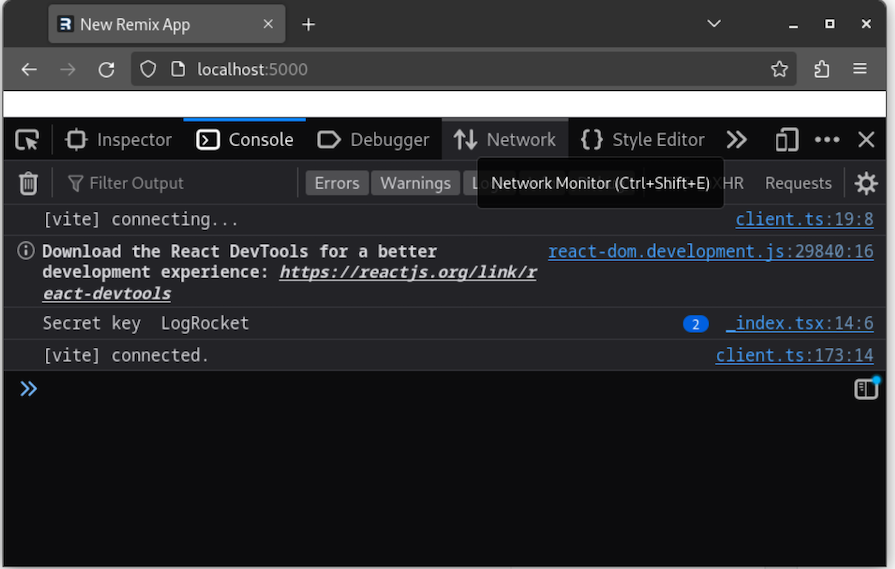
Vite exposes environment variables using the import.meta.env object. For example, take these environment variables:
# file name: .env
VITE_SECRET_KEY='LogRocket'
VITE_PORT = 3000
# Important! Your keys need to start with 'VITE_' if you want them to be
# visible for Vite
Then, to use them in our frontend, we’ll need to do something like the below:
export default function Index() {
  //access the VITE_SECRET_KEY field.
  console.log(import.meta.env.VITE_SECRET_KEY);
  //further code..
}
Here’s what you should see when you inspect the Network tab in your browser’s developer tools:
Let’s say you already have an app running on localhost:5173 and want to run your Remix app on another fixed port. So, to change your server port, simply use the server.port value:
//file name: vite.config.ts
export default defineConfig({
  plugins: [remix(), tsconfigPaths()],
  server: {
    port: 5000, //modify the port
  },
});
There are a handful of unfinished features in Remix that will be introduced in later releases. If you want your project to use them early, you can use the future plugin:
//file name: vite.config.ts
export default defineConfig({
  plugins: [
    remix({
    //use the future plugin:
      future: {
        v3_fetcherPersist: true,
        v3_relativeSplatPath: true,
        v3_throwAbortReason: true,
      },
    }),
    tsconfigPaths(),
  ],
});
Using the ignoredRouteFiles property, we can tell Remix to exclude certain files — for example, CSS, data files, or tests cases — from showing up in routing:
//vite.config.ts
export default defineConfig({
  plugins: [
    remix({
      //ignore the files that end with 'demo.tsx'
      ignoredRouteFiles: ["**/demo.tsx"],
    }),
    //..further code..
  ],
});
When we added the ignoredRouteFiles property, notice that the /demo route returned a 404 even though the demo.tsx module exists in the project:
Vite also allows developers to change the basename for their Remix web app. This feature is useful for situations where you want your app to start with a certain route. To make this possible, we have to use the basename plugin:
//vite.config.ts
export default defineConfig({
  plugins: [
    remix({
      //tell Remix that all pages should start with '/app'
      basename: "/app",
    }),
    //...
  ],
});
As you can see, after configuring the basename property, our index route is now mounted at /app:
To create and deploy a production build to the web, we simply have to run the build and start commands:
# Step 1: create a production build
npm run build
# Step 2: Run this build
npm run start
## Note: if you run 'npx vite preview' to run the build,
## the project won't work properly.
Remix revised its routing system and introduced Vite in the recent major version release. So, let’s review how routing works in Remix.
Just like Next.js, Remix uses a file-based routing system. To implement routing in Remix, there are a few important rules that we need to know:
/home route, your React component should be located in the app/routes/home.tsx filehome/current route, render your component in the app/routes/home.current.tsx filehome/{id} route, create your handler component in the app/routes/home.$id.tsxNow that we have learned the fundamentals of Remix routing, let’s see it in action.
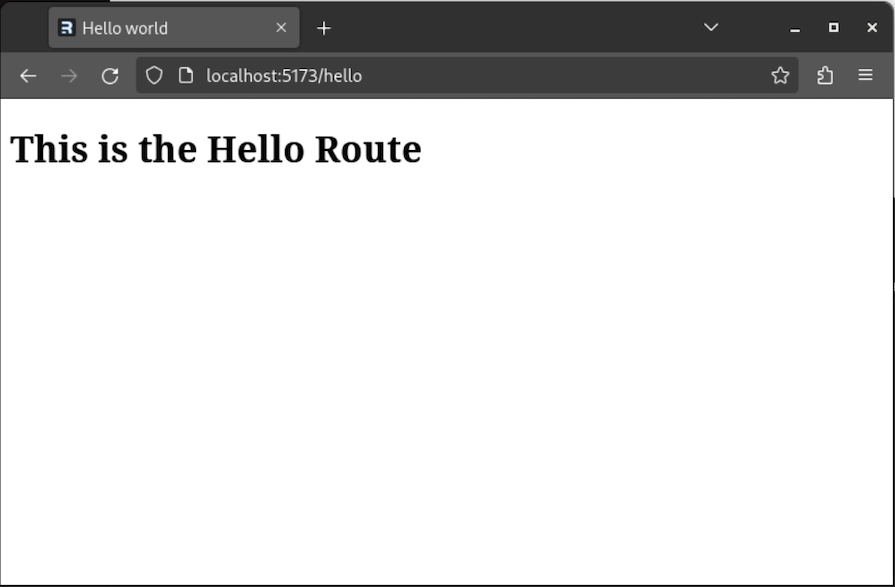
To showcase basic routing, let’s handle the /home route. Navigate to the app/routes/ folder and create a new file called home.tsx. Here, write the following code:
import type { MetaFunction } from "@remix-run/node";
// set the title and description of this page. Useful for SEO
export const meta: MetaFunction = () => {
  return [
    { title: "Hello world" },
    { name: "description", content: "Hello world page!" },
  ];
};

export default function HomePage() {
  //Display a simple heading to the DOM
  return (
    <div>
      <h1>This is the Hello Route</h1>
    </div>
  );
}
This will render the following:
As an example for this section, we will handle the /hello/nested route. In your app/routes directory, create a file called hello.nested.tsx. Here, write the following code:
import type { MetaFunction } from "@remix-run/node";
export const meta: MetaFunction = () => {
  return [
    { title: "Hello world nested" },
    { name: "description", content: "Hello world page!" },
  ];
};

export default function HomePageNested() {
  return (
    <div>
      <h1>This is the Hello Route nested</h1>
    </div>
  );
}
According to the rules mentioned earlier, Remix should display the HomePageNested component as a result of the code above. But as we can see below, this is not the case — instead, we see the HomePage component:
So what happened?
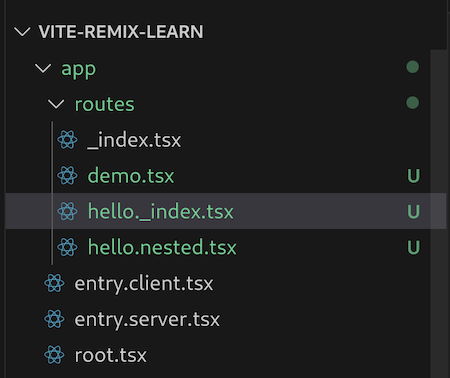
It turns out, that Remix has an additional rule: if we have a nested route, then the base route file should have an ._index.tsx suffix at the end. So in this case, we have to rename the hello.tsx file to hello._index.tsx, like so:
After this change, the app should work as expected:
To show dynamic routing in action, let’s write a handler for the /hello/{name} route.
In your app/routes folder, create a file called hello.$name.tsx. The $ identifier tells Remix that the name variable will be a parameter in the /hello/{name} URL. In this file, write the following code snippet:
import type { MetaFunction } from "@remix-run/node";
import { useParams } from "@remix-run/react";

export const meta: MetaFunction = () => {
  return [
    { title: "Hello to a particular person" },
    { name: "description", content: "Hi!" },
  ];
};

export default function HomePageNested() {
  //the useParams Hook gets the URL parameters.
  const params = useParams();
  return (
    <div>
      {/*Gets the 'name' field from the parameter and output to the DOM:*/}
      <h1>Hi, {params.name}</h1>
    </div>
  );
}
The result should look like the below:
Another breaking change introduced in the same Remix release as Vite support is related to API development. Even though Remix is based on React, we can even use it to build backend APIs! Let’s now look at some of the ways we can implement a basic API using the Remix library.
One crucial thing to remember is that, just like frontend components, your Remix project’s API routes will also live in the app/routes folder. The routing rules are the same as well. The only thing that differs is that you return a loader or action function instead of a React component:
//file name: app/routes/api_demo.tsx
//this will handle the api_demo route.
import { LoaderFunctionArgs, json } from "@remix-run/node";
//the 'loader' function handles the GET method
export async function loader({ params, request }: LoaderFunctionArgs) {
  const url = new URL(request.url);
  // get the 'id' parameter from the URL.
  const recorded_id = url.searchParams.get("id");
  //if this parameter is not present, throw an error
  if (!recorded_id) {
    return json({ message: "No ID found" });
  }
  //otherwise, output the ID in a JSON response
  return json({ message: `id in param: ${recorded_id}` });
}
To test it out, perform a GET request to the /api_demo route via an API client:
To handle POST/PUT/PATCH/DELETE API methods in Remix, we have to write an action handler method:
//file name: app/routes/api_demo.tsx
import { ActionFunctionArgs } from "@remix-run/node";
export async function action({ request }: ActionFunctionArgs) {
  //get the request method(POST, PUT etc..)
  const { method } = request;
  //get the parsed JSON body:
  const request_body = await request.json();
  //return the above info back to the user:
  return json({ method, recorded_body: request_body });
}
The result should look like the below:

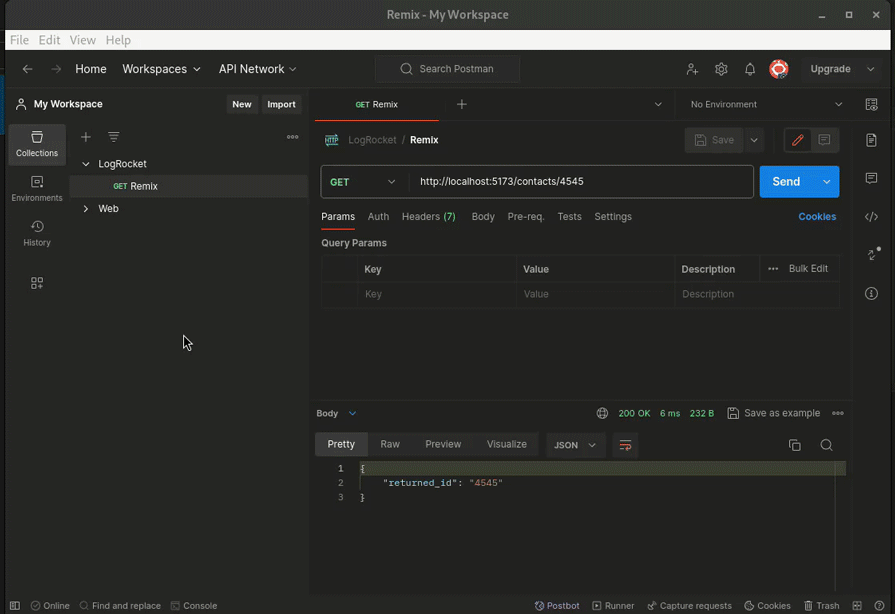
As discussed earlier, routing rules in APIs and components are identical. This block of code handles the contacts/{contactId} route:
//file name: app/routes/contacts.$contactId.tsx
export async function loader({ params, request }: LoaderFunctionArgs) {
//get the 'contact' parameter from the URL and output it to the user:
  const contactId = params.contactId;
  return json({ returned_id: contactId });
}
And here’s the result:
Here is the source code for the demo project we built in this article. We saw how Vite speeds up our development in Remix via features like HDR and HMR. Furthermore, we also looked into fundamental Remix concepts like routing, and building APIs via loaders and actions.
Remix’s popularity is growing rapidly, and its tight integration with the Vite tool will allow its adoption rate to soar even more. This explains why a handful of newer startups have opted for this library in their projects.
Thank you so much for reading!

Discover how React Fiber works under the hood. Learn how React builds the DOM, handles concurrent rendering, and works alongside React 19 features and the new React Compiler.

Learn how to use Skybridge, an open-source React framework, to build and deploy cross-platform AI apps and interactive UI widgets for ChatGPT, Claude, and MCP clients from a single codebase.

Learn how to set up Meilisearch, index documents, and build keyword, semantic, and hybrid search with AI-powered retrieval.

Compare pnpm and npm across security defaults, disk usage, dependency strictness, and workspace policy to decide which package manager fits your project.
Would you be interested in joining LogRocket's developer community?
Join LogRocket’s Content Advisory Board. You’ll help inform the type of content we create and get access to exclusive meetups, social accreditation, and swag.
Sign up now
