We sometimes deliver web applications to users whose access to constant internet connectivity is not guaranteed. Therefore, it is important to create applications that provide a seamless user experience, whether online or offline.

Angular offers a range of tools and techniques to achieve an offline-first approach that ensures your application remains functional and responsive, even with no internet connection. By leveraging Progressive Web App (PWA) capabilities, service workers, and efficient caching strategies, Angular enables developers to build apps that work offline and sync data effortlessly when connectivity is restored.
This article will explore how to create an Angular PWA that intelligently switches between online and offline modes using different techniques, ensuring a smooth user experience. You can follow the source code for this project here.
In the online mode, Angular applications use internet connectivity to provide real-time data and dynamic content. This mode enables the application to communicate with servers, retrieve fresh data, and update the user interface in real time. When a user’s internet connectivity is lost, Angular applications can be served offline by relying on cached data and local storage mechanisms.
Angular ships with service worker implementation designed to provide a smooth user experience over a slow or unreliable network connection. Service workers work in the background and can be configured to ensure all key resources such as HTML, CSS, JavaScript files, and even API responses, are cached locally on the user’s device.
Adding a service worker to your Angular project is a step in making your app a PWA. To set up the Angular service worker, run the CLI command below:
ng add @angular/pwa
The command does the following:
@angular/service-worker package, enabling service worker integrationapp.config filengsw-config.json filengsw-config.json. This file specifies the caching behaviors of your app’s resources, assets, and datamanifest.webmanifest file that provides information about your application such as the name, icon, theme, and the app’s behavior when installedmanifest.webmanifest file in the root index.html file and also adds a meta tag for the app’s theme colorThe ngsw-config.json file specifies the resources and data URLs that need caching. The configuration properties that can be added to this file include:
index: Specifies the file that serves as the root index pageassetGroups: Specifies versioned resources that are part of the application that should be cached. These resources are defined by various properties such as installMode, which determines how they are initially cached. The generated ngsw-config.json file comes with a boilerplate assetGroups configurationdataGroups: Specifies the data requests that should be cached and the policy in which they are cached. Each data group is defined by properties such as cacheConfig, which include the strategy and maximum age of the cached dataThe official Angular documentation includes a list of all properties that can be configured on the ngsw-config.json file.
In this tutorial, we’ll build a simple application that displays a list of posts from the JSONPlaceholder API. On top of the boilerplate assets and resources cache generated by the CLI command, we’ll add the dataGroups property to cache data from the API as shown below. Here we set the URL to be cached, cache strategy, maximum size and age, and the network timeout:
{
  "$schema": "./node_modules/@angular/service-worker/config/schema.json",
  "index": "/index.html",
  "dataGroups": [
    {
      "name": "api-performance",
      "urls": [
        "https://jsonplaceholder.typicode.com/posts"
      ],
      "cacheConfig": {
        "maxSize": 100,
        "maxAge": "1d",
        "timeout": "10s",
        "strategy": "performance"
      }
    },
    {
      "name": "api-freshness",
      "urls": [
        "https://jsonplaceholder.typicode.com/posts"
      ],
      "cacheConfig": {
        "maxSize": 100,
        "maxAge": "1d",
        "timeout": "10s",
        "strategy": "freshness"
      }
    }
  ],
  "assetGroups": [
    {
      "name": "app",
      "installMode": "prefetch",
      "resources": {
        "files": [
          "/favicon.ico",
          "/index.html",
          "/manifest.webmanifest",
          "/*.css",
          "/*.js"
        ]
      }
    },
    {
      "name": "assets",
      "installMode": "lazy",
      "updateMode": "prefetch",
      "resources": {
        "files": [
          "/**/*.(svg|cur|jpg|jpeg|png|apng|webp|avif|gif|otf|ttf|woff|woff2)"
        ]
      }
    }
  ]
}
To run our application, we’ll first install the http-server package:
npm install --global http-server
Next, we’ll run the build command at the root of our application:
ng build
We’ll then serve our application, which now makes use of the Angular service worker:
http-server -p 8080 dist/<angular-app-name>/browser
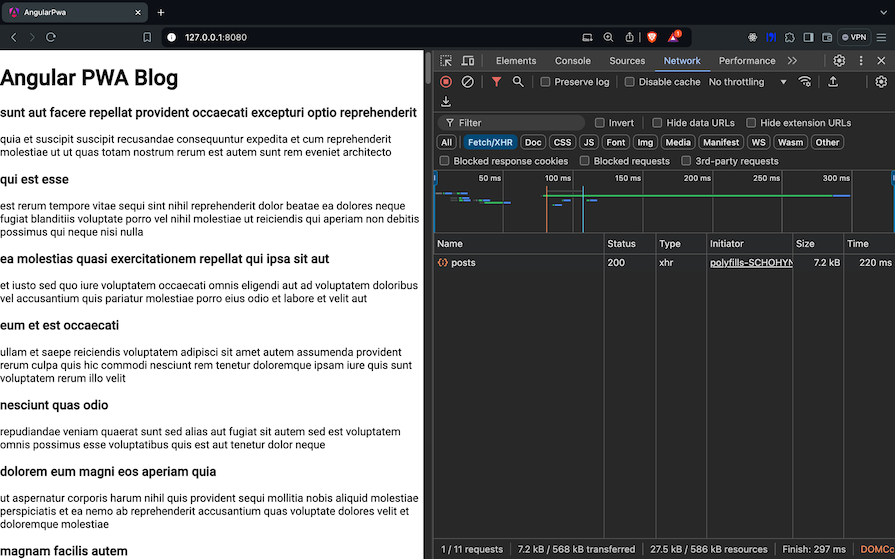
Finally, open an incognito browser and visit the application on port 8080. This helps test fresh installs. On the initial load, we have the data fetch done via the internet as shown here:
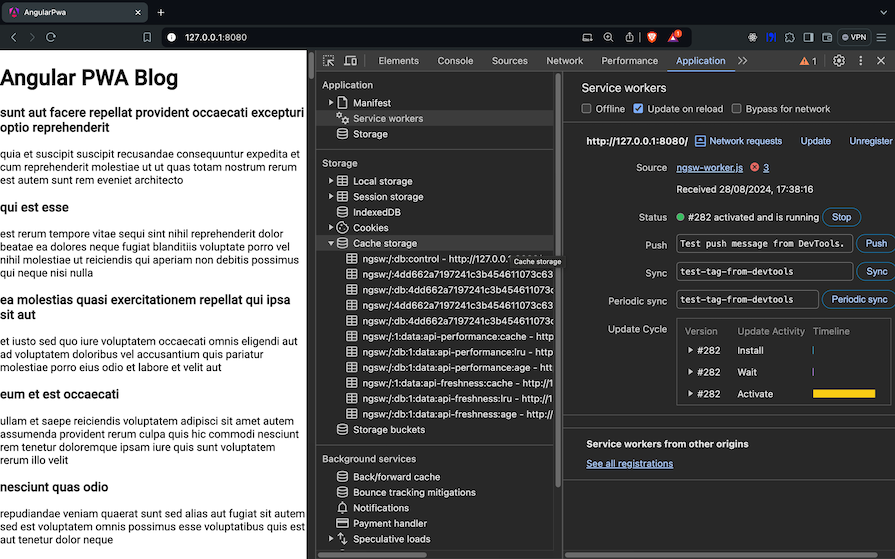
Opening the Application tab, you can see the service worker enabled and the cached assets and data on Cache storage:
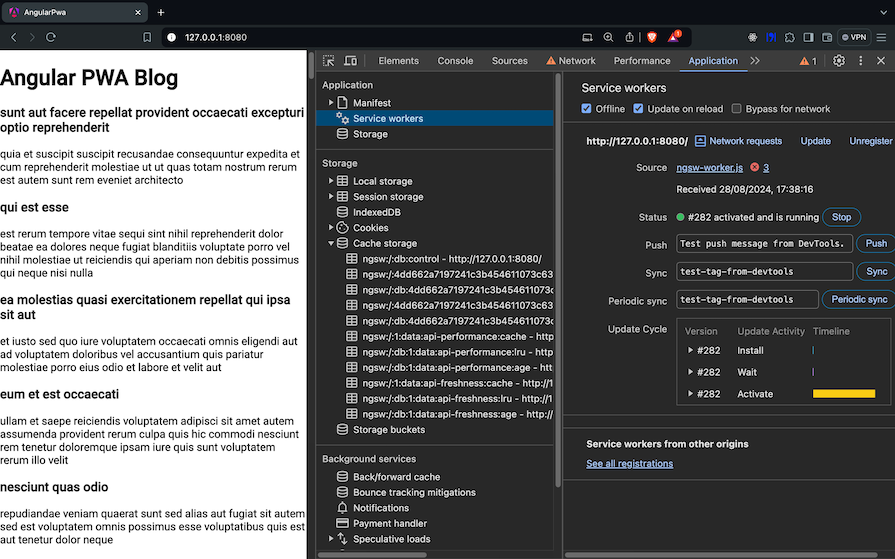
Now, switch the network connectivity of your app to offline and refresh the page:
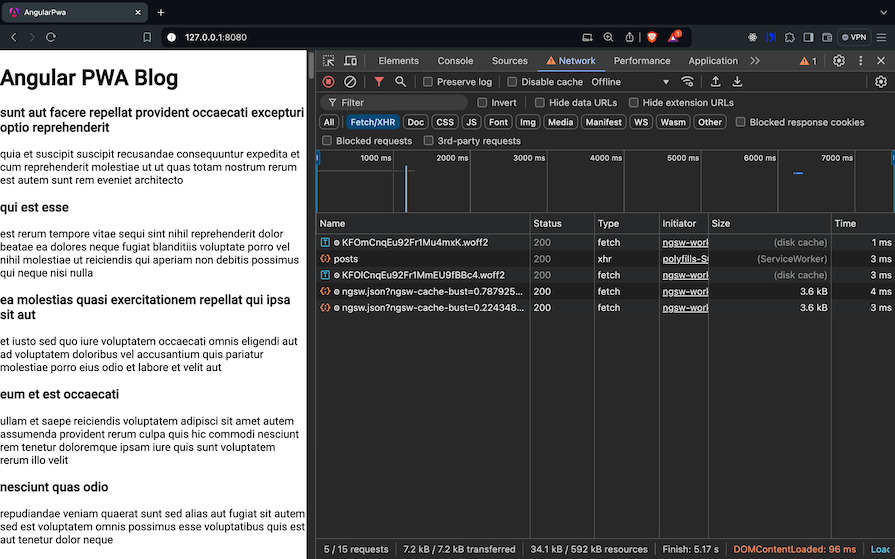
On page refresh, the page loads but the data fetch is done from the cache by the service worker. This means that data fetched when the user was online is cached and the recent cache is served to the user when offline:
Detecting the network connectivity of a user is essential when delivering a seamless experience in both online and offline modes. This can be achieved through different techniques such as the basic browser API or packages like ng-connection-service.
The DOM API offers a navigator interface that can be used to tell the state and identity of the browser. It has an online property that indicates whether the browser is online. You can use event listeners to listen to changes in network status.
Let’s create a network service that monitors the online status of the user’s device:
import { Injectable } from '@angular/core';
import { BehaviorSubject, Observable } from 'rxjs';
@Injectable({
  providedIn: 'root',
})
export class NetworkService {
  private onlineStatus = new BehaviorSubject<boolean>(navigator.onLine);
  public onlineStatus$: Observable<boolean> = this.onlineStatus.asObservable();
  constructor() {
    window.addEventListener('online', () => this.updateOnlineStatus(true));
    window.addEventListener('offline', () => this.updateOnlineStatus(false));
  }
  private updateOnlineStatus(isOnline: boolean) {
    this.onlineStatus.next(isOnline);
  }
}
The code snippet above does the following:
BehaviorSubject , onlineStatus , initialized using the navigator.online property, which returns true if a user is online and false if offlineonlineStatus$, which can be subscribed to get the online/offline statusonline and offline, which trigger and call the updateOnlineStatus method with true or false when online or offline respectivelyupdateOnlineStatus method, which updates onlineStatus with the current internet connectivity stateThe NetworkService provides a real-time stream of the user’s online or offline state, which can then be subscribed to by components in the application.
In your component file, update the code as shown below:
import { Subscription } from 'rxjs';

private subscription: Subscription | undefined;

constructor(
  private networkService: NetworkService,
  private snackBar: MatSnackBar
) {}

ngOnInit(): void {
    this.subscription = this.networkService.onlineStatus$.subscribe({
      next: (isOnline) => {
        if (isOnline) {
          this.snackBar.open('You are now online', 'OK', {
            duration: 3000,
            verticalPosition: 'top',
          });
        } else {
          this.snackBar.open('You are offline', 'OK', {
            duration: 3000,
            verticalPosition: 'top',
          });
        }
      },
    });
  }

ngOnDestroy() {
  this.subscription?.unsubscribe();
}
This creates a Subscription variable and injects the NetworkService and MatSnackBar services. In the ngOnInit lifecycle Hook, we subscribe to the onlineStatus$ observable from the network service. This observable emits the online status when there is a change in connectivity.
We then display a snack bar to notify users whether they are offline or online. isOnline will be true if the user is connected to the internet and false if they lose connectivity.
Running the commands below builds your application with recent changes and serves it on the specified port:
ng build
http-server -p 8080 dist/<angular-app-name>/browser
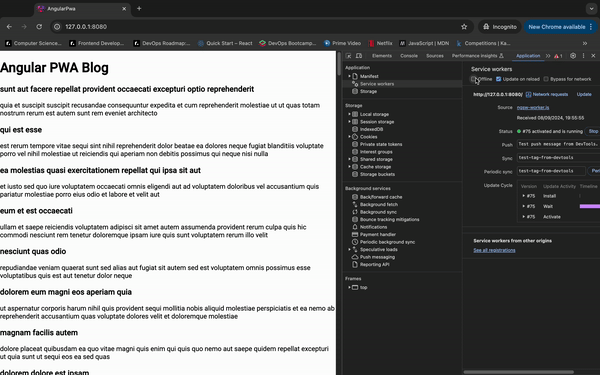
Viewing your app on port 8080 and toggling the offline status, the snack bar is displayed to notify users of their offline or online status:
ng-connection-serviceThe ng-connection-service package is used to monitor active internet connection reactively. It detects whether the browser has an active internet connection and whether your API server is running.
To install the package, run the command below:
yarn add ng-connection-service
Then, update your application to use the connection service as shown here:
import {  ConnectionService, ConnectionServiceModule, ConnectionState } from 'ng-connection-service';
import { Subscription ,tap} from 'rxjs';

@Component({
  ...
  imports: [..., ConnectionServiceModule],
  ...
})

private subscription: Subscription  = new Subscription();
constructor(
  ...
  private connectionService: ConnectionService
) {}

this.subscription.add(
  this.connectionService.monitor().pipe(
    tap((newState: ConnectionState) => {
      if (newState.hasNetworkConnection) {
        this.snackBar.open('You are now online', 'OK', {
          duration: 3000,
          verticalPosition: 'top',
        });
      } else {
        this.snackBar.open('You are offline', 'OK', {
          duration: 3000,
          verticalPosition: 'top',
        });
      }
    })
  ).subscribe()
);
First, we include the ConnectionServiceModule in the component’s imports, then inject the ConnectionService to our component to monitor the connection status.
Next, we create a new subscription and add the connectionService.monitor observable to it. The observer monitors the network and internet status and returns the current ConnectionState. The ConnectionState has two Boolean properties:
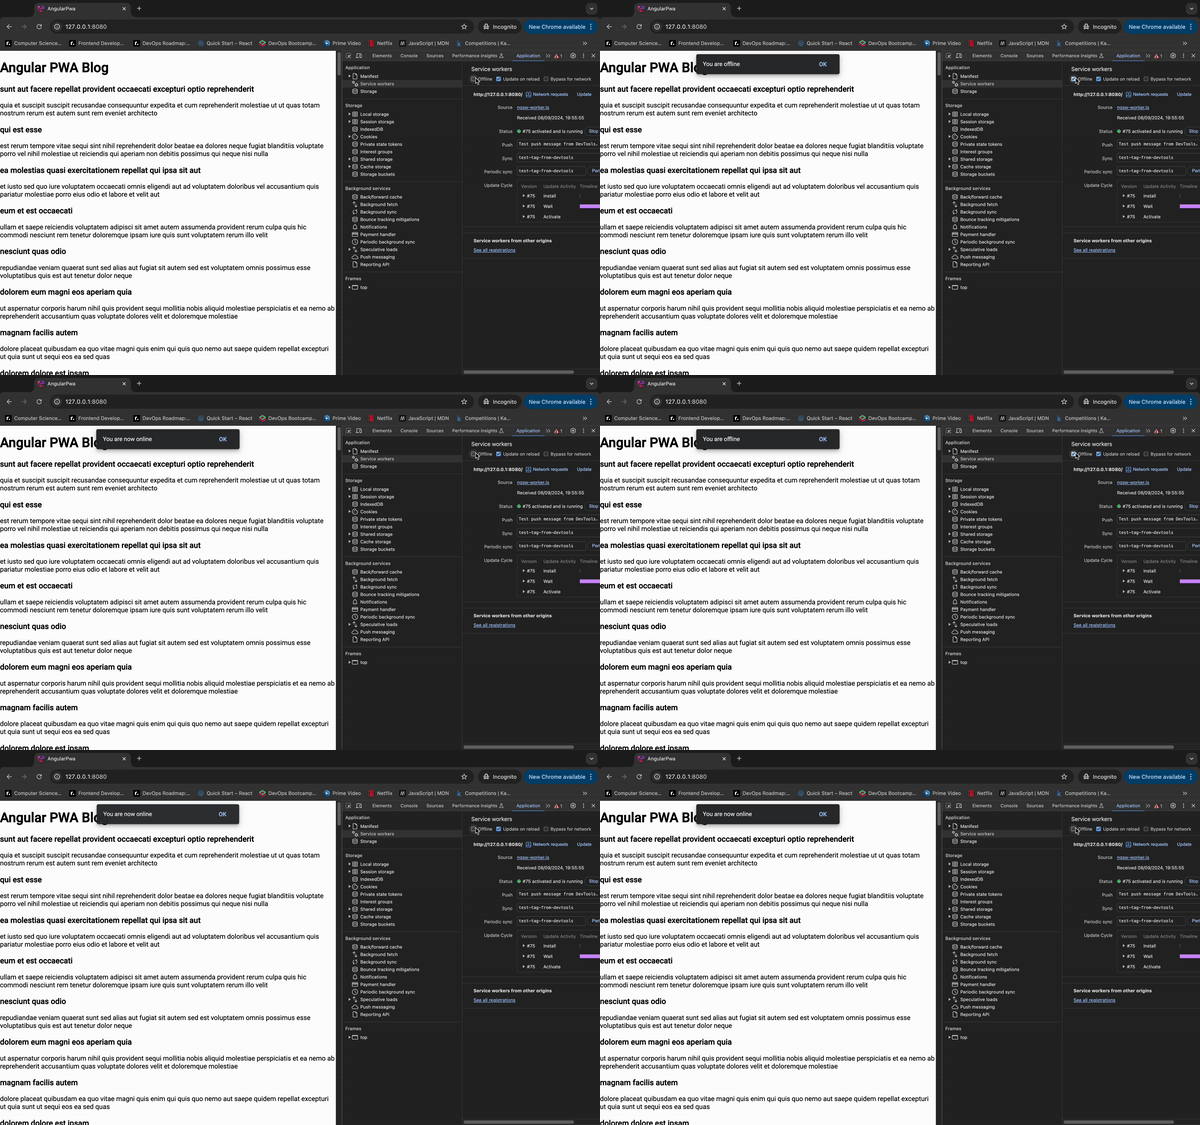
hasNetworkConnection: Set to true if the browser has an internet connection determined by the “online” or “offline” window eventshasInternetAccess: Set to true if the browser has internet access determined by a heartbeat system that periodically requests a heartbeat URL. The heartbeat URL must be reliableFinally, we use the hasNetworkConnection property to display a snack bar. If true, we display an online status and if false, we display an offline status:
You can pass the ConnectionServiceOptions to the monitor observable to check the update of the hasInternetAccess property as shown below. This helps detect if a connection exists by periodically sending an HTTP request to the specified URL:
 const options: ConnectionServiceOptions = {
      enableHeartbeat: true,
      heartbeatUrl: '<valid URL>',
      heartbeatInterval: 2000,
      requestMethod:"head"
}

...this.connectionService.monitor(options)...
The ng-connection-service service is more reliable than the DOM API as the package handles intermittent and unstable networks by sending HTTP requests at intervals to check the user’s internet access.
This tutorial explored building offline and online apps within Angular using Angular service workers. We discussed the Angular service worker configurations needed to cache assets, resources, and data URLs. We also reviewed how to detect online and offline status using basic browser APIs and the ng-connection-service package.
With Angular service workers, you can build an application that works smoothly even when a user loses connectivity. The complete code for this project can be found on GitHub.
Happy coding!
Debugging Angular applications can be difficult, especially when users experience issues that are difficult to reproduce. If you’re interested in monitoring and tracking Angular state and actions for all of your users in production, try LogRocket.
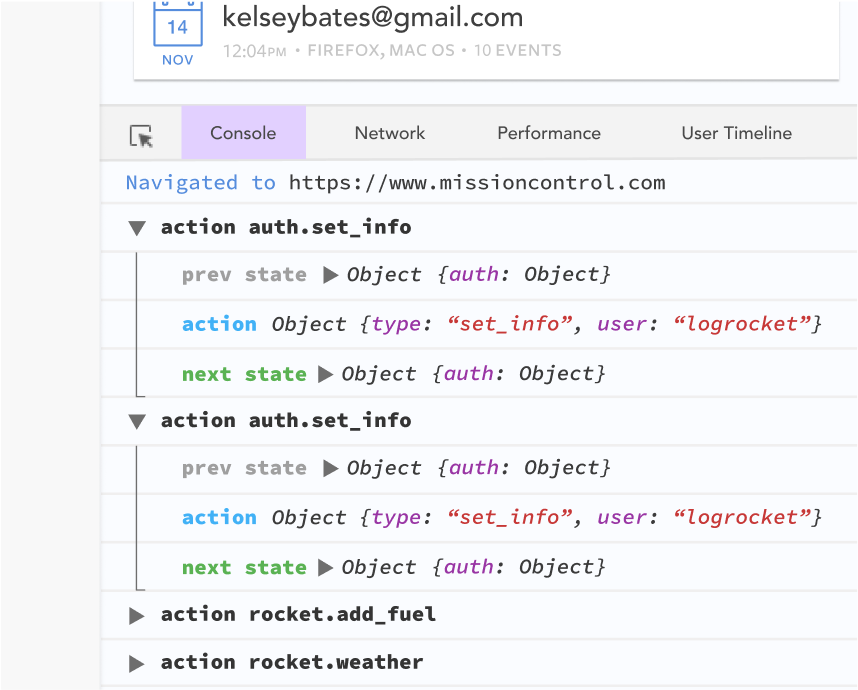
LogRocket lets you replay user sessions, eliminating guesswork by showing exactly what users experienced. It captures console logs, errors, network requests, and pixel-perfect DOM recordings—compatible with all frameworks.
With Galileo AI, you can instantly identify and explain user struggles with automated monitoring of your entire product experience.
The LogRocket NgRx plugin logs Angular state and actions to the LogRocket console, giving you context around what led to an error, and what state the application was in when an issue occurred.
Modernize how you debug your Angular apps — start monitoring for free.
Would you be interested in joining LogRocket's developer community?
Join LogRocket’s Content Advisory Board. You’ll help inform the type of content we create and get access to exclusive meetups, social accreditation, and swag.
Sign up now
This guide walks you through creating a web UI for an AI agent that browses, clicks, and extracts info from websites powered by Stagehand and Gemini.

This guide explores how to use Anthropic’s Claude 4 models, including Opus 4 and Sonnet 4, to build AI-powered applications.

Which AI frontend dev tool reigns supreme in July 2025? Check out our power rankings and use our interactive comparison tool to find out.

Learn how OpenAPI can automate API client generation to save time, reduce bugs, and streamline how your frontend app talks to backend APIs.