JavaScript has transcended the boundaries of the browser. It is no longer the language for only building websites, JavaScript can be used to do almost anything and it is quite common for developers familiar with the language to rather use JavaScript or one of its frameworks to get things done without having to face the hassles of learning a new language. One such instance is when the need to build a mobile app arrives.
In this article, we will see how to build cross-platform mobile apps with Vue.js and NativeScript, we will do so by building a mini-app that displays Rick and Morty characters retrieved from the Rick and Morty API.
The Replay is a weekly newsletter for dev and engineering leaders.
Delivered once a week, it's your curated guide to the most important conversations around frontend dev, emerging AI tools, and the state of modern software.
This is the process of creating native applications that can run on different mobile platforms but share a single codebase instead of developing different apps for each platform.
NativeScript is an open-source framework for building truly native mobile apps.
It is a cross-platform mobile development framework that allows developers to use modern web technologies such as Angular and Vue.js or just HTML, CSS, and JavaScript/TypeScript to build mobile apps. It takes away the need to learn native technologies such as Swift or Objective-C for iOS and Java or Kotlin for Android and enables you to develop for iOS, Android, and the web, from a single JavaScript codebase.
NativeScript was created by Telerik in 2014.
This tutorial assumes the reader has the following:
You can install Vue CLI with the following command using Yarn:
yarn global add @vue/cli
To install the NativeScript CLI, open your terminal and run:
yarn global add nativescript
Verify the installation was successful by running tns in your terminal. You should see a list of the available commands.
Tools we will be using to build our app include:
NativeScript uses native user interface components, HTML elements such as <div> and <span> do not exist in NativeScript. Instead, you’ll need to use already prepared sets of components to build your user interfaces.
These preconfigured UI components serve as building blocks for the app. These components leverage the Vue.js <template> block to build the user interface, the <script> block to build functionality with JavaScript and a <style> block for manipulating how they look.
Some of the key components provided by NativeScript we will be using to build this app include the following:
<Page> — this UI component represents an application screen. It acts as a wrapper for other components in an application screen, mobile apps typically consist of one or more Page components.<Image> — this UI component shows an image from an ImageSource or a URL, just like img HTML element:
<Image src="~/logo.png"/><Label> — it is a UI component that displays read-only text<ListView> — this is a UI component that shows items in a vertical list, it is usually used alongside the <v-template> to show individual items in the list<ActionBar> — this UI component provides a toolbar at the top of the application screen, it is used as a wrapper for the app bar(action) on Android and the iOS navigation bar
<v-template> — this component lets you define markup that you can reuse as a template. It is mostly used to render a list of items<StackLayout> — this is a UI layout container that lets you stack the child UI components vertically or horizontally. Children components are stacked vertically by default<FlexboxLayout> — this is a layout container that lets you arrange child components both horizontally and vertically. It is similar to the implementation of the CSS Flexbox<ActivityIndicator> — this is a UI component that shows a progress indicator signaling to the user of an operation running in the backgroundThere are 4 major ways to style these components, they include:
app.css and it can be used across all application pages<style> tag of a specific page component UI viewNote: NativeScript uses DIPs (Device Independent Pixels) and percentages as measurement units for styles, pecertanges as a measuring unit only has partial support for width, height, and margins. You could also use pixels but only with post fixing your styles with
px.
We will be using the Vue CLI and NativeScript CLI to bootstrap a new project, this will take care of all the base configurations to get started with using our app.
First, we install support for Vue CLI 2.x templates using the @vue/cli-init package to act as a global bridge to use the legacy vue init functionality to bootstrap new projects:
yarn global add @vue/cli-init
Next, create a new project using the NativeScript-Vue starter template and the init command:
vue init nativescript-vue/vue-cli-template rick-morty
The name “rick-morty” is being used as the project name for this tutorial, it can be replaced with whatever name you deem fit.
A bunch of question about what configurations you want for your project will be asked during the scaffolding process, you can either decide to customize your project as you see fit or accept the default configurations:
? Project name rick-morty
? Project description A native application built with NativeScript-Vue
? Application name rick-morty
? Unique application identifier org.nativescript.application
? Project version 1.0.0
? Author Anjolaoluwa <[email protected]>
? License MIT
? Select the programming language javascript
? Select a preset (more coming soon) Simple
? Install vuex? (state management) No
? Install vue-devtools? Yes
? Color scheme default
Note: If you choose to install DevTools during the scaffolding process, you won’t be able to use
tns preview, as the preview app doesn’t support one of the plugins DevTools uses.
Next, change your working directory to your project directory and install the project dependencies:
cd rick-morty && yarn install
Next, spin up your project by running the command:
# for iPhone
tns run ios --watch

# for Android

tns run android --watch
This command starts up an iOS device emulator and watches for changes to the app files and updates the app within the changes, watching for changes is powered by webpack’s Hot Module Replacement(HMR).
Next, install the Axios library to make HTTP requests:
yarn add axios
Then import the library in the main.js file:
import axios from 'axios'
Proceed to make it Axios a global instance method, this way it can be accessed in any component in the Vue instance. Also, set the base URL for Axios to make requests to:
Vue.prototype.$axios = axios;
Vue.prototype.$axios.defaults.baseURL = 'https://rickandmortyapi.com/api/';
Next, define the array where we will be storing the data retrieved from the API in the data property of the Vue instance, in the <script> tag:
characters: []
Then create a method object that will contain the function that makes the API request:
methods: {

}
In between the method object, include the following:
getCharacters: function() {
     this.$axios
       .get("character/")
       .then(response => {
         this.characters = response.data.results;
       })
       .catch(err => console.log(err));
}
What we’re doing in this code block is, we’re making a request to the character endpoint of our API and assigning the response of the request to the character array in our data property.
Next, create a created Vue lifecycle hook and call the getCharacters method inside the lifecycle hook:
created() {
  this.getCharacters();
}
Next, we will write the markup(XML) for our application to set up the user interface. Open your App.vue file and remove the block of code between the <template> tag and include the following:
<Page>
  <ActionBar title="Rick and Morty"/>
  <StackLayout backgroundColor="#dce2e9" class="">
    <Label
      text="Top Characters"
      fontWeight="bold"
      textAlignment="center"
      fontSize="30"
      marginTop="10"
      marginBottom="5"
    />
    <ListView class="images" for="character in characters">
      <v-template>
        <StackLayout backgroundColor="#f0e14a" class="images__item-wrapper">
          <Image :src="character.image" class="images__item-image" />
          <Label :text="character.name" class="images__item-name" />
          <StackLayout fontSize="15" marginLeft="10" marginTop="8">
            <Label marginBottom="2" >
              <Span text="Gender: " /> <Span :text="character.gender" />
            </Label>
            <Label marginBottom="2">
              <Span text="Status: " /> <Span :text="character.status" />
            </Label>
            <Label>
              <Span text="Specie: " /> <Span :text="character.species" />
            </Label>
          </StackLayout>
        </StackLayout>
      </v-template>
    </ListView>
  </StackLayout>
</Page>
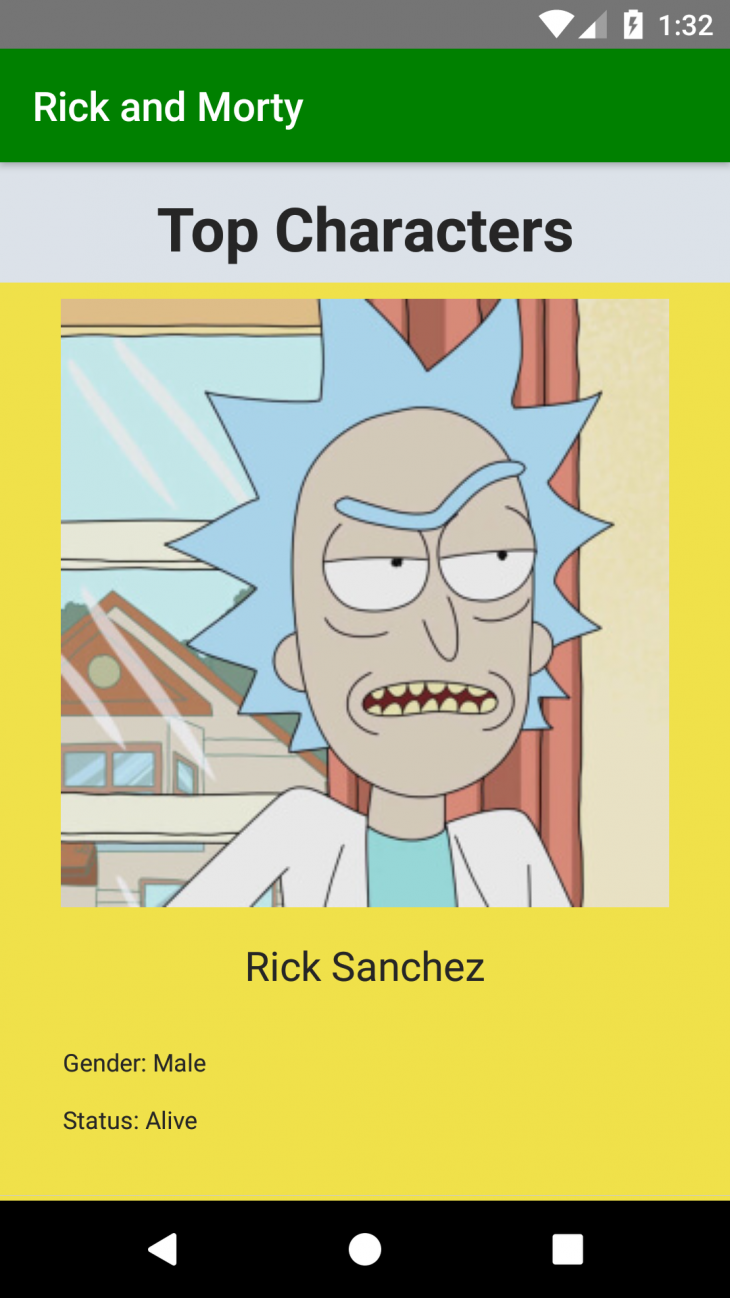
What we’ve done in this block of code is that we’ve looped over the items in the characters array and displayed information for each item in the list.
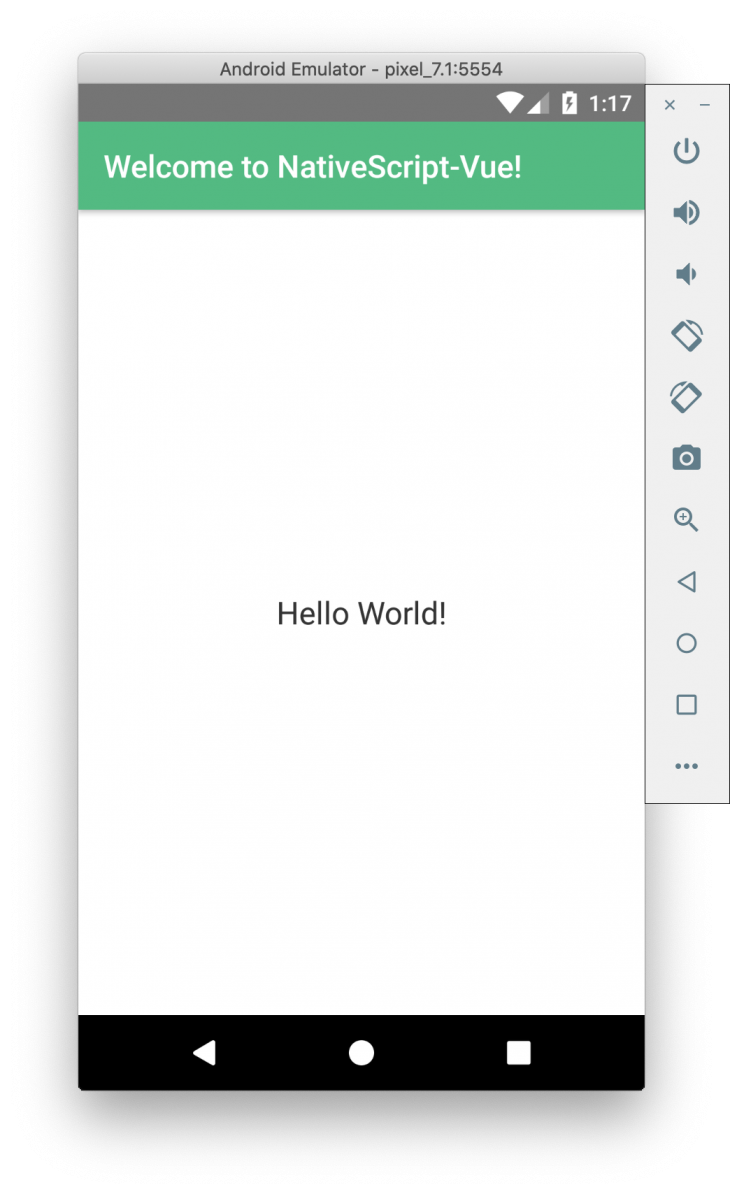
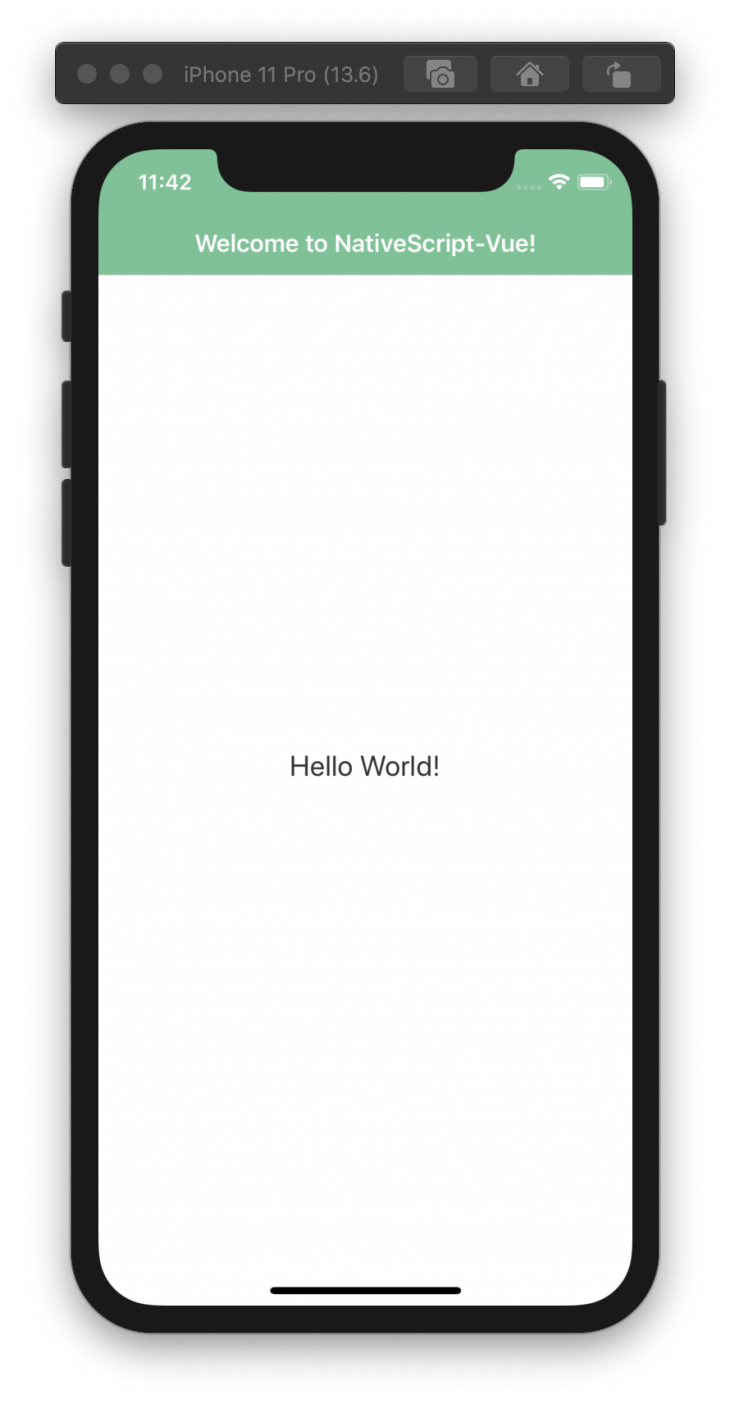
Our App should look similar to this now:

Next, add lang="scss" attribute it to the <style> tag, it should now look similar to this:
<style lang="scss" scoped>
    ActionBar {
        background-color: #53ba82;
        color: #ffffff;
    }
</style>
Then, include the following lines of code between the <style> tag, to add some style to the app:
ListView{
  height: 100%;
}
ActionBar {
  background-color: green;
  color: #ffffff;
}
.images {
  &__item-wrapper {
    width: 80%;
    height: 450;
    margin-top: 10;
    margin-bottom: 20;
  }
  &__item-image {
    height: 300;
    width: 100%;
  }
  &__item-name {
    margin-top: 10;
    font-size: 20;
    text-align: center;
  }
}
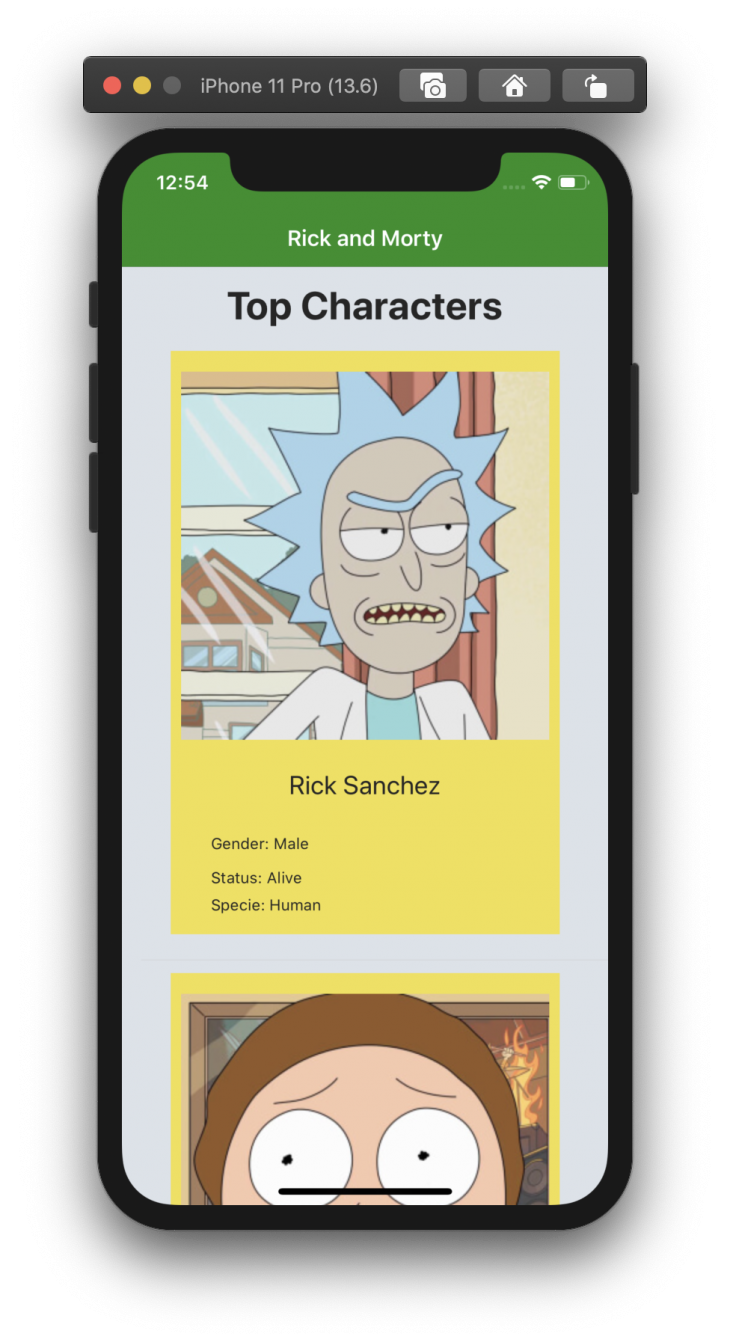
The finished application should look similar to this:
You can create a build for both iOS and Android with the following commands:
# for iPhone
tns build ios --bundle

# for Android
tns build android --bundle
The bundle command for iOS builds the project for iOS and produces an APP or IPA that can be manually deployed on an iOS device or an iOS Simulator.
The APP folder is located in:
/platforms/ios/build/Debug-iphonesimulator/rickmorty.app
While the command for Android builds the project for Android devices and produces an APK file that can be manually deployed on an Android device or Android emulator.
The APK file is located in:
/platforms/android/app/build/outputs/apk/debug/app-debug.apk
In this post, we’ve learned how to build native mobile apps with NativeScript and Vue.js, we’ve also seen how to bundle for both iOS and Android devices. You can learn more about NativeScript here and NativeScript Vue here, check out the repository for this tutorial on GitHub, it can be used as a boilerplate to scaffold your apps. You can learn to make your apps render correctly on multiple mobile devices using this guide.
Debugging Vue.js applications can be difficult, especially when users experience issues that are difficult to reproduce. If you’re interested in monitoring and tracking Vue mutations and actions for all of your users in production, try LogRocket.

LogRocket lets you replay user sessions, eliminating guesswork by showing exactly what users experienced. It captures console logs, errors, network requests, and pixel-perfect DOM recordings — compatible with all frameworks.
With Galileo AI, you can instantly identify and explain user struggles with automated monitoring of your entire product experience.
Modernize how you debug your Vue apps — start monitoring for free.

Learn what context rot is, why AI agent sessions degrade over time, and how to fix it with compaction, prompt anchoring, context files, plan files, and RAG.

Learn about TypeScript v6’s breaking changes, new ES2025 features, and deprecated options. A complete migration guide from v5 to prepare for v7.

Learn how Vite+ unifies Vite, Vitest, Oxlint, Oxfmt, Rolldown, and Node.js management in one CLI.

AI companies are buying developer tools as coding agents turn runtimes, package managers, and linters into strategic infrastructure.
Hey there, want to help make our blog better?
Join LogRocket’s Content Advisory Board. You’ll help inform the type of content we create and get access to exclusive meetups, social accreditation, and swag.
Sign up now

