In the era of modern web development, headless solutions become a popular way to build any kind of product. For example, Content Management systems, e-commerce solutions etc. In this article, we are going to see how to build an online store using headless e-commerce product Saleor.io, which is popular in the industry.

Saleor is a headless GraphQL ECommerce platform which helps business owners and development teams to build products faster in a shorter span of time. It provides us with all the modules we need to run an e-commerce store in a scalable way.
Saleor contains three important modules, including a backend solution and infrastructure, an admin dashboard for an e-commerce store, and an e-commerce client side solution.
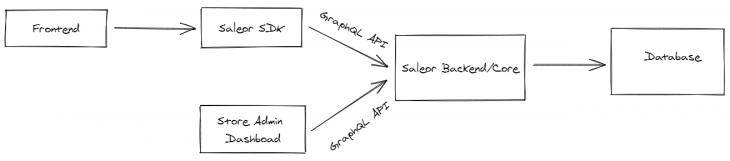
Our store ( or client) communicates with backend through the Saleor SDK. At the same time, the admin dashboard communicates with the backend using a GraphQL API.
In this tutorial, we will see how to setup a Saleor backend and Admin dashboard for an e-commerce store. We will also see how to build a storefront (client) side for an e-commerce application.
Note: to set up and run Saleor in a development environment, it’s best to use Docker.
We are going to use Docker for setting it up in our development environment.
git clone https://github.com/mirumee/saleor-platform.git --recursive --jobs 3
cd saleor-platform
docker-compose build
With the above command, we’ll build Docker images for us in our local machine.
docker-compose run --rm api python3 manage.py migrate
docker-compose run --rm api python3 manage.py collectstatic --noinput
Since the Saleor server is running in Python, it sets up the server and database migration for us.
//first command is optional
docker-compose run --rm api python3 manage.py populatedb
docker-compose run --rm api python3 manage.py createsuperuser
After that, we populate our database with dummy data (this is optional), and then we create a super user for our admin dashboard.
Finally, to run the services, use this command:
docker-compose up
Now, if you visit the URL, you’ll see this:
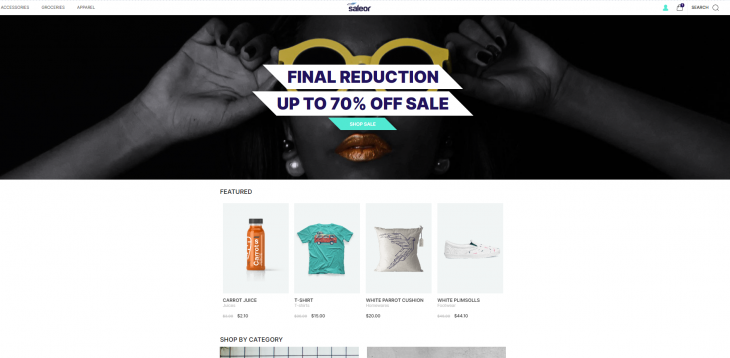
http://localhost:3000/ – Client side
http://localhost:8000/graphql/ – GraphQL playground
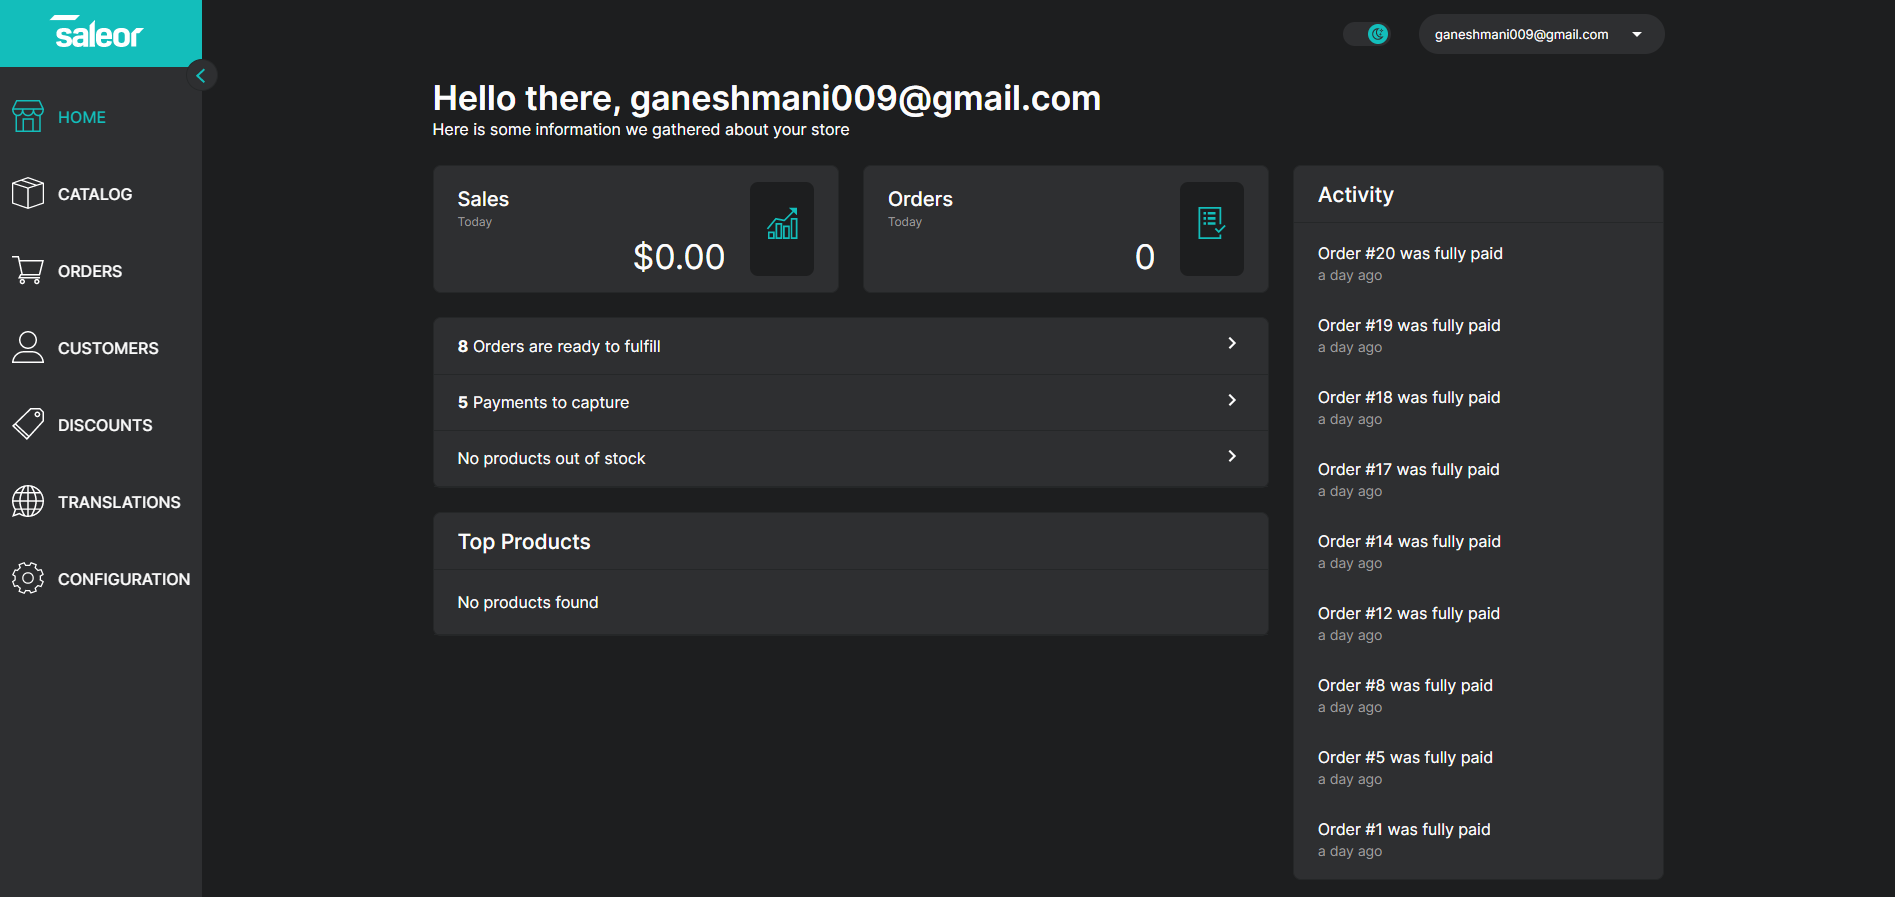
http://localhost:9000/ – Admin Dashboard
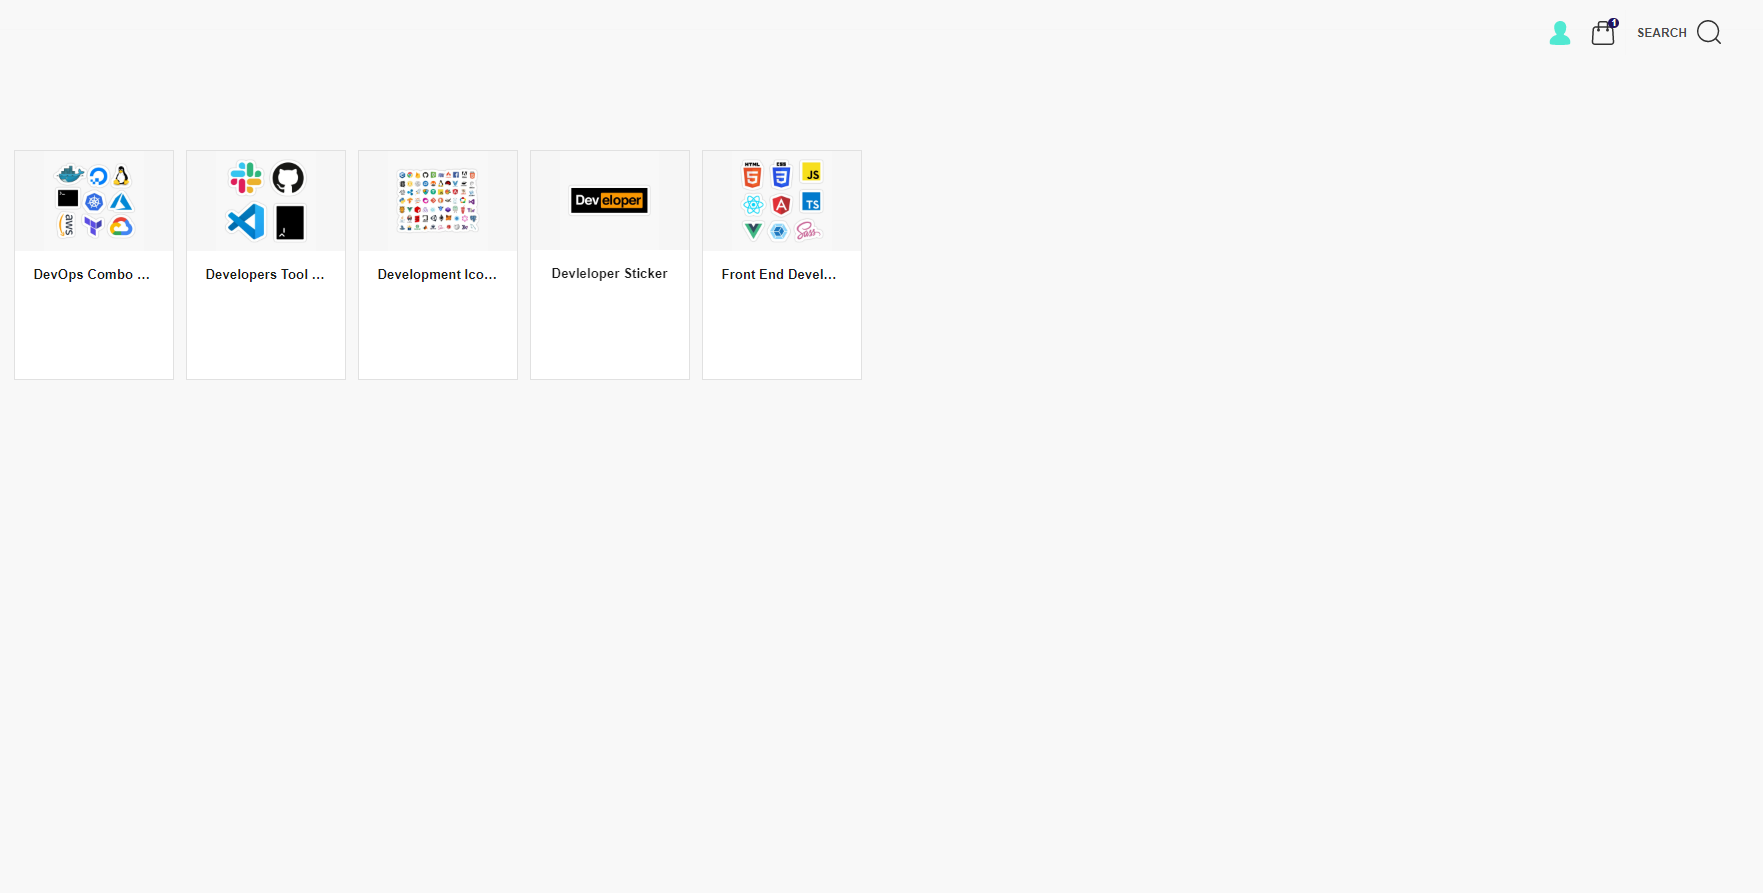
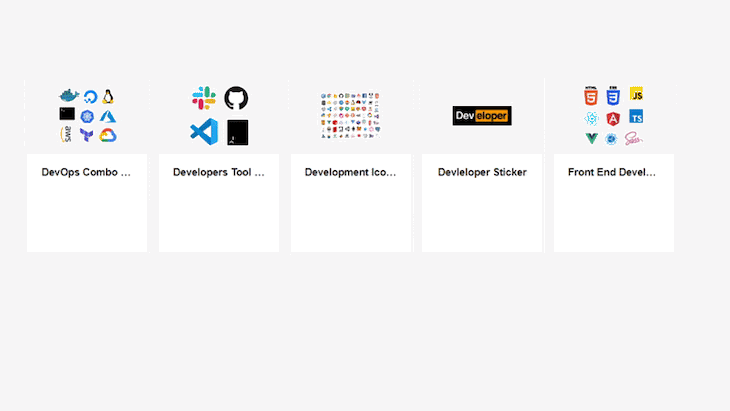
Now, we have the basic Saleor setup to build an online store. Let’s build a developer stickers store by customizing the Saleor storefront.
Here are all the important modules/functionalities that we will be focusing on:
To get the data from our GraphQL server, we need ApolloClient. This is because @saleor/sdk uses Apollo internally.
Let’s set up an Apollo Client in our React application.
npm install @saleor/sdk
import { SaleorProvider, useAuth } from "@saleor/sdk";

const config = { apiUrl: "http://localhost:8000/graphql/" };
const apolloConfig = {
  /*
    Optional custom Apollo client config.
    Here you may append custom Apollo cache, links or the whole client.
    You may also use import { createSaleorCache, createSaleorClient, createSaleorLinks } from "@saleor/sdk" to create semi-custom implementation of Apollo.
  */
};

const rootElement = document.getElementById("root");
ReactDOM.render(
  <SaleorProvider config={config} apolloConfig={apolloConfig}>
    <App />
  </SaleorProvider>,
  rootElement
);

const App = () => {
  const { authenticated, user, signIn } = useAuth();

  const handleSignIn = async () => {
    const { data, dataError } = await signIn("[email protected]", "admin");

    if (dataError) {
      /**
       * Unable to sign in.
       **/
    } else if (data) {
      /**
       * User signed in succesfully.
       **/
    }
  };

  if (authenticated && user) {
    return <span>Signed in as {user.firstName}</span>;
  } else {
    return <button onClick={handleSignIn}>Sign in</button>;
  }
};
Now, we need to build components and use the GraphQL Server to list and update the data to our server.
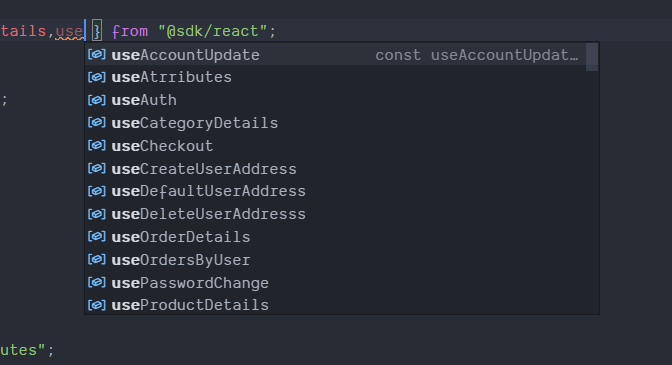
@saleor/sdk provides a lot of custom Hooks out of the box. It helps us to save lot of development time to build the store. A few of them are:
useAuth – Authentication hooks which handles authentication mechanism. it provides the logged in user info and check if the user is authentication etc.useCart – it provides functionality to add product to cart and remove product from cart.useSignOut – it sign out the user from the store.useUserDetails – it returns the information about the logged in user.useUserDetails – it provides functionality to checkout all the items in the cart.There are lot of custom Hooks like this. I am just pointing out some of the important ones here. You can check all the Hooks in the @saleor/sdk.
Now, we are going to fetch the products and product category from the server. But, if you skipped the step of populating the database with dummy data on the installation, you may need to add Products and Categories to the database.
We can do that using our store admin dashboard. Go to Catalog => Product in the admin dashboard and add the products.
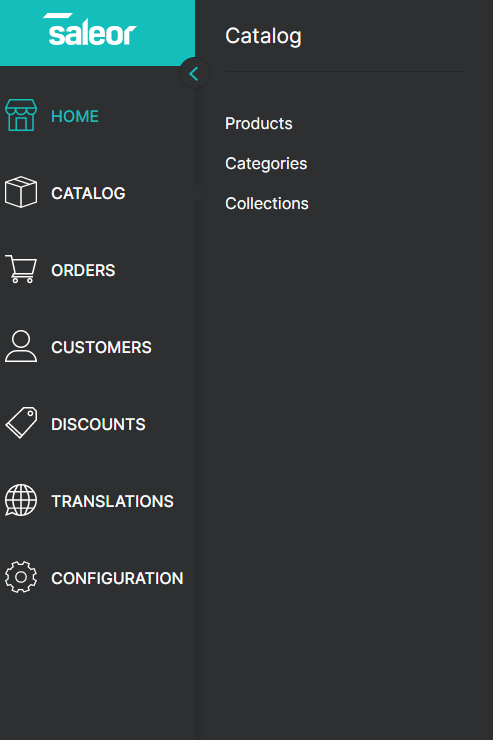
Do the same for Categories as well. This way, you can have Categories and Products to fetch from the server.
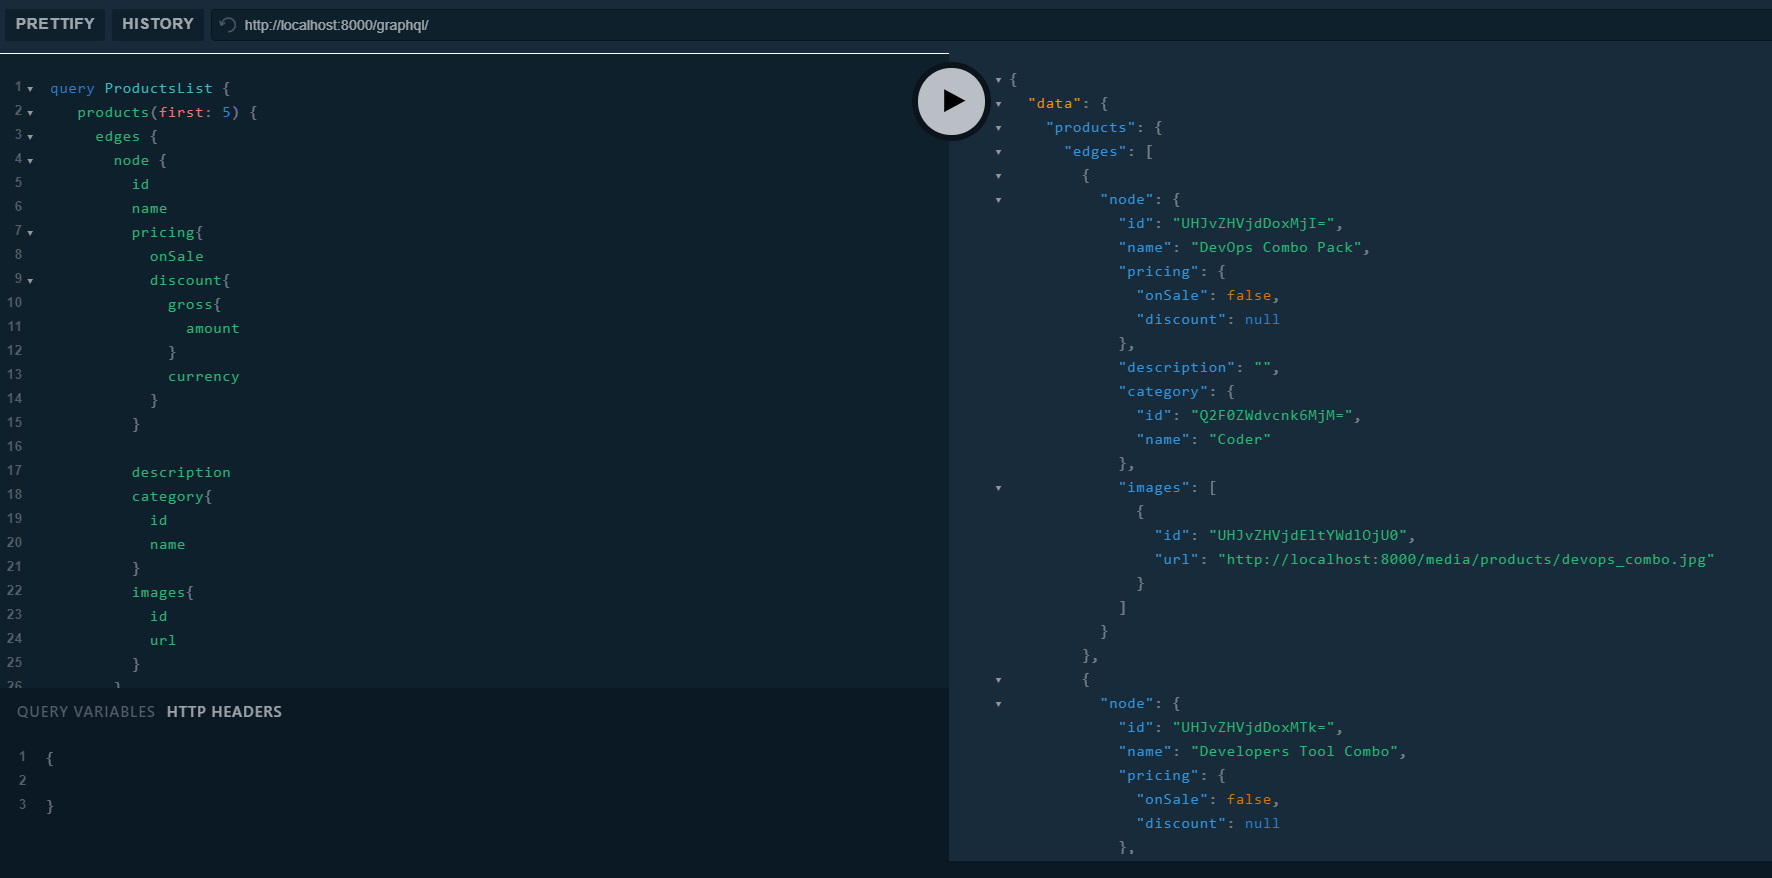
Once you add both of them, we can write GraphQL queries to fetch the product and categories.
query ProductsList {
    products(first: 5) {
      edges {
        node {
          id
          name
          pricing{
            onSale
            discount{
              gross{
                amount
              }
              currency
            }
          }
          description
          category{
            id
            name
          }
          images{
            id
            url
          }
        }
      }
    }
    categories(level: 0, first: 4) {
      edges {
        node {
          id
          name
          backgroundImage {
            url
          }
        }
      }
    }
  }
It fetches both products and categories from the server.
You can use that data to list all the products and categories in our store.
import React, { useRef, useState } from "react";
import {
  ProductsList_categories,
  ProductsList_shop,
  ProductsList_shop_homepageCollection_backgroundImage,
} from "./gqlTypes/ProductsList";
import { structuredData } from "../../core/SEO/Homepage/structuredData";
// import noPhotoImg from "../../images/no-photo.svg";
import ProductItem from '../../components/product/ProductItem'
import Boundary from './boundary'
const Page = ({ loading, categories, products, backgroundImage, shop }) => {
  const [columnCount, setColumnCount] = useState(10);
  const categoriesExist = () => {
    return categories && categories.edges && categories.edges.length > 0;
  };
  const productListWrapper = useRef(null);
  return (
    <>
      <script className="structured-data-list" type="application/ld+json">
        {structuredData(shop)}
      </script>
      <main className="content">
        <section className="product-list-wrapper">
          <Boundary>
            <div
              className="product-list"
              ref={productListWrapper}
              style={{ gridTemplateColumns: `repeat(${columnCount}, 160px)` }}
            >
              {products.edges.map((product, index) => {
                return (
                  <ProductItem
                    foundOnBasket={false}
                    product={product.node}
                    key={`product-skeleton ${index}`}
                  />
                )
              })}
            </div>
          </Boundary>
        </section>
      </main>
    </>
  );
};
export default Page;
So far, we have the product and category listing functionalities. Now, we need to implement a way to add the product into a basket and add user login/signup functionalities.
When a user clicks the Add to cart button, we use the @saleor/sdk custom Hook useCart to add the item to their cart.
import React from 'react';
import { displayMoney } from './utils';
import { useCart } from "@sdk/react";
const ProductItem = ({
    product,
    onOpenModal,
    displaySelected,
    foundOnBasket
}) => {
    const { addItem, removeItem } = useCart()
    const onClickItem = () => {
        if (product.id) {
            onOpenModal();
            displaySelected(product);
        }
    };
    const onAddToBasket = () => {
        addItem(product.id, 1)
    };
    return (
        <div
            className={`product-card ${!product.id ? 'product-loading' : ''}`}
            style={{
                border: foundOnBasket ? '1px solid #cacaca' : '',
                boxShadow: foundOnBasket ? '0 10px 15px rgba(0, 0, 0, .07)' : 'none'
            }}
        >
            {foundOnBasket && <i className="fa fa-check product-card-check" />}
            <div
                className="product-card-content"
                onClick={onClickItem}
            >
                <div className="product-card-img-wrapper">
                    {product.images[0].url ? (
                        <img
                            className="product-card-img"
                            src={product.images[0].url}
                        />
                    ) : null}
                </div>
                <div className="product-details">
                    <h5 className="product-card-name text-overflow-ellipsis margin-auto">{product.name || null}</h5>
                    <p className="product-card-brand">{product.brand || null}</p>
                    <h4 className="product-card-price">{product.price ? displayMoney(product.price) : null}</h4>
                </div>
            </div>
            {product.id && (
                <button
                    className={`product-card-button button-small button button-block ${foundOnBasket ? 'button-border button-border-gray' : ''}`}
                    onClick={onAddToBasket}
                >
                    {foundOnBasket ? 'Remove from basket' : 'Add to basket'}
                </button>
            )}
        </div>
    );
};
export default ProductItem;
Here, we implement the custom Hook useCart. Using that, we can add items to the cart and remove items from the cart.
const { addItem, removeItem } = useCart()
To get all the items from the cart, you can use the same custom Hooks:
const {
    items,
    removeItem,
    subtotalPrice,
    shippingPrice,
    discount,
    totalPrice,
  } = useCart();
It returns all the the items to us that were added to cart. Now, we can use the items to show it in our e-commerce store.
To implement the log in functionality, it’s pretty straightforward. We need to use the custom Hook useSignIn from the @saleor/sdk, which returns the data after a successful login.
import "./scss/index.scss";
import * as React from "react";
import { useSignIn } from "@sdk/react";
import { maybe } from "@utils/misc";
import { Button, Form, TextField } from "..";
const LoginForm = ({ hide }) => {
  const [signIn, { loading, error }] = useSignIn();
  const handleOnSubmit = async (evt, { email, password }) => {
    evt.preventDefault();
    const authenticated = await signIn({ email, password });
    if (authenticated && hide) {
      hide();
    }
  };
  return (
    <div className="login-form">
      <Form
        errors={maybe(() => error.extraInfo.userInputErrors, [])}
        onSubmit={handleOnSubmit}
      >
        <TextField
          name="email"
          autoComplete="email"
          label="Email Address"
          type="email"
          required
        />
        <TextField
          name="password"
          autoComplete="password"
          label="Password"
          type="password"
          required
        />
        <div className="login-form__button">
          <Button type="submit" {...(loading && { disabled: true })}>
            {loading ? "Loading" : "Sign in"}
          </Button>
        </div>
      </Form>
    </div>
  );
};
export default LoginForm;
User signup is a bit different from the login functionality. We need to use a GraphQL mutation, which is:
mutation RegisterAccount(
    $email: String!
    $password: String!
    $redirectUrl: String!
  ) {
    accountRegister(
      input: { email: $email, password: $password, redirectUrl: $redirectUrl }
    ) {
      errors {
        field
        message
      }
      requiresConfirmation
    }
  }
When the user signs up successfully, it redirects them to the specified URL.
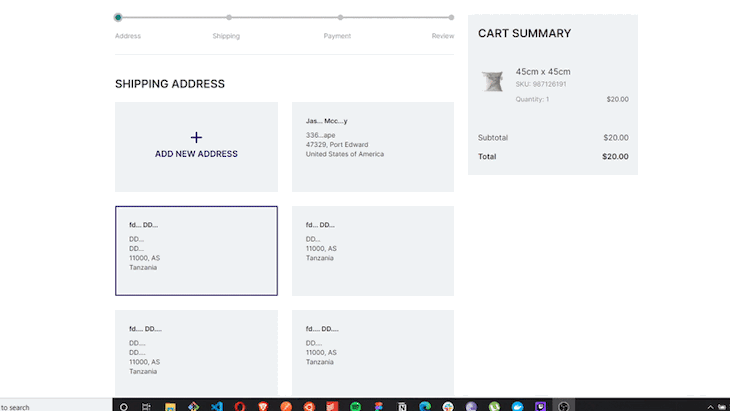
Cart checkout involves 4 steps to complete in terms of functionality. They are:
Similar to the other functionalities, we can use a custom Hook, useCheckout, which provides all the functionality needed for checkout.
We need to get the address from the user. You can either ask them to add a new one, or select an existing address. To do that, we can use the function from the useCheckout:
const {
    checkout,
    setShippingAddress,
    selectedShippingAddressId,
  } = useCheckout();
To make a payment, Saleor provides us functions such as:
const {
    checkout,
    billingAsShipping,
    setBillingAddress,
    setBillingAsShippingAddress,
    selectedBillingAddressId,
    availablePaymentGateways,
    promoCodeDiscount,
    addPromoCode,
    removePromoCode,
    createPayment,
  } = useCheckout();
Using the createPayment function, we can complete the transaction for the order.
const handleProcessPayment = async (
    gateway,
    token,
    cardData
  ) => {
    const { dataError } = await createPayment(gateway, token, cardData);
    const errors = dataError?.error;
    changeSubmitProgress(false);
    if (errors) {
      setGatewayErrors(errors);
    } else {
      setGatewayErrors([]);
      history.push(CHECKOUT_STEPS[2].nextStepLink);
    }
  };
This is just for user to review and verify that everything is correct so far. In this step, you can complete the checkout using this function:
const { checkout, payment, completeCheckout } = useCheckout();
To summarize, Saleor is a powerful GraphQL headless for e-commerce development. It provides all the required functionalities that an SDK provides. As a result, we can just focus on the UI for our e-commerce store. It helps us to avoid the complex setup of the backend admin panel.
LogRocket lets you replay user sessions, eliminating guesswork around why users don't convert by showing exactly what users experienced. It captures console logs, errors, network requests, and pixel-perfect DOM recordings — compatible with all frameworks.
LogRocket's Galileo AI watches sessions for you, instantly identifying and explaining user struggles with automated monitoring of your entire product experience.
Start proactively monitoring your ecommerce apps — try LogRocket for free.
Would you be interested in joining LogRocket's developer community?
Join LogRocket’s Content Advisory Board. You’ll help inform the type of content we create and get access to exclusive meetups, social accreditation, and swag.
Sign up now
Discover how to use Gemini CLI, Google’s new open-source AI agent that brings Gemini directly to your terminal.

This article explores several proven patterns for writing safer, cleaner, and more readable code in React and TypeScript.

A breakdown of the wrapper and container CSS classes, how they’re used in real-world code, and when it makes sense to use one over the other.

This guide walks you through creating a web UI for an AI agent that browses, clicks, and extracts info from websites powered by Stagehand and Gemini.


