Moveable is an npm package developed by Korean frontend engineer Younkue Choi that makes your components draggable, resizable, scalable, rotatable, warpable, pinchable, groupable, snappable — and much more.
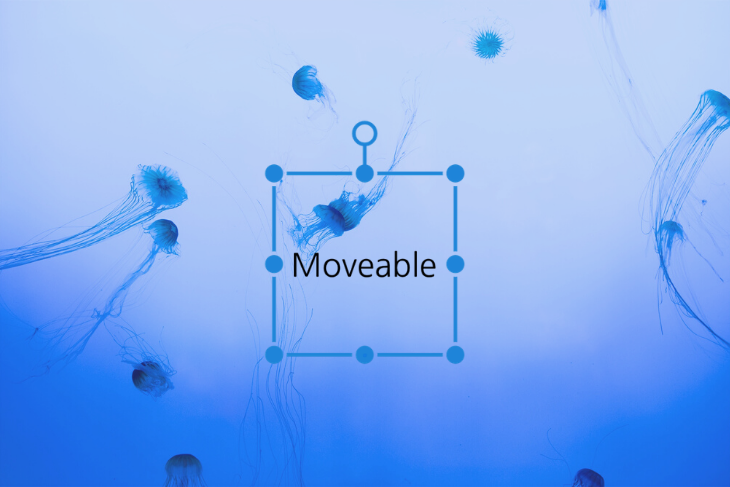
In this tutorial, we’ll walk through some of the coolest and most useful things you can do with the Movable library. You can find the complete code on GitHub.
The Replay is a weekly newsletter for dev and engineering leaders.
Delivered once a week, it's your curated guide to the most important conversations around frontend dev, emerging AI tools, and the state of modern software.
We’ll use the vanilla JavaScript environment to discuss the features of Moveable.
Create a new directory named features. For this example, we’ll just use the Moveable scripts, but you can also use the npm package.
npm i moveable
Create a new HTML file named index.html and add the following script to it.
<script src="//daybrush.com/moveable/release/latest/dist/moveable.min.js"></script>
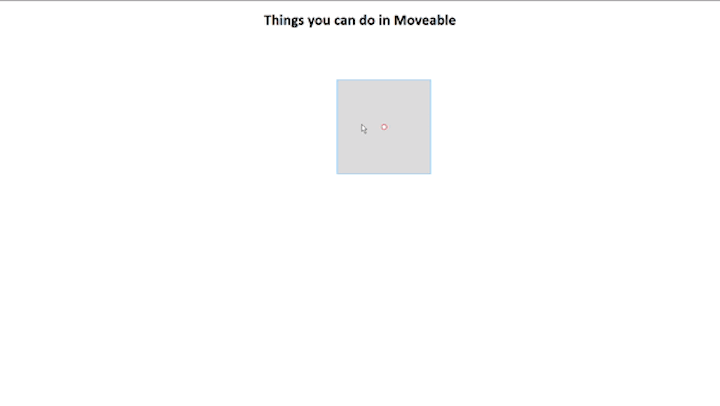
Create a new index.js file and add that to the index.html too. Also, create an empty div with class="root". This is where we’ll reference moveable.
Here’s what your index.html will look like:
<!DOCTYPE html>
<html lang="en">
<head>
<meta charset="UTF-8">
<meta name="viewport" content="width=device-width, initial-scale=1.0">
<link rel="stylesheet" href="style.css">
<title>Features</title>
</head>
<body>
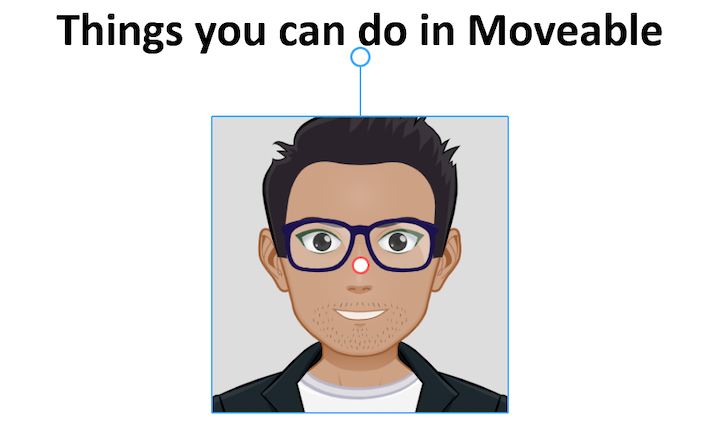
<div id="title">
<h1>Things you can do in Moveable</h1>
</div>
<div class="container">
<div class="root">
</div>
</div>
<script type=" module " src="./index.js "></script>
<script src="//daybrush.com/moveable/release/latest/dist/moveable.min.js"></script>
</body>
</html>
All the styling and CSS is up to you. I’ve added basic styling for the purpose of this tutorial.
.container {
    display: flex;
    align-items: center;
    justify-content: center;
    min-height: 50vh;
    margin: 0;
}
#title {
    font-family: 'Gill Sans', 'Gill Sans MT', Calibri, 'Trebuchet MS', sans-serif;
    text-align: center;
}
#root {
    background-color: #DDD;
    width: 200px;
    height: 200px;
}
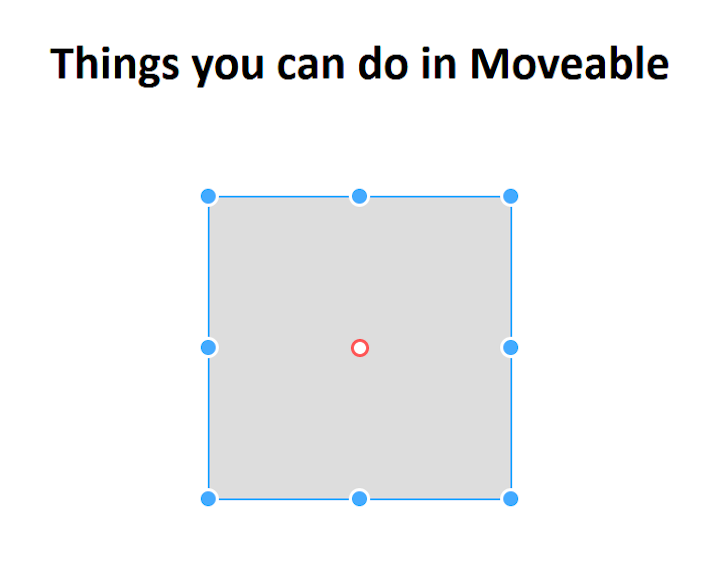
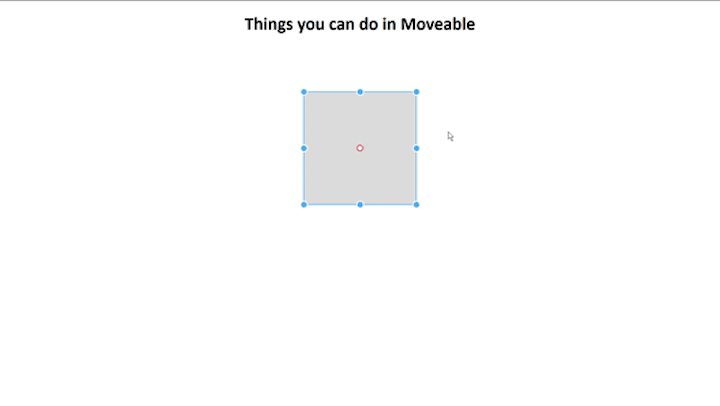
Our app should look as follows. The Moveable magic will happen in the grey box.

Below are five exciting features you can add to your components with Moveable.
For each feature, we’ll focus on the main options and events. We’d never be able to touch on every method and feature in a single blog post, but we’ll walk through what you need to set up the basic functionality.
Let’s get started!
As the name implies, Draggable enables you to drag and move targets. It comes in handy for apps that feature columns in the vein of Trello.
Now that we have an empty index.js, let’s start by creating a new instance of Moveable.
const move = new Moveable(parentElement, options)
The first parameter is the parentElement, which can be either an HTML or SVG element. For this tutorial, we’ll only reference an HTML element, and the argument will be argument.body.
The second parameter is an object that contains all the options we need to pass. The first option we need to pass is target, which contains the reference to the DOM element.
const move = new Moveable(document.body, {
  target: document.querySelector(".root"),
  draggable: true,
})
The other option is draggable:true . This defaults to false — not just for Draggable, but for all the other features as well. If you want to access two features, like draggable and scalable, you would need to set both of them to true.
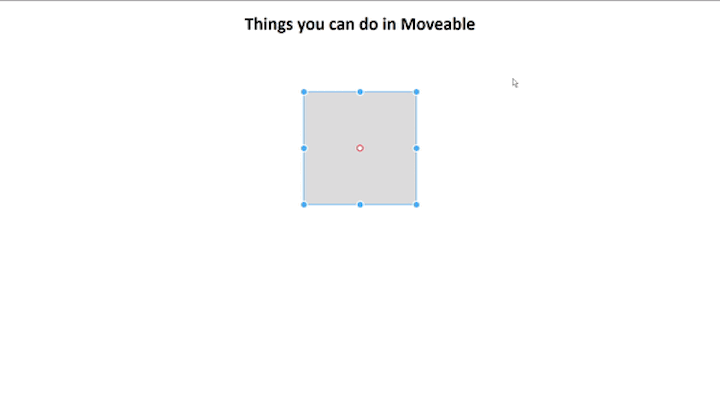
Here’s what your application should look like now:

Next, call the on method. This method takes two arguments: the name of the event — in this case, drag — and a handler function attached to it.
on(eventName, handlerToAttach)
Let’s review the code.
move.on("drag",  ({ target, transform }) => {
    target.style.transform = transform;
});
Again, the first argument is "drag" and the other is a function that takes an object as an argument. This target is the element in the HTML which, in this case, is a div with class="root".
If we were to console log this target, we would see all the information related to that element in the form of an object.
div.root
accessKey: ""
accessKeyLabel: ""
align: ""
assignedSlot: null
attributes: NamedNodeMap [ class="root", style="transform: matrix(1, 0, 0, 1, 0, 0) translate(48px, -6px);" ]
baseURI: "http://127.0.0.1:5500/"
childElementCount: 0
childNodes: NodeList [ #text ]
children: HTMLCollection { length: 0 }
classList: DOMTokenList [ "root" ]
className: "root"
clientHeight: 200
clientLeft: 0
clientTop: 0
clientWidth: 200
contentEditable: "inherit"
contextMenu: null
// More Information
//
style: CSS2Properties { transform → "matrix(1, 0, 0, 1, 0, 0) translate(31px, 56px)" }
//
//
Somewhere in the middle is the style property; this where the position of the element is stored.
The other argument, transform, is a string that updates whenever the drag event is triggered — or, in other words, whenever the element is dragged. We’ll use the same transform argument with the other features, each of which has its own event name.
console.log(transform)
matrix(1,0,0,1,7,134) translate(3px, -8px)
The following should make a lot more sense now.
const move = new Moveable(document.body, {
  target: document.querySelector(".root"),
  draggable: true,
});
move.on("drag", ({ target, transform }) => {
  target.style.transform = transform;
});
Check out the code in action:
Resizable indicates whether the target’s width and height can be increased or decreased. This feature is useful when resizing components in an application, such as resizing a column in a Trello board.
The first step, as outlined above, is to set resizable: true. Let’s set draggable:false so we can focus solely on Resizable to start.
const move = new Moveable(document.body, {
  target: document.querySelector(".root"),
  draggable: false,
  resizable: true,
});
Your application should look like this:
We will again use the on method on move, but this time our event name will be resize .
move.on("resize", ({ target, width, height }) => {
    target.style.width = width + "px";
    target.style.height = height + "px";
});
Instead of transform , width and height are the arguments of the handler function. This updates the width and height according to the user.
By default, keepRatio is set to false. If set it to true the width-to-height ratio will remain the same.
const move = new Moveable(document.body, {
  target: document.querySelector(".root"),
  draggable: false,
  resizable: true,
  keepRatio: true,
});
Now, set both draggable and resizable to true to see it in action.
Here is the complete code:
const move = new Moveable(document.body, {
  target: document.querySelector(".root"),
  draggable: true,
  resizable: true,
  keepRatio: true,

});
move.on("drag", ({ target, transform }) => {
  console.log(transform);
  target.style.transform = transform;
});

move.on("resize", ({ target, width, height }) => {
    console.log(width, height);
    target.style.width = width + "px";
    target.style.height = height + "px";
});
This feature indicates whether the target’s x and y can be scaled or transformed.
First, set scalable:true and all other options to false.
const move = new Moveable(document.body, {
  target: document.querySelector(".root"),
  draggable: false,
  resizable: false,
  keepRatio: false,
  scalable:true,
});
Before we proceed, we should distinguish between resize and scale. Resizing means changing the width and/or height of an element, whereas scaling alters the size of the image while keeping the dimensions the same. Think of it as zooming in or out.
To demonstrate this feature, a simple colored div would be confusing, so we’ll use an image.
Add an image inside the div with the class root.
<div class="root">
            <img src="myAvatar.png" alt="Avatar" widht="200px" height="200px ">
</div>

Now, add the on method with the event name scale.
move.on("scale", ({ target, transform }) => {
    target.style.transform = transform;
});
This is similar to draggable, but this time, if we console log transform, we’ll see something like this:
// scale
matrix(1,0,0,1,0,0) scale(1.17, 1.055)

//drag
matrix(1,0,0,1,7,134) translate(3px, -8px)
Let’s see scale in action, then add resize.
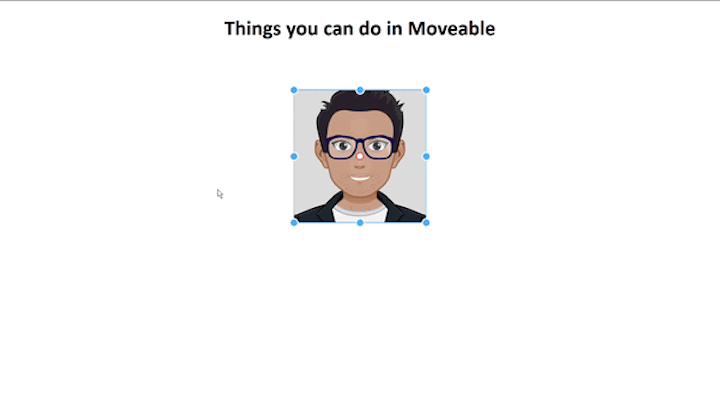
As you can see, the whole image — in other words, the content of the div — is scaled.
Let’s compare it to resize. Set resizable: true and scalable:false.
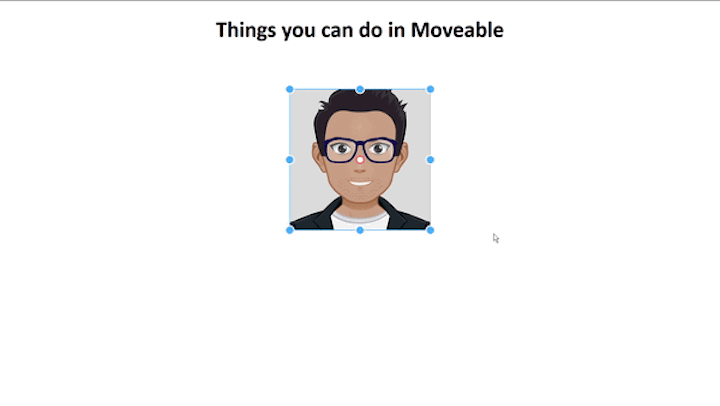
If you notice the grey background that we set initially in the CSS, the dimensions of div are changed, but those of image remain the same. This should clear up the difference between resizable and scalable.
Now set keepRatio:true for scalable.
const move = new Moveable(document.body, {
  target: document.querySelector(".root"),
  draggable: false,
  resizable: false,
  keepRatio: true,
  scalable:true,
});

move.on("drag", ({ target, transform }) => {
  target.style.transform = transform;
});

move.on("resize", ({ target, width, height }) => {
    target.style.width = width + "px";
    target.style.height = height + "px";
});

move.on("scale", ({ target, transform }) => {
    target.style.transform = transform;
});
I’m sure you’re getting the hang of it by now. The next feature on the list is Rotatable.
First, set rotatable: true. Your app should look like this:
Now add the on method with yjr event name rotate.
move.on("rotate", ({ target, transform }) => {
  console.log(transform)
  target.style.transform = transform
});

// transform
// matrix(1,0,0,1,0,0) rotate(-9.200532252654511deg)

Let’s combine the features we’ve discussed to this point.

const move = new Moveable(document.body, {
  target: document.querySelector(".root"),
  draggable: true,
  scalable: true,
  resizable: false,
  keepRatio: false,
  rotatable: true,
});
move.on("drag", ({ target, transform }) => {
  target.style.transform = transform;
});
move.on("resize", ({ target, width, height }) => {
  target.style.width = width + "px";
  target.style.height = height + "px";
});
move.on("scale", ({ target, transform }) => {
  target.style.transform = transform;
});
move.on("rotate", ({ target, transform }) => {
  target.style.transform = transform;
});
This feature indicates whether the target can be warped (i.e., distorted, bent).
Set warpable:true and the others to false Your app should look as follows.

Now, add the on method with the event name warp.
 move.on("warp", ({ target, transform }) => {
  target.style.transform = transform;
 });

Moveable has custom packages tailored to all the major frameworks.
react-movablengx-moveablepreact-moveablevue-moveablesvelte-moveableYou can play with different features without any setup on Moveable’s Storybook page.
To learn more, check out the following resources.
Debugging code is always a tedious task. But the more you understand your errors, the easier it is to fix them.
LogRocket allows you to understand these errors in new and unique ways. Our frontend monitoring solution tracks user engagement with your JavaScript frontends to give you the ability to see exactly what the user did that led to an error.

LogRocket records console logs, page load times, stack traces, slow network requests/responses with headers + bodies, browser metadata, and custom logs. Understanding the impact of your JavaScript code will never be easier!

A step-by-step guide to building your first MCP server using Node.js, covering core concepts, tool design, and upgrading from file storage to MySQL.

Using security headers in your Next.js apps is a highly effective way to secure websites from common security threats.

A deep dive into May 2026’s AI model and tool rankings. We break down performance, usability, pricing, and real-world capabilities across 50+ features to help you pick the right tools for your development workflow.

A practical guide to Agent Browser CLI. Learn how AI agents navigate, snapshot, and interact with web pages using stable references, enabling efficient automation and exploratory testing.
Would you be interested in joining LogRocket's developer community?
Join LogRocket’s Content Advisory Board. You’ll help inform the type of content we create and get access to exclusive meetups, social accreditation, and swag.
Sign up now

